
RAM 2500 Truck 4WD V8-5.9L VIN Z LDC (1998)
Ignition Coil: Testing and Inspection
Failure to Start Test
To prevent unnecessary diagnostic time and wrong test results, the Testing For Spark At Coil test should be performed prior to this test.
WARNING: SET PARKING BRAKE OR BLOCK THE DRIVE WHEELS BEFORE PROCEEDING WITH THIS TEST.
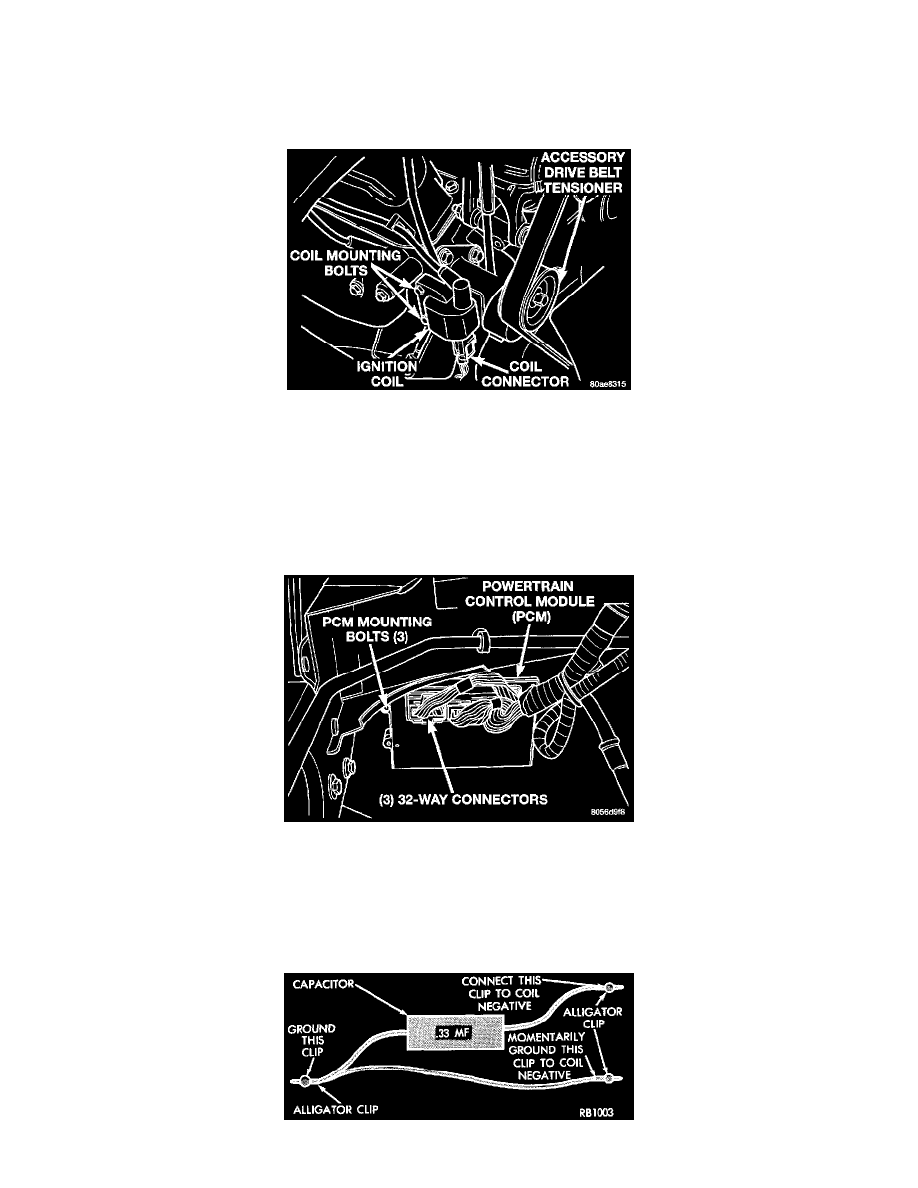
Ignition Coil (5.2L Shown)
1. Unplug the ignition coil harness connector at the coil.
2. Connect a set of small jumper wires (18 gauge or smaller) between the disconnected harness terminals and the ignition coil terminals.
3. Attach one lead of a voltmeter to the positive (12 volt) jumper wire. Attach the negative side of voltmeter to a good ground. Determine that
sufficient battery voltage (12.4 volts) is present for the starting and ignition systems.
4. Determine that sufficient battery voltage (12.4 volts) is present for the starting and ignition systems.
5. Crank the engine for 5 seconds while monitoring the voltage at the coil positive terminal:
-
Check the Powertrain Control Module (PCM) and auto shutdown relay.
PCM And Three 32-Way Connectors
-
If voltage is at or near battery voltage and drops to zero after 1-2 seconds of cranking, check the powertrain control module circuit.
-
If voltage remains at or near battery voltage during the entire 5 seconds, turn the key off. Remove the three 32-way connectors from the PCM.
Check 32-way connectors for any spread terminals or corrosion.
6. Remove test lead from the coil positive terminal. Connect an 18 gauge jumper wire between the battery positive terminal and the coil positive
terminal.