
RAM 2500 Van V8-318 5.2L VIN T Magnum CNG SFI (1997)
Wiper Pivot: Service and Repair
REMOVAL
1. Remove the wiper arms as described.
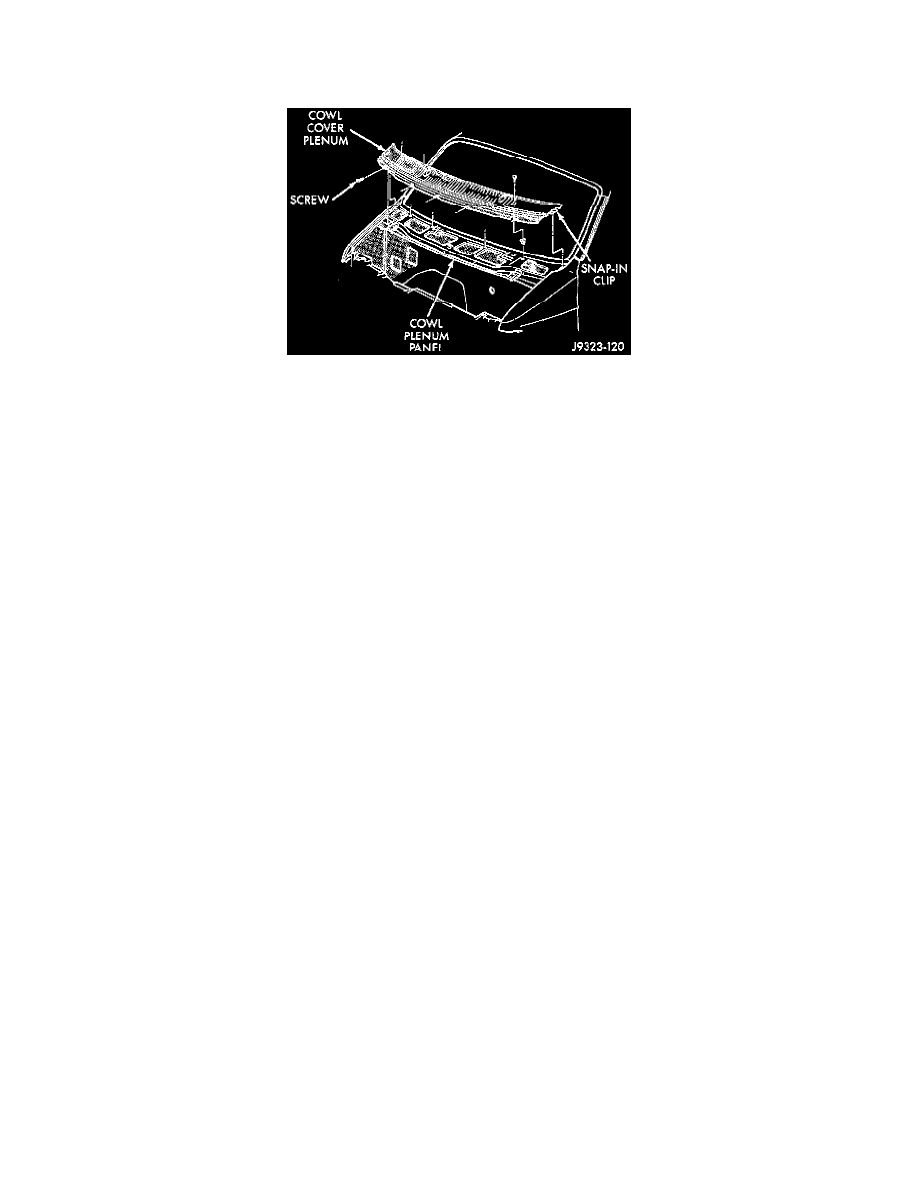
Cowl Panel Remove/Install
2. Remove the screws that secure the cowl plenum cover/grille panel to the cowl top.
3. Remove the cowl plenum cover/grille panel.
CAUTION: Do not apply pressure to, or pry on, the plastic drive link bushing. When removing or installing the drive link to the crank arm, apply
pressure to, or pry on, only the metal portions of the drive link around the bushing. Otherwise, the bushing may be damaged and the linkage
rendered unserviceable.
4. Remove the drive link from the wiper motor crank arm by prying the drive link bushing off of the crank arm ball stud. Use two suitably sized
screwdrivers, one on each side of the ball stud, and pry between the crank arm and the metal portion of the drive link.
5. Remove the two washer hose elbow fittings from the pivot mounting flanges.
6. Remove the four screws that secure the pivot mounting flanges to the cowl top panel.
7. Working through the cowl top access holes, remove the linkage and pivots as an assembly
8. Reverse the removal procedures to install. Place a short 19 mm (3/4 in.) socket over the capped side of the drive link bushing as a protective
sleeve. Use channel-lock pliers to reinstall the drive link bushing onto the crank arm ball stud. Apply pressure with the pliers to the crank arm and
the protective sleeve (socket). Do not apply pressure directly to the plastic bushing. Tighten the pivot mounting screws to 11 Nm (95 in lb).