
RAM 2500 Van V8-5.9L VIN Z LDC (2000)
Radiator Cap: Service and Repair
CLEANING
Use only mild soap and water to clean the radiator cap. Using solvents may damage the rubber seal in the cap.
INSPECTION
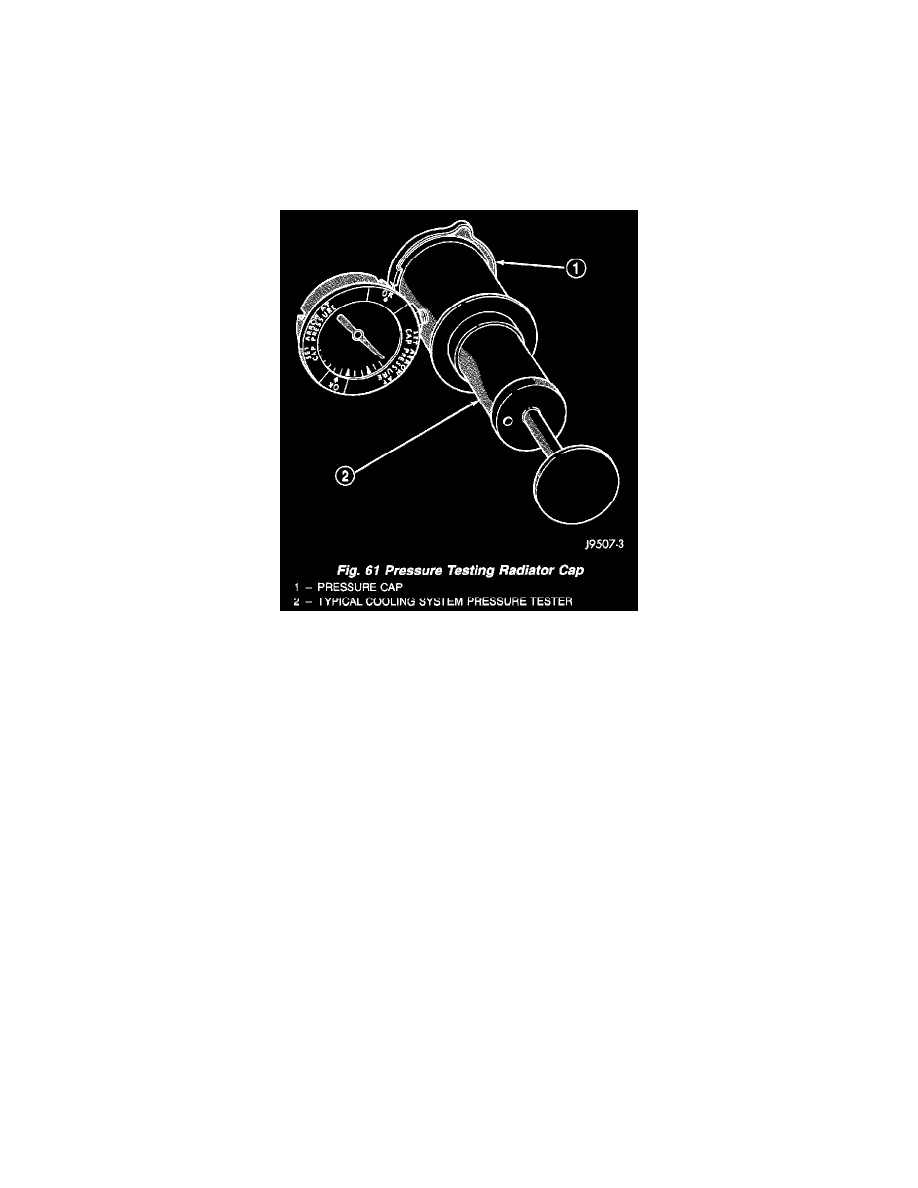
CAUTION: Radiator pressure testing tools are very sensitive to small air leaks, which will not cause cooling system problems. A pressure cap that
does not have a history of coolant loss should not be replaced just because it leaks slowly when tested with this tool. Add water to tool. Turn tool
upside down and recheck pressure cap to confirm that cap needs replacement.
Moisten rubber gasket with water and install cap on pressure tester 7700 or an equivalent.
Operate tester pump to bring pressure to 104 kPa (15 psi) on gauge. If pressure cap fails to hold pressure of at least 97 kPa (14 psi) replace cap.
The pressure cap may test properly while positioned on tool 7700 (or equivalent). It may not hold pressure or vacuum when installed on radiator. If so,
inspect radiator filler neck and cap's top gasket for damage. Also inspect for dirt or distortion that may prevent cap from sealing properly.
Hold cap at eye level, right side up. The vent valve at bottom of cap should open. If rubber gasket has swollen and prevents vent valve from opening,
replace cap.
Hold cap at eye level, upside down. If any light can be seen between vent valve and rubber gasket, replace cap. Do not use a replacement cap that has
a spring to hold vent shut. A replacement cap must be the type designed for a coolant reserve/overflow system with a completely sealed diaphragm
spring and a rubber gasket. This gasket is used to seal to radiator filler neck top surface. Use of proper cap will allow coolant return to radiator.