
RAM 3500 Truck 2WD V10-8.0L VIN W MDC (1999)
2. Lubricate the pump rotors using petroleum jelly or lubricate and install in the timing chain cover.
3. Using a new cover gasket, carefully install timing chain cover to avoid damaging oil pan gasket. Use a small amount of Mopar(R) Silicone Rubber
Adhesive Sealant, or equivalent, at the joint between timing chain cover gasket and the oil pan gasket. Finger tighten the timing chain cover bolts
at this time.
4. Tighten timing chain cover bolts to 47 Nm (35 ft. lbs.) torque. Tighten oil pan bolts to 24 Nm (215 inch lbs.) torque.
Installing Crankshaft Pulley/Damper
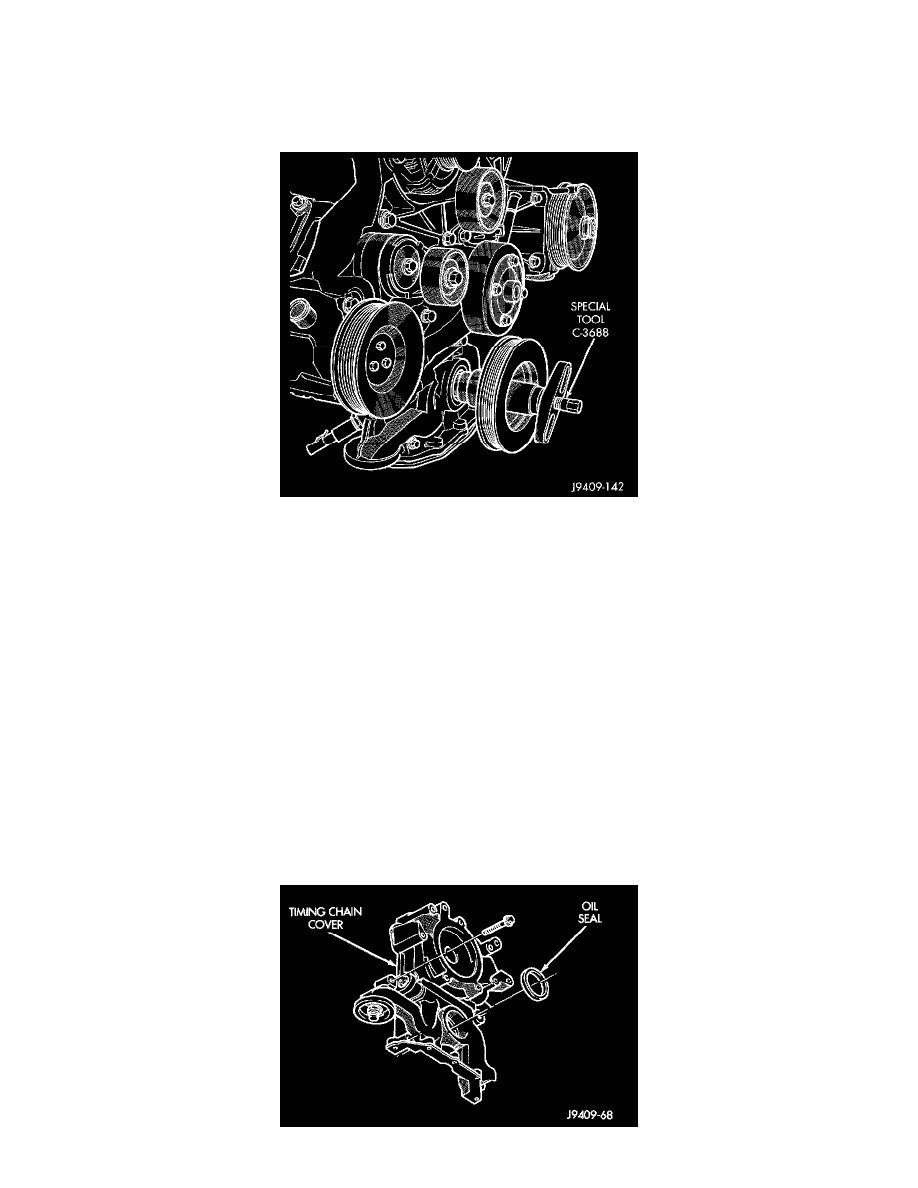
5. Install pulley/vibration damper use tool C-3688.
6. Prime oil pump by squirt oil in the oil filter mounting hole and filling the J-trap of the front timing cover. When oil is running out, install oil filter
that has been filled with oil.
7. Install water pump and housing assembly using O-ring. Tighten bolts to 41 Nm (30 ft. lbs.) torque.
8. Install generator, air pump, and bracket assembly.
9. Install A/C compressor.
10.
10. Install the cooling system fan. Tighten the bolts to 23 Nm (17 ft. lbs.) torque.
11. Position the fan shroud and install the bolts. Tighten the bolts to 11 Nm (95 inch lbs.) torque.
12. Install the serpentine belt.
13. Fill cooling system.
14. Connect the negative cable to the battery.
15. Road test vehicle and check for leaks.
TIMING CHAIN COVER OIL SEAL (COVER NOT REMOVED)
REMOVAL
1. Disconnect the negative cable from the battery.
2. Remove the cooling fan and shroud.
3. Remove the serpentine belt (Refer to Drive Belts, Mounts, Brackets and Accessories).
4. Using a 3-jaw puller tool, pull pulley/damper off of the crankshaft.