
RAM 3500 Truck 2WD V8-5.9L VIN Z LDC (1999)
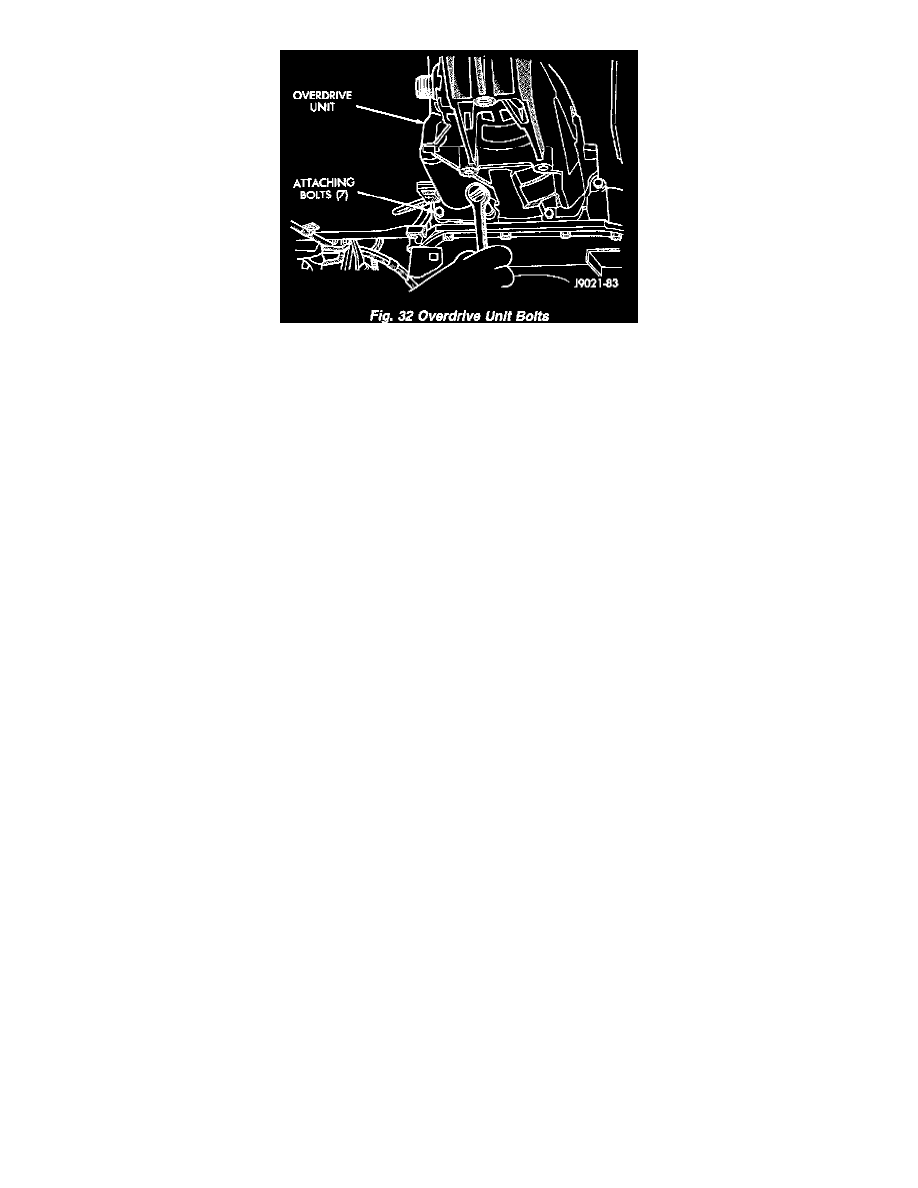
Fig. 32
9. Remove bolts attaching overdrive unit to transmission (Fig. 32).
CAUTION: Support the overdrive unit with a jack before moving it rearward. This is necessary to prevent damaging the intermediate shaft. Do
not allow the shaft to support the entire weight of the overdrive unit.
10. Carefully work overdrive unit off intermediate shaft. Do not tilt unit during removal. Keep it as level as possible.
11. If overdrive unit does not require service, immediately insert Alignment Tool 6227-2 in splines of planetary gear and overrunning clutch to prevent
splines from rotating out of alignment. If misalignment occurs, overdrive unit will have to be disassembled in order to realign splines.
12. Remove and retain overdrive piston thrust bearing. Bearing may remain on piston or in clutch hub during removal.
13. Position drain pan on workbench.
14. Place overdrive unit over drain pan. Tilt unit to drain residual fluid from case.
15. Examine fluid for clutch material or metal fragments. If fluid contains these items, overhaul will be necessary.
16. If overdrive unit does not require any service, leave alignment tool in position. Tool will prevent accidental misalignment of planetary gear and
overrunning clutch splines.
Installation
1. Be sure overdrive unit Alignment Tool 6227-2 is fully seated before moving unit. If tool is not seated and gear splines rotate out of alignment,
overdrive unit will have to be disassembled in order to realign splines.
2. If overdrive piston retainer was not removed during service and original case gasket is no longer reusable, prepare new gasket by trimming it.