
Ram Raider L4-2555cc 2.6L SOHC (1987)
1.
Remove the lock nut from the adjusting bolt.
CAUTION:
IF THE ADJUSTING BOLT IS TURNED, ITS ENGAGEMENT WITH THE MAIN SHAFT CHANGES.
TO PREVENT THIS, USE A SCREWDRIVER TO PREVENT THE BOLT FROM TURNING WHEN REMOVING
THE LOCK NUT.
2.
Thoroughly remove dirt and paint flakes from the top of the side cover.
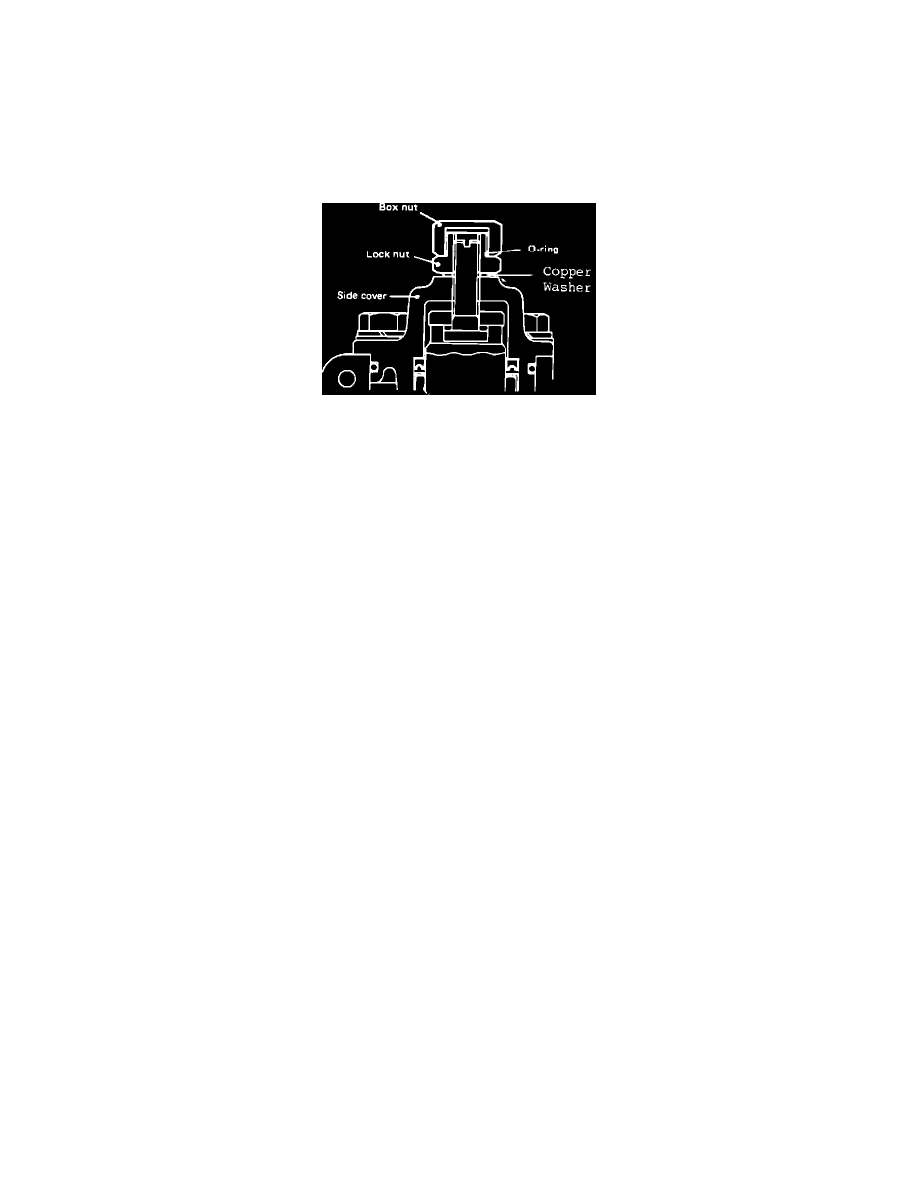
FIGURE 3
3.
Apply ATF to the O-ring included in the repair kit and install over the lock nut (Figure 3).
4.
Install the copper washer and tighten the lock nut to specified torque to lock the adjusting bolt.
Specified torque:
3.0 to 4.5 kgm
CAUTION:
IF THE ADJUSTING BOLT HAS BEEN TURNED, ADJUST THE GEAR BACKLASH.
5.
Tighten the box nut to specified torque.
6.
Refill with Mopar ATF, bleed air, and check that there is no oil leak at the lock nut.
7.
Apply black paint to the box nut and lock nut for rust prevention.
POLICY:
Reimbursable within the provisions of the warranty
TIME ALLOWANCE:
Labor Operation No.
19-30-01-90 . . . . . . . . . . . .0.3 Hrs.
FAILURE CODE:
71 - Oil leak