
RAM SRT-10 Pickup V10-505 8.3L (2004)
Lower Side Moulding / Trim: Service and Repair
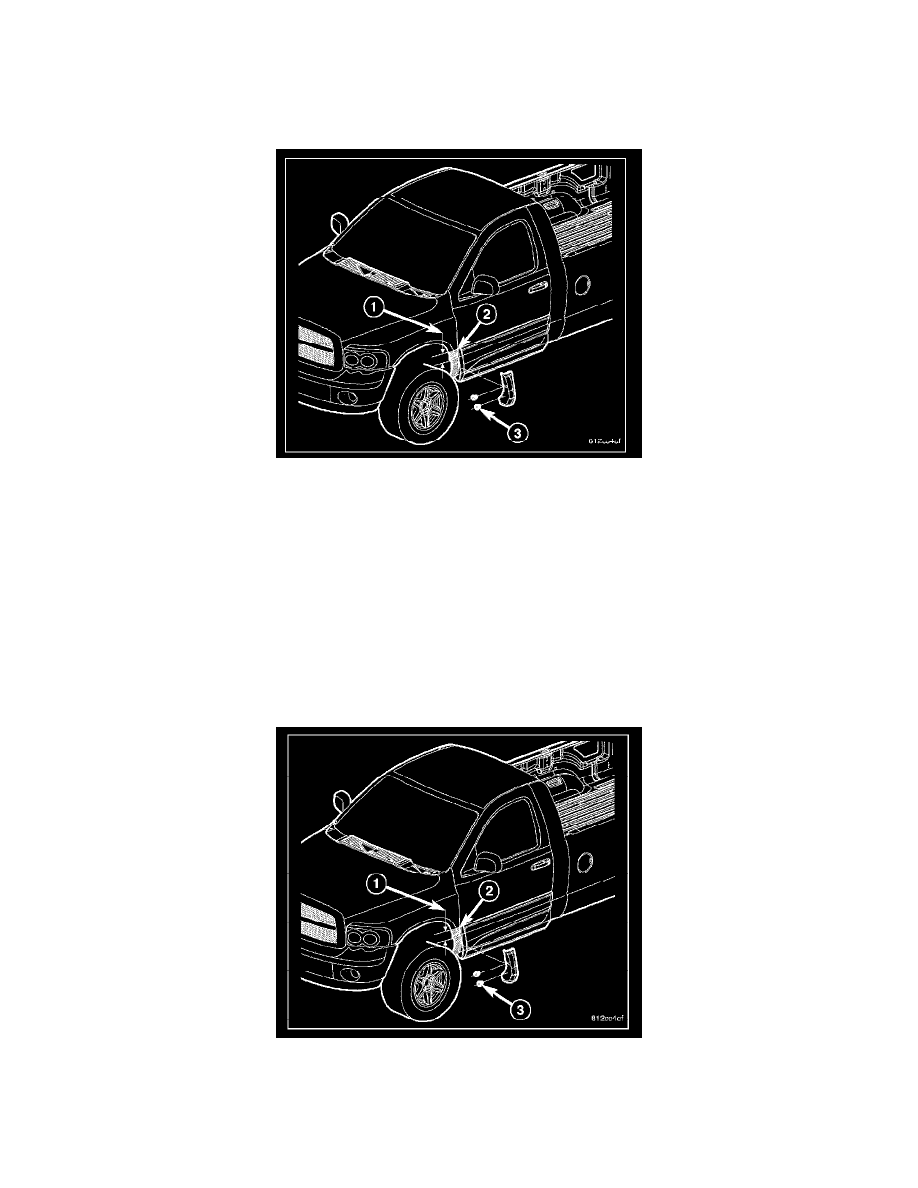
Cladding-Body Side-Fender-SRT-10
CLADDING-BODY SIDE-FENDER SRT-10
REMOVAL
1. As a guide for installation, apply a length of masking tape on the body panel, parallel to the top edge and, to one end of the body side cladding (1).
2. Remove the two screws (3) that secure the body side cladding to the front fender (2).
CAUTION: Do not exceed 52 degrees C (120 degrees F) when heating the cladding or body panels. Failure to follow this caution may
result in damage to the cladding and/or the vehicle paint finish.
3. If the temperature is below 21 degrees C (70 degrees F), warm the body side cladding with a heat lamp or heat gun.
NOTE: The body side cladding is attached to the body panel with adhesive tape. If required, apply 3M(TM) General Purpose Adhesive Cleaner
or equivalent onto the cladding area to help loosen the adhesive tape.
4. Using a trim stick C-4755 or equivalent, remove and discard the cladding.
INSTALLATION
1. Using 3M(TM) General Purpose Adhesive Cleaner or equivalent, remove any adhesive tape residue from the front fender.
NOTE: Install new cladding within 20 minutes of body panel cleaning.
2. Wipe the attachment area (2) with a clean, lint-free cloth, moistened with a 50% solution of water and alcohol, starting 120 mm (4.75 in.) above