
Shadow L4-153 2.5L SOHC Turbo (1989)
Seat Belt Control Module: Service and Repair
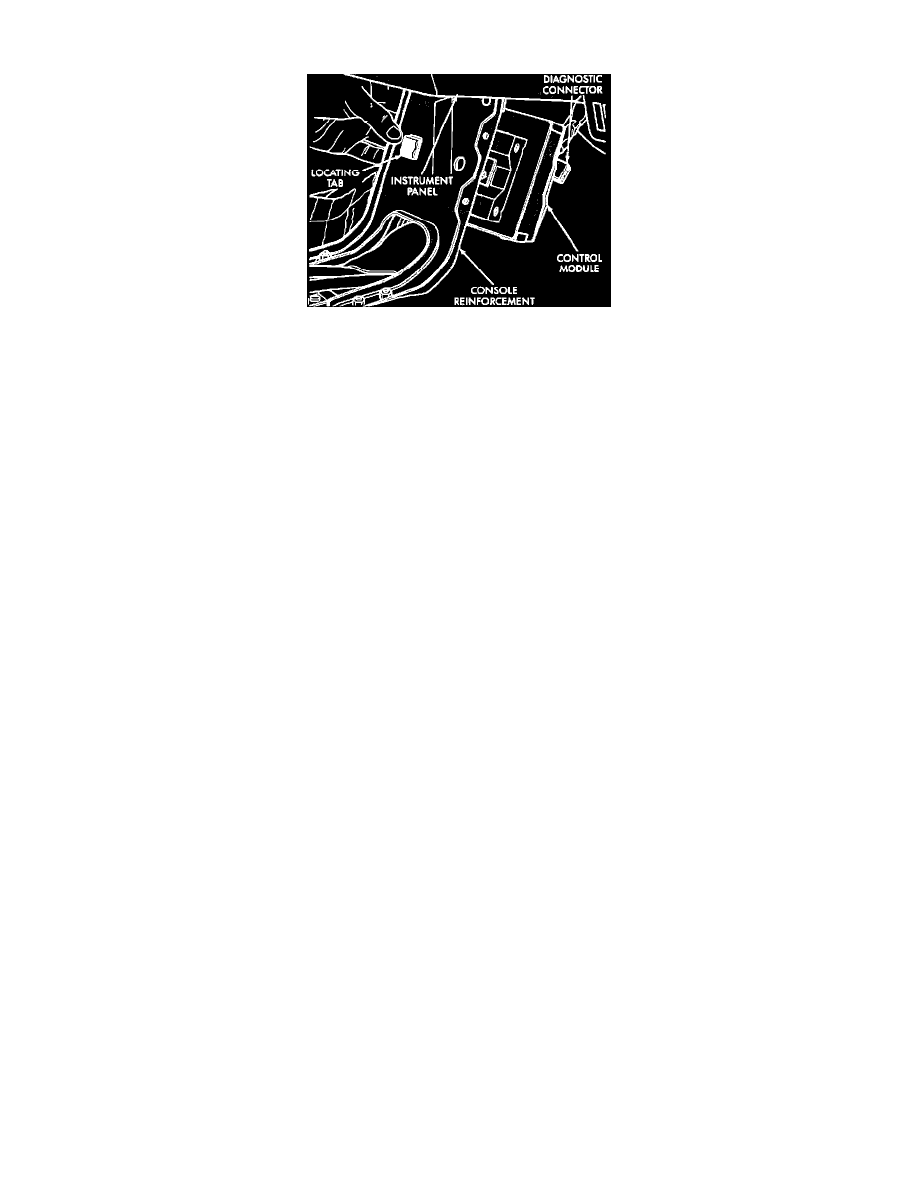
Fig. 155 Seat Belt Control Module
MODELS W/FLOOR CONSOLE
1.
Remove shifter handle.
2.
Unsnap shifter bezel, then disconnect electrical connectors and remove bezel.
3.
Remove power mirror switch and disconnect electrical connector, if equipped.
4.
Remove armrest attaching screws from center console retractor bracket.
5.
Remove armrest and center console section as an assembly by unsnapping from front console section.
6.
Remove center module bezel.
7.
Remove sidewall attaching screws, then the module-to-bracket attaching screws.
8.
Disconnect module connectors and remove module.
9.
Reverse procedure to install.
MODELS W/CONSOLETTE
1.
Remove trim caps and screws from consolette.
2.
On models with manual transmissions, remove shifter knob. On models with automatic transmission, remove shifter knob and gear selector
indicator.
3.
On all models, remove consolette to retractor and lap belt assembly attaching screws.
4.
Remove consolette.
5.
Remove module-to-console attaching screws.
6.
Disconnect electrical connectors and remove module.
7.
Reverse procedure to install.