Sprinter 3500 L5-2.7L DSL Turbo (2004)

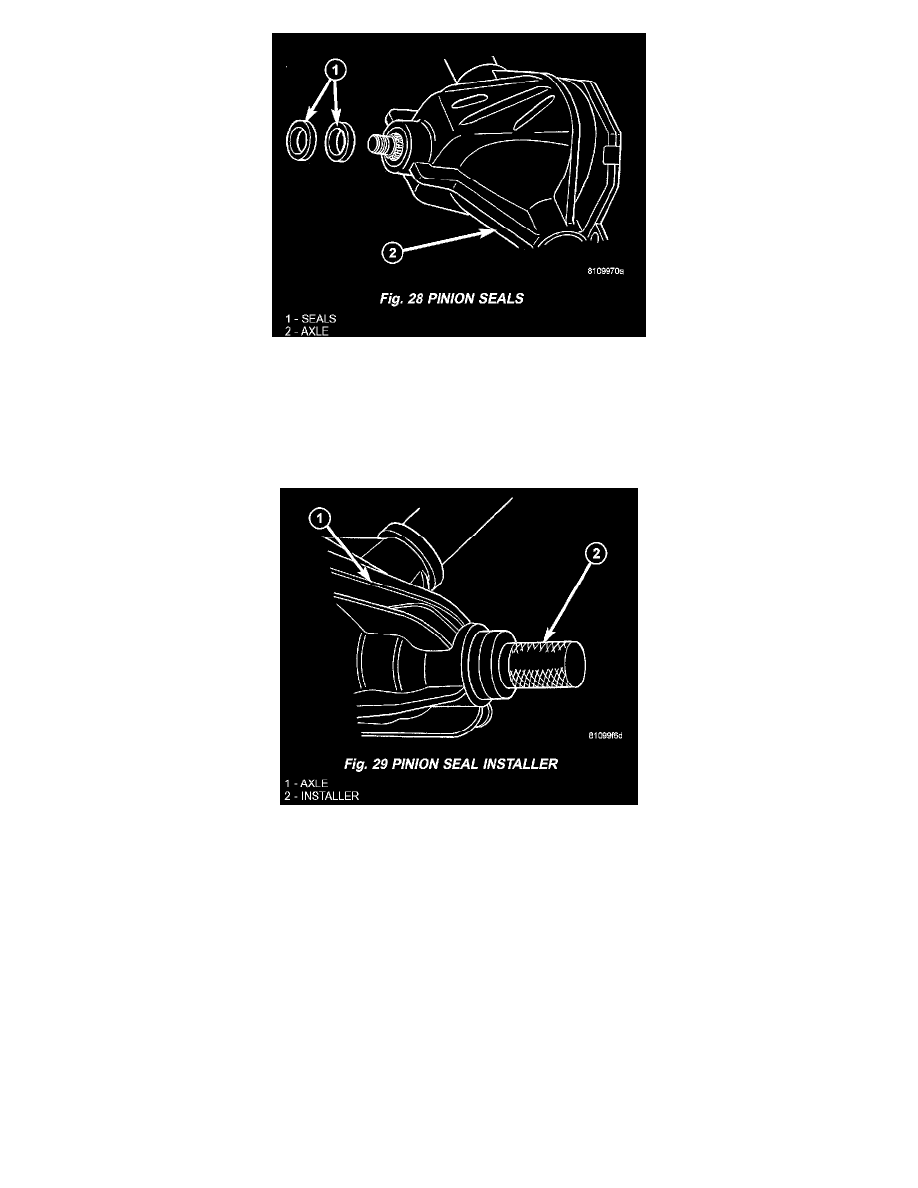
11. Remove both pinion radial seals (Fig. 28).
INSTALLATION
1. Pack space between dust lip and sealing lip on radial seal ring with multi purpose grease.
2. On radial seal rings without rubberized external surface, coat outer circumference with sealant.
CAUTION: Do not coat partially rubberized seals with sealant.
3. Drive new pinion radial seals into rear axle housing as far as the stop using Installer 9276 (Fig. 29).
4. Fit coupling flange on drive pinion shaft.
NOTE: The groove in the drive pinion and the groove in the joint flange must be in alignment.
5. Hold pinion flange with Flange Wrench C 3281.
6. Screw on the collared nut illustrated up to the marking applied beforehand.
7. Detach retainer wrench from joint flange.
8. With a torque wrench, measure torque to rotate pinion and record measurement.
9. Unscrew the marked nut.
10. Reattach retainer wrench to joint flange.
11. Screw on new collared nut and tighten carefully in stages until the previously value of torque to rotate is exceeded by 0.5 Nm. (4.4 inch lbs.).
CAUTION: The total friction moment must not be obtained by slackening the collared nut. Avoid overtightening the collared nut otherwise the
compression ring inside will be compressed and will have to be replaced. This requires total disassembly of the gear set.
