
Talon AWD L4-1997cc 2.0L DOHC Turbo VIN F SMFI (1997)
NOTE: If the boot is reused, wrap plastic tape around the drive shaft spline so that the boot is not damaged when it is removed.
11. Remove the large and small boot band on the Birfield Joint.
INSPECTION
-
Check the drive shaft for damage, bending or corrosion.
-
Check the inner shaft for damage, bending or corrosion.
-
Check the drive shaft splices for wear or damage.
-
Check the inner shaft splines for wear or damage.
-
Check the spider assembly for roller rotation, wear or corrosion.
-
Check the groove inside T.J. case for wear or corrosion.
-
Check the boots for deterioration, damage or cracking.
-
Check the center bearing for seizure, discoloration or roughness of rolling surface.
-
Check the dust cover for damage or deterioration.
ASSEMBLY
1. Follow disassembly steps in reverse order for assembly, noting the following.
2. Wrap plastic tape around the spline part on the drive shaft, and then install the B.J. boot band (small) and B.J. boot.
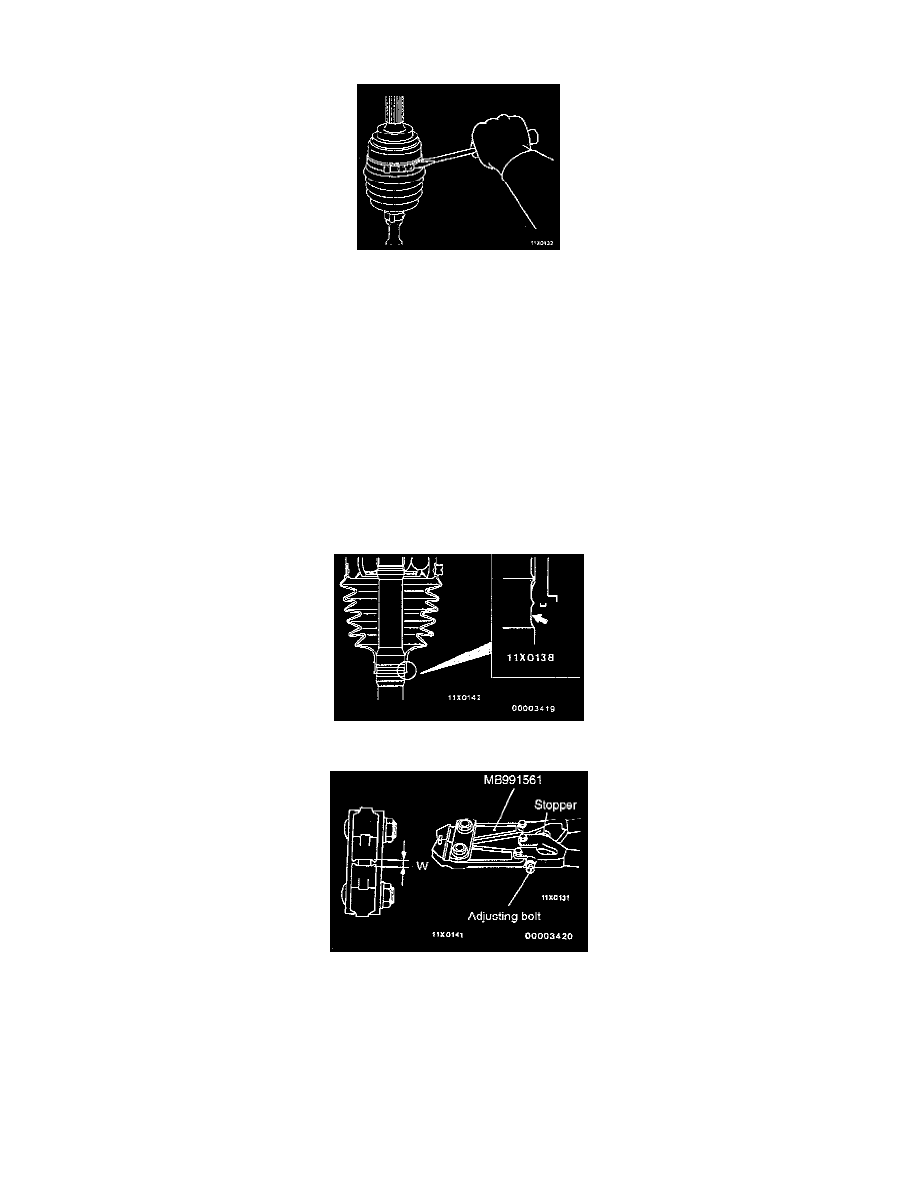
3. Install the smaller side of the B.J. boot band so that one shaft groove can be seen.
4. Turn the adjusting bolt of the special tool to adjust the opening dimension (W) to 2.9 mm (0.114 inch).
NOTE:
1. The dimension (W) is adjusted by approximately 0.7 mm (0.028 inch) per one turn.
2. Do not turn the adjusting bolt more than one turn.