
Talon FWD L4-1997cc 2.0L DOHC Turbo VIN F SMFI (1998)
2. While protecting caliper body with cloth. Blow compressed air through brake hose to remove piston boot and piston.
CAUTION: Blow compressed air gently as to not damage piston or cause personal injury.
3. Remove piston seal with finger tip.
CAUTION: Do not use a flat-tipped screwdriver or other tool to prevent damage to inner cylinder.
4. Clean piston surface and inner cylinder with trichloro-ethylene, alcohol, or specified brake fluid.
Specified brake fluid: MOPAR Brake Fluid/Conforming to DOT 3 or DOT 4
INSPECTION
-
Check cylinder for wear, damage or rust.
-
Check piston surface for wear, damage or rust.
-
Check caliper body or sleeve for wear.
-
Check pad for damage or adhesion of grease, check backing metal for damage.
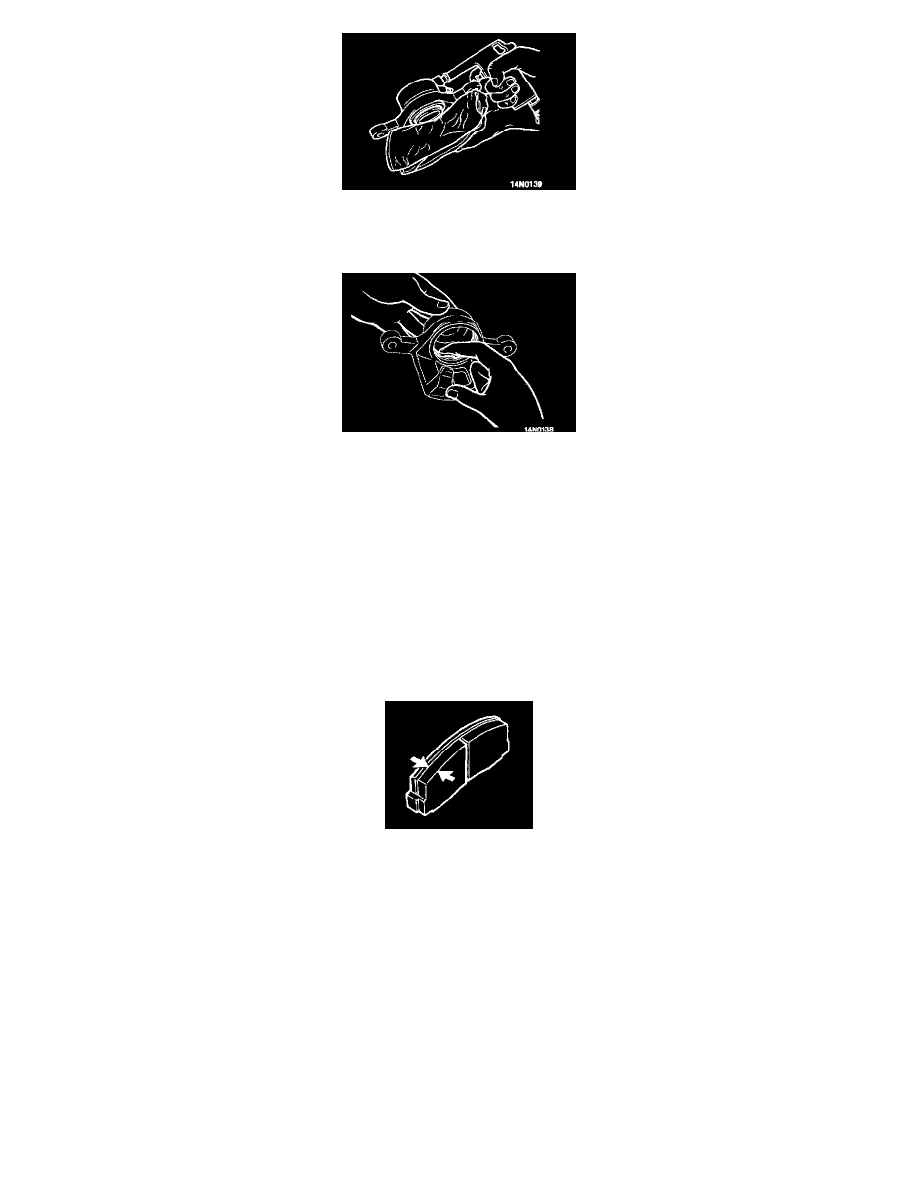
Pad Wear Check
Measure thickness at the thinnest and worn area of the pad. Replace pad assembly when pad thickness is less than the limit value.
-
Standard value: 10 mm (0.39 inch)
-
Limit value: 2.0 mm (0.08 inch)
CAUTION:
1. Always replace both pads on each wheel as a set (both front wheels or both rear wheels). Failure to do so will result in uneven braking which
may cause an unpredictable vehicle condition.
2. If there is a significant difference in the thicknesses of the pads on the left and right sides, check the sliding condition of the piston, lock pin
and guide pin.
ASSEMBLY
1. Follow removal procedure in reverse order.