
Talon FWD L4-1997cc 2.0L DOHC Turbo VIN F SMFI (1998)
1.00 mm oversize: Yellow
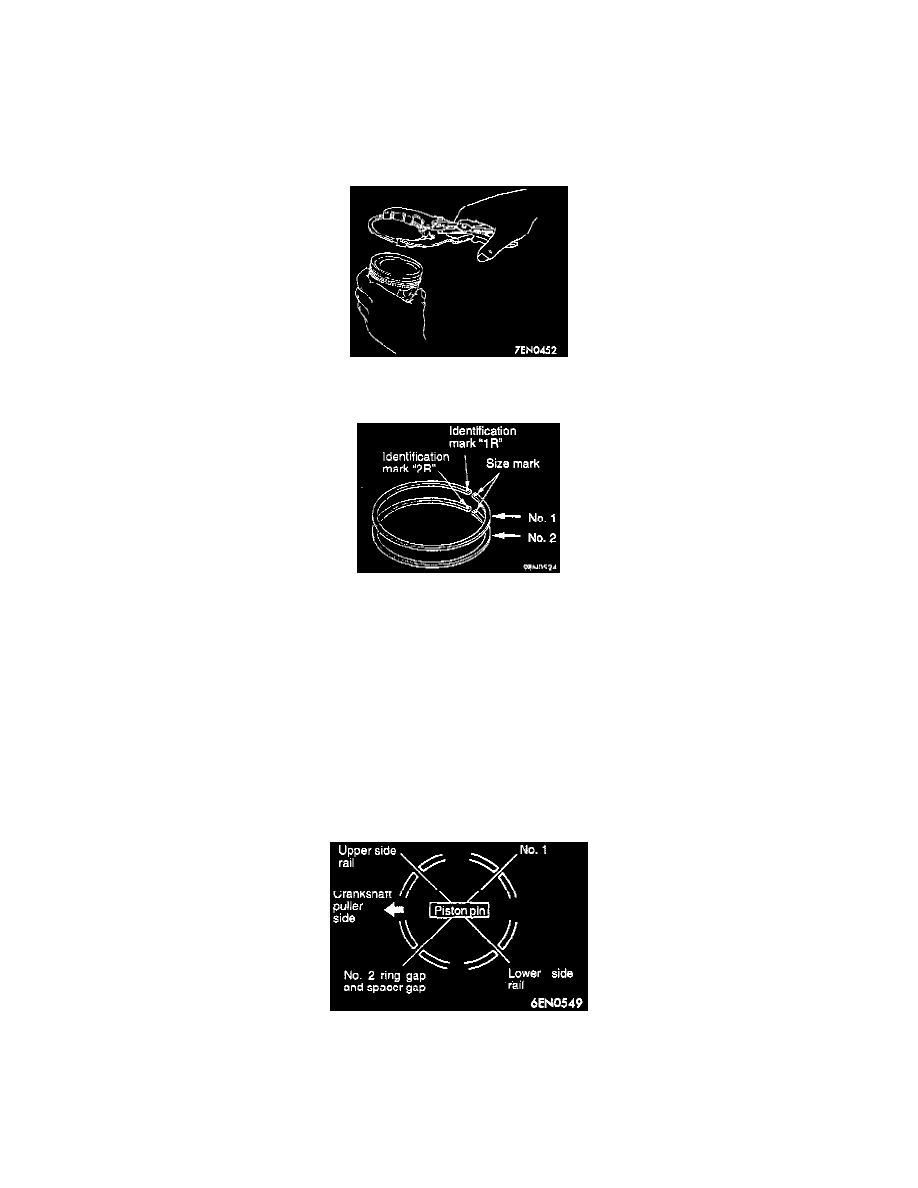
2. Install the upper side rail. To install the side rail, first fit one end of the rail into the piston groove, then press the remaining portion into
position by finger. See illustration.
NOTE: Do not use piston ring expander when installing side rail. Otherwise, the side rail will be broken.
3. Install the lower side rail in the same procedure as described in step (2).
4. Check that the side rails move smoothly in either direction.
B. Piston Rings Installation.
Use a piston ring expander to fit the No. 2 and then No. 1 piston ring into position.
NOTE:
1. The ring end has the identification mark.
Identification mark
No. 1 ring: 1R
No. 2 ring: 2R
2. Install piston rings to the piston crown side with identification mark facing up.
3. Size marks on piston rings are as follows.
Size mark
Standard: NONE
0.50 mm oversize: 50
1.00 mm oversize: 100
C. Piston And Connecting Rod Assembly Installation.
1. Coat a large amount of engine oil on the circumference of the piston, piston ring, and oil ring.
2. Arrange the piston ring and oil ring gaps (side rail and spacer) as shown in the figure.
3. Rotate crankshaft so that crank pin is on center of cylinder bore.