Bronco Full Size V8-302 5.0L (1986)

Brake Rotor/Disc: Service and Repair
Removal
1. Raise the vehicle and install safety stands.
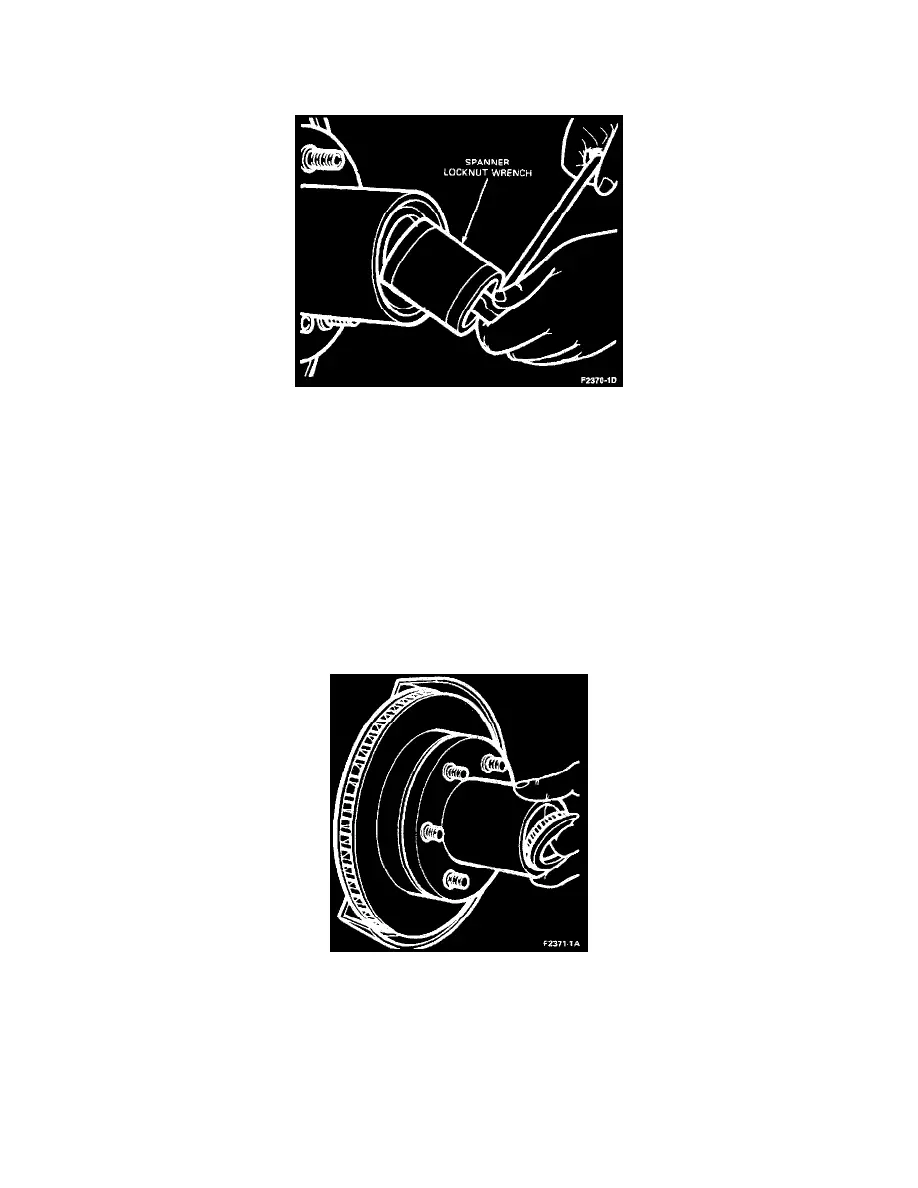
Lock Ring And Adjusting Nut Removal
2. Remove the locking hubs.
3. Remove the wheel lug nuts and the wheel and tire from the hub and rotor assembly.
4. For vehicles equipped with Dana model 44 front drive axle and manual hub lock, remove the adjusting nut with spanner locknut wrench. Apply
inward pressure on the locknut wrench to disengage the adjusting nut locking splines and turn the nut counter-clockwise to loosen and remove the
nut from the spindle.
For vehicles equipped Dana model 44 with automatic hub locks, Dana model 50 and model 60 front drive axles, remove the outer locknut,
lockwasher and inner locknut with spanner locknut wrench.
5. Remove the brake caliper and secure it to the frame to prevent damage to the brake hose. To prevent damage to the hose or the caliper, do not let
the caliper hang only by the brake hose.
Hub, Disc And Outer Bearing Removal
6. Remove the hub and disc assembly. The outer wheel bearing cone and roller assembly will slide out as the hub is removed.
