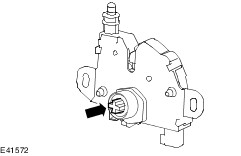
| Removal and Installation 2. Remove the components in the order indicated in the following illustration(s) and table(s). 1 - Hood latch electrical connector 3. To install, reverse the removal procedure. Removal Details Item 4 : Hood lock cylinder connecting rod | | -
NOTE:Make a note of the position and orientation of the hood lock cylinder connecting rod. Remove the hood lock cylinder connecting rod from the hood latch. - Discard the hood lock cylinder connecting rod.
| Item 3 : Hood latch Installation Details Item 4 : Hood lock cylinder connecting rod | | -
NOTE:Make sure that the hood lock cylinder connecting rod is installed in the same position and alignment as removed. NOTE:Make sure that the hood lock cylinder connecting rod clips are facing the correct way. The short clips should be installed towards the hood lock cylinder. The long clips on should be installed towards the hood latch. NOTE:The hood lock cylinder clips must be compressed before being installed into the hood lock cylinder. Using a suitable tool, Install a NEW hood lock cylinder connecting rod to the hood lock cylinder . | Item 3 : Hood latch | | -
NOTE:The hood latch must be aligned with the hood lock cylinder connecting rod before being installed. Install the hood latch (hood lock cylinder shown removed for clarity). | Item 2 : Hood latch retaining bolts | | -
Loosely install the hood latch retaining bolts. - Adjust the hood latch so that the hood alignment is correct.
- Tighten the hood latch retaining bolts.
| |