
Contour V6-153 2.5L DOHC (1996)
1.
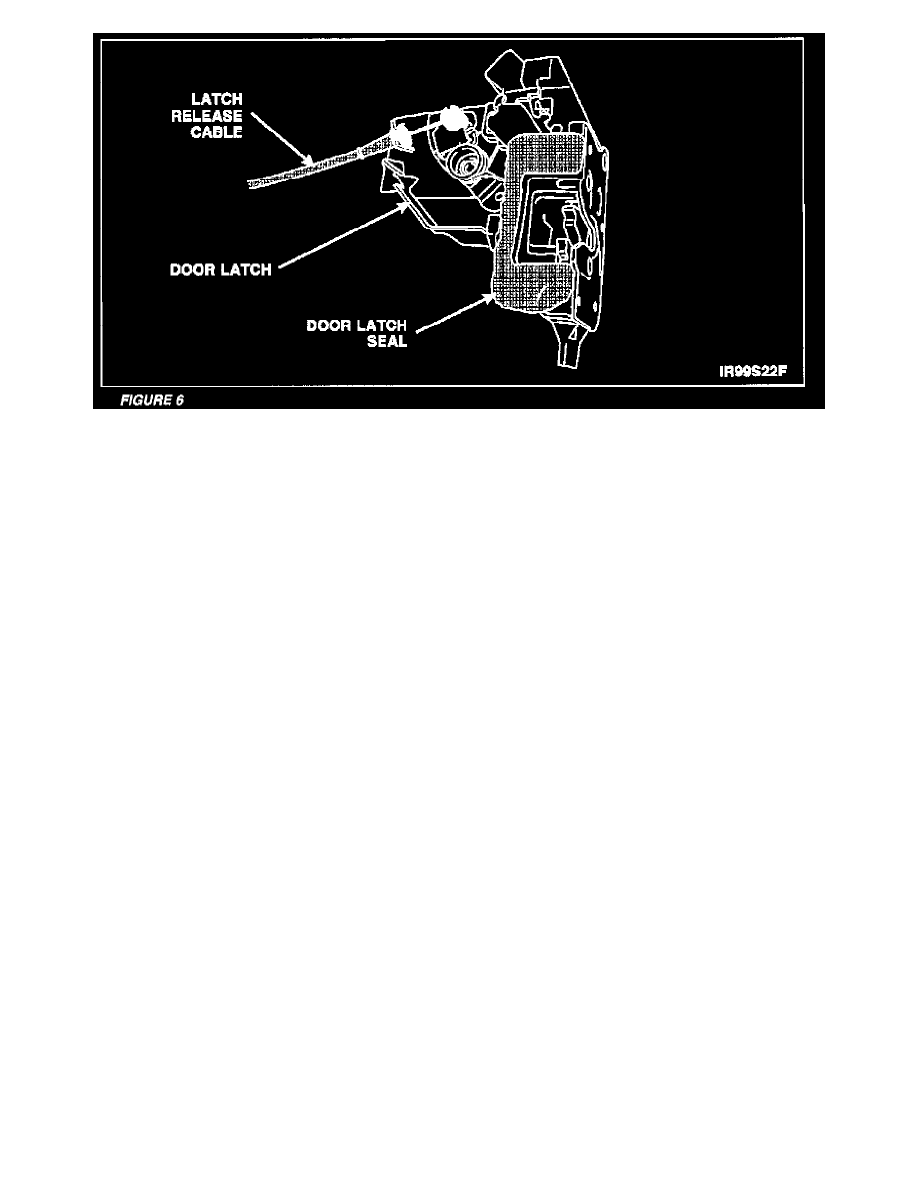
Transfer the latch release cable from the original latch to the new latch. See Figure 6.
2.
Install a new door latch seal on the new door latch. See Figure 6.
3.
Position the door latch and release cable assembly in the door. Make sure the top of the latch
engages the theft guard cover.
4.
Install the door latch retaining screws. Tighten the screws to 8 Nm (6 lb-ft).
5.
Position the theft guard cover aside, then connect the door latch electrical connector.
6.
Install a new door handle actuator rod retaining clip (provided in kit) on the actuator rod.
7.
Connect the door handle actuator rod to the door latch by inserting the rod and clip into the latch and rotating the clip 90 degrees.
8.
Connect the door lock actuator rod to the door latch, then install the retaining clip.
9.
Position the theft guard cover and install the retaining screw.
CAUTION
New butyl sealer must be applied to the door before attaching the new watershield. Failure to install a bead of new butyl sealer in the exact same
location as the original sealer may result in water, dust or wind leaks.
10.
Apply a continuous bead of Butyl Sealer (XW2Z-19E523-AA) approximately 6 mm (1/4 in.) wide to the door surface in exactly the same location
as the original sealer.
11.
Position the watershield to the door and press firmly into the new butyl sealer completely around the door to establish a watertight seal.
12.
Connect the door panel switch electrical connectors.
13.
Install the inside door release handle to the door panel.
14.
Install the door panel.
15.
Install the door panel retaining screws.
16.
Install the door panel screw covers.
17.
Replace the latch on the remaining door.
18.
Connect the battery ground cable, and remove the memory saver.