
Crown Victoria V8-4.6L Flex Fuel (2008)
Lubricate the existing urethane adhesive with water using a spray bottle to aid the special tool while cutting.
5. CAUTION: To avoid rust formation, use extreme care not to scratch the paint or primer or otherwise damage the pinch weld during
glass removal.
NOTE:
-
Insert the blade into the special tool so that the flat side is against the glass. This will leave the entire urethane adhesive bead on the pinch weld
and allow a dry fit of the replacement rear glass.
-
Support the rear glass as necessary to prevent the glass from dropping while cutting the urethane adhesive.
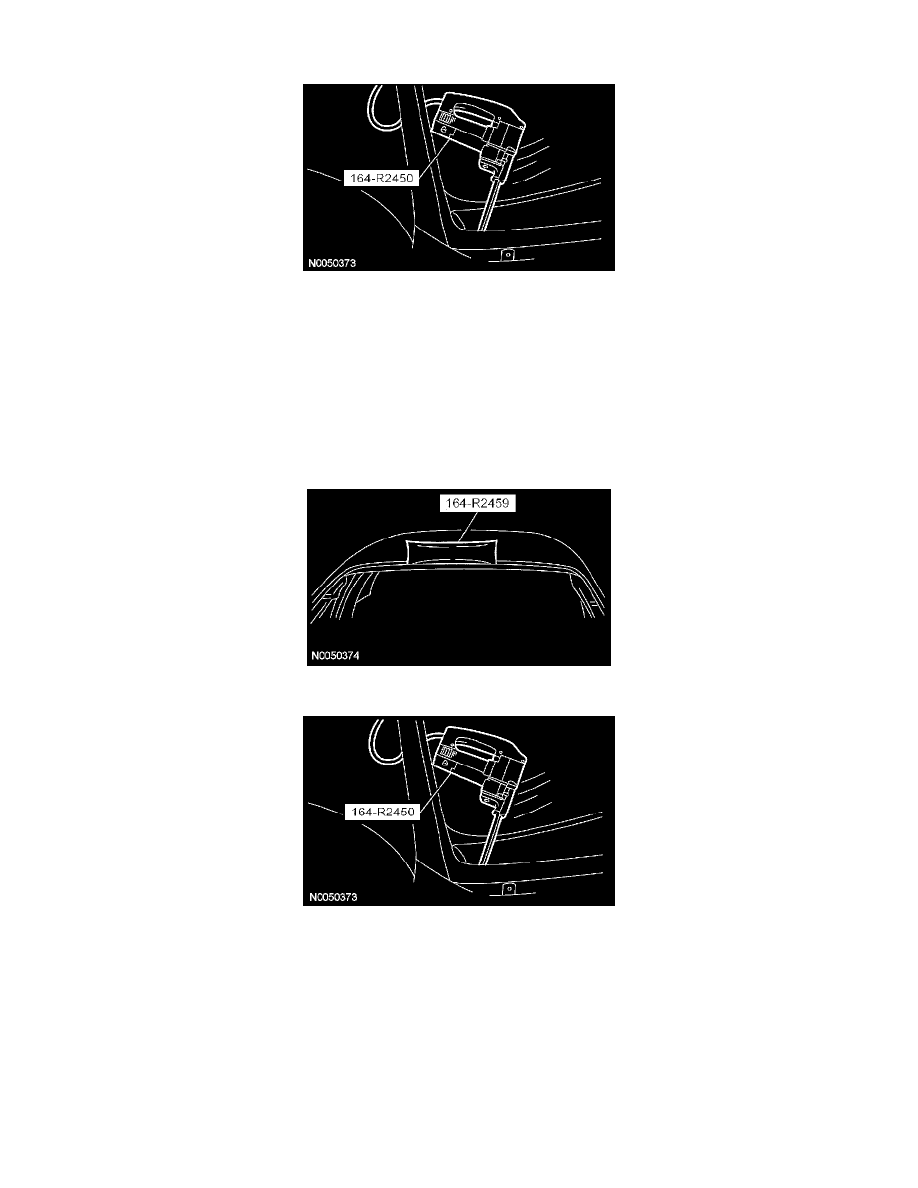
Using the special tool, starting at the top center of the rear window glass, cut the urethane adhesive from the glass and work down the sides.
6. Using the special tool, distance the rear window glass from the body.
7. Using the special tool, cut the remaining adhesive and remove the rear window glass
Installation
NOTE: For additional material guidelines, refer to the manufacturer's installation information.
1. Dry-fit the rear window glass by centering it side-to-side and by adjusting the blocks (if equipped) to get the correct position of the part
top-to-bottom. Make alignment marks with tape or non-staining grease pencil on both the glass and the vehicle body.
2. WARNING: Repair any corrosion found on the pinch weld. The pinch weld is a structural component of the vehicle. Corrosion left
unrepaired may reduce the structural integrity of the vehicle. Failure to follow this instruction may result in serious injury to vehicle
occupant(s).
NOTE: Avoid scratching the pinch weld. For minor scratches or exposed metal on the pinch weld, see the manufacturer's recommendations.