
Crown Victoria V8-4.6L SOHC VIN 6 (1996)
Engine Mount: Service and Repair
Front
1. Disconnect both battery cables and remove air inlet tube.
2. Drain cooling system, then remove cooling fan and shroud.
3. Relieve fuel system pressure.
4. Remove upper radiator hose, wiper module and support bracket.
5. Discharge A/C system and disconnect A/C compressor outlet hose, then remove bolt retaining hose assembly to right coil bracket.
6. Remove engine electrical harness 42-pin connector from bracket on brake vacuum booster.
7. Disconnect engine electrical connector and transmission harness electrical connector.
8. Disconnect throttle valve cable at throttle body, then remove heater outlet hose from right cylinder head.
9. Remove blower motor resistor.
10. Remove right engine mount to lower engine bracket attaching bolt.
11. Disconnect EGR valve vacuum hoses and tube.
12. Remove EGR valve mounting bolts, then disconnect Heated Exhaust Gas Oxygen (HEGO) sensors.
13. Raise and support vehicle.
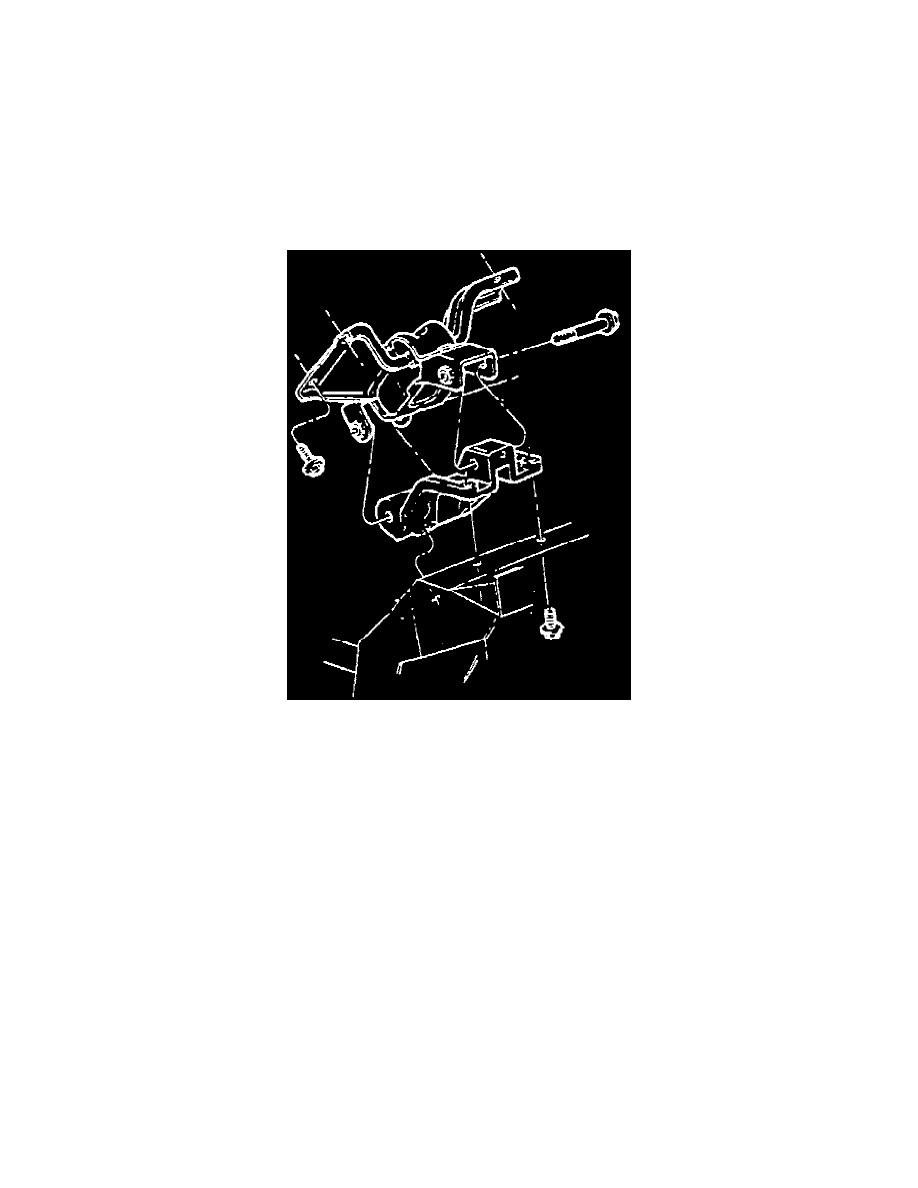
14. Remove engine mount through bolts. Right engine mount has one bolt, the left mount has two bolts.
15. Remove EGR tube line attaching nut at right exhaust manifold, then remove EGR valve and tube assembly.
16. Disconnect exhaust pipes at manifolds, then lower and secure exhaust at crossmember.
17. Position a jack and wood block under oil pan, rearward of drain plug, then raise engine approximately 4 inches.
18. Install wood block under oil pan, then lower engine onto wood block.
19. Remove three engine mount attaching bolts from right and left engine mounts. Remove engine mounts.
20. Reverse procedure to install.