
Crown Victoria V8-4.6L SOHC VIN 6 (1996)
Clockspring Assembly / Spiral Cable: Service and Repair
REMOVAL
1. Place front wheels in the straight ahead position.
2. Disarm air bag system.
3. Remove driver's air bag module from vehicle.
4. Remove steering wheel attaching fastener.
5. Remove steering wheel from upper shaft using steering wheel remover T67L-3600-A, or equivalent.
6. Remove upper and lower shrouds, if necessary.
7. Disconnect air bag slip ring connector from column harness.
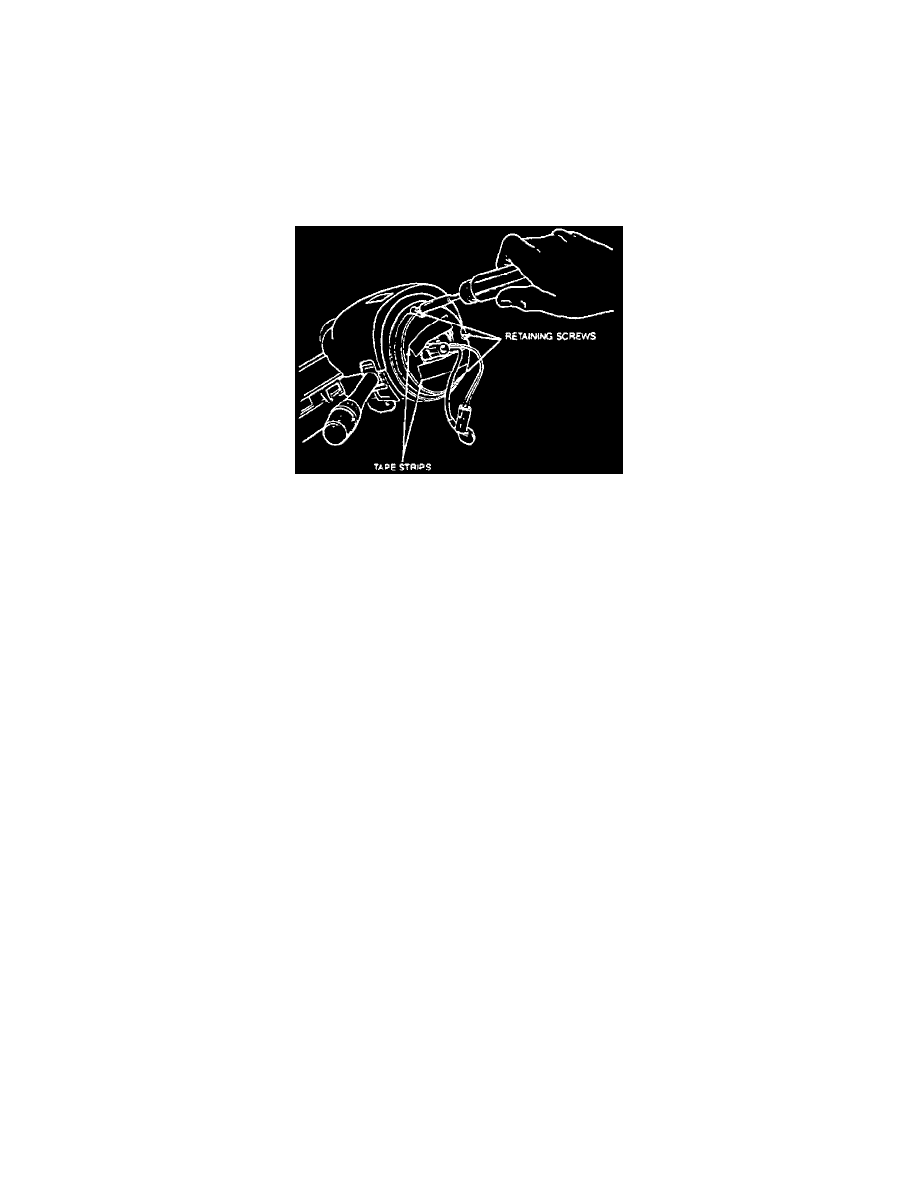
Fig. 15 Slip Ring/Sliding Contact Secured W/Tape
CAUTION: Before removing air bag clockspring type slip ring from steering shaft, clockspring must be taped into position to prevent
clockspring rotor from being turned accidentally and damaging clockspring.
8. Remove retaining screws and the slip ring/sliding contact.
INSTALLATION
NOTE: Service replacement slip ring/sliding contact will contain a locking insert to prevent rotation. This insert should not be removed until slip ring is
installed.
1. Place air bag slip ring/sliding contact onto steering shaft and install two retaining screws that attach slip ring to retainer plate, ensuring ground wire
pigtail is secured with lower retaining screw.
2. If a new slip ring/sliding contact is being installed, remove locking insert.
3. Connect slip ring/slip ring wire to column harness.
4. Install upper and lower shrouds, if removed.
5. Position steering wheel on end of steering wheel shaft, aligning mark on steering wheel with mark on shaft to ensure straight ahead steering wheel
position corresponds to straight ahead position of front wheels.
6. Install steering wheel attaching fastener.
7. Install driver's air bag module.
8. Arm air bag system.