
Crown Victoria V8-4.6L SOHC VIN 6 (1996)
Ball Joint: Service and Repair
Ball Joint, Upper
Removal
1. Raise the front of the vehicle, position safety stands under the frame behind front suspension lower arm.
2. Remove wheel and tire assembly.
CAUTION: The floor jack will support the spring load on the front suspension lower arm.
3. Position a floor jack under front suspension lower arm at the lower ball joint area and raise jack to support front suspension lower arm.
4. Remove retaining nut and pinch bolt from upper ball joint stud.
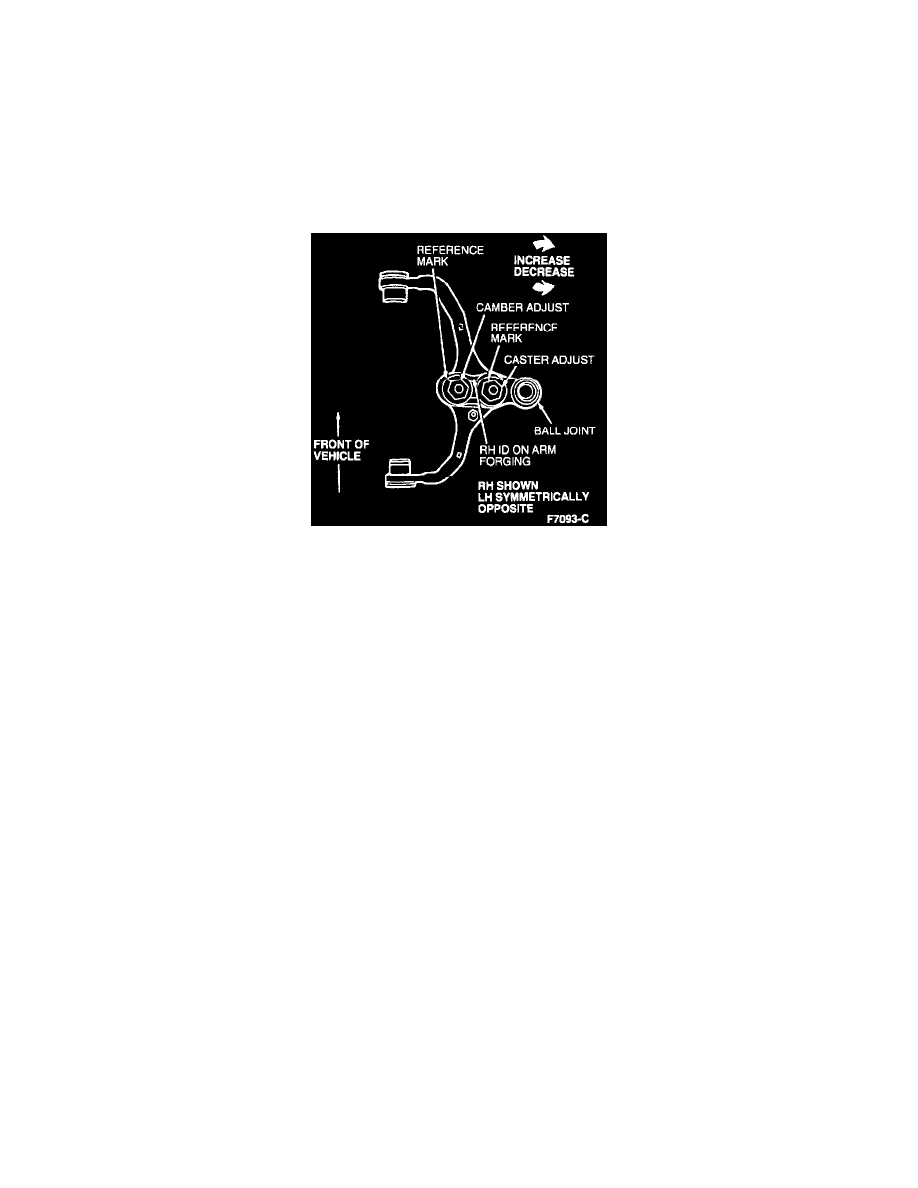
5. Mark the position of alignment cams. When replacing front suspension upper ball joint this will approximate current alignment.
6. Remove two nuts retaining front suspension upper ball joint to front suspension upper arm.
7. Remove front suspension upper ball joint and spread slot with suitable pry bar to separate the ball joint stud from front wheel spindle.
Installation
NOTE: Upper front suspension upper ball joint can be used on either side of vehicle.
1. Position ball joint assembly on front suspension upper arm and insert ball stud into front wheel spindle.
2. Install pinch bolt and retaining nut. Tighten to 87-119 N-m (64-87 lb-ft).
3. Install alignment cams to the approximate position at removal. If not marked, position to NEUTRAL position.
4. Install two nuts attaching front suspension upper ball joint to front suspension lower arm. Hold cams and tighten nuts to 145-175 N-m (107-129
lb-ft).
5. Remove floor jack from front suspension lower arm.
6. Install tire and wheel assembly.
7. Remove safety stands and lower vehicle.
8. Check and adjust front wheel alignment.