
Crown Victoria V8-4.6L SOHC VIN W (2005)
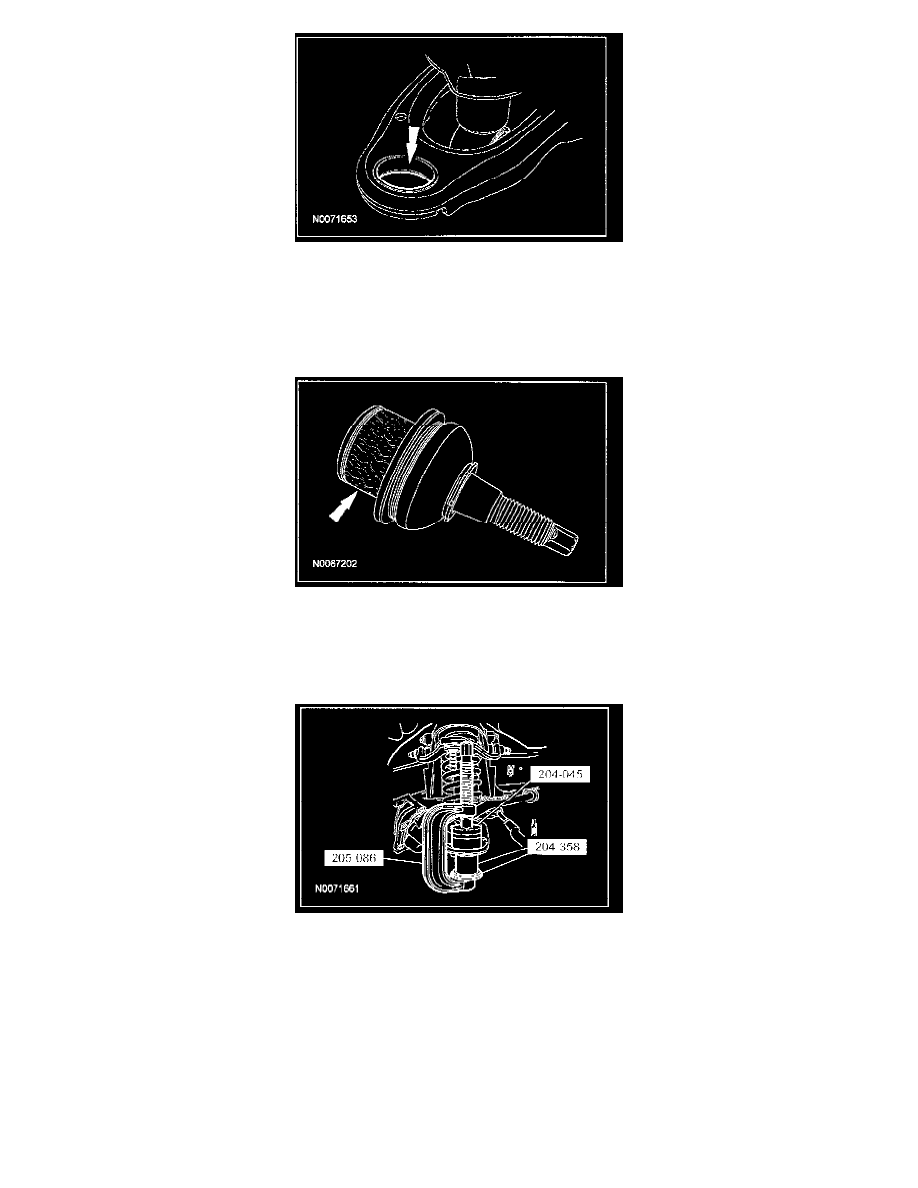
2. CAUTION: Use care to prevent adhesive from contacting the ball joint boot or damage to the boot may occur, causing premature ball joint
failure.
NOTE: To allow the adhesive to fully cure, the vehicle must not be driven on the road for at least one hour after the installation of a new ball joint.
Apply an even coat of adhesive (supplied with kit) to the lower arm ball joint bore and the ball joint.
3. CAUTION: Do not damage the lower ball joint boot when installing the ball joint or premature failure of the ball joint may occur.
NOTE: Make sure the ball joint snap ring is fully seated.
Using the special tools, install the lower ball joint. Install the ball joint snap ring.
4. Using a clean shop towel and the specified surface cleaner, wipe any excess adhesive from the ball joint and lower arm.
5. Install the wheel knuckle..