
Crown Victoria V8-4.6L SOHC VIN W (2005)
9. Remove the cam bolt and the lower arm.
10. NOTE: Snug the lower arm cam nuts and bolts. Do not tighten until the installation procedure is complete and the weight of the vehicle is resting
on the wheel and tire assemblies.
To install, reverse the removal procedure.
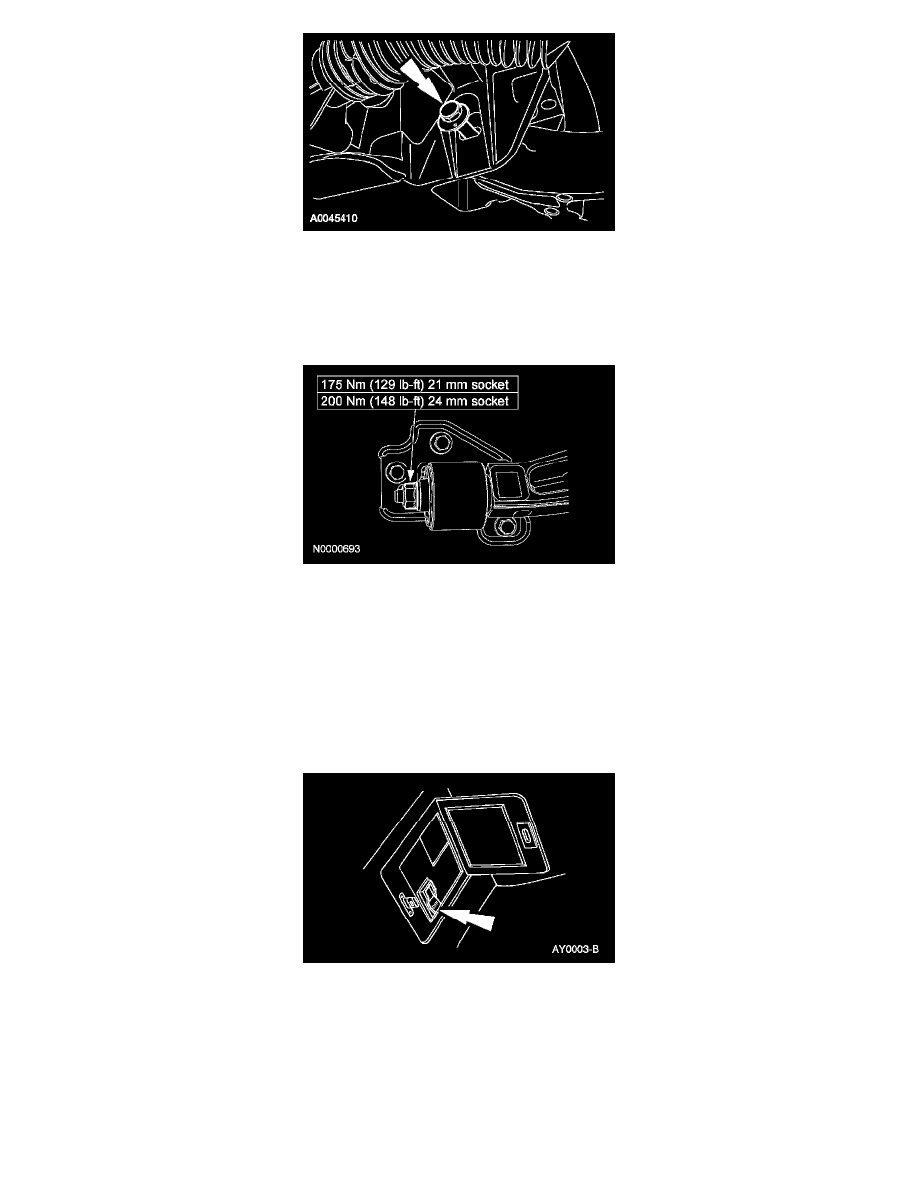
11. If a new lower control arm is being installed, tighten the bushing retaining nut.
12. Align the front end.
Upper Arm
Upper Arm
Removal and Installation
1. WARNING: The electrical power to the air suspension system must be turned off prior to hoisting, jacking or towing an air suspension
vehicle. Failure to do so can result in unexpected inflation or deflation of the air springs, which can result in shifting of the vehicle during
these operations.
Turn the air suspension service switch off.
2. Remove the shock absorber and spring assembly.