
Crown Victoria V8-4.6L SOHC VIN W (2005)
5. Remove the bolt, flag nut and the lower arm.
^
Discard the flag nut.
6. NOTE: The rear suspension lower arms are interchangeable from side-to-side with "OUTBOARD" stamped on the side of the arms for
positioning during installation.
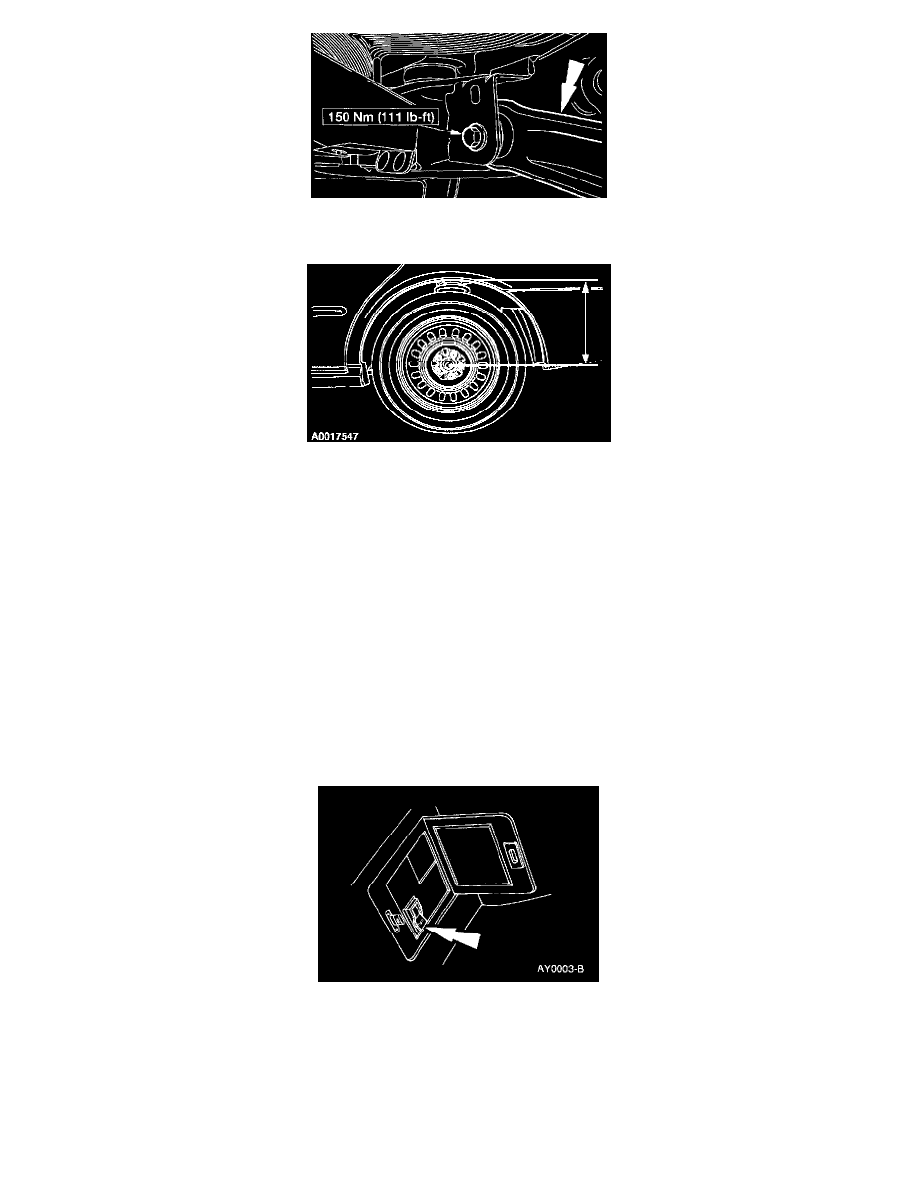
NOTE: Before tightening the fasteners, use a suitable jack or jack stands to raise the suspension until the distance between the lip of the fender
and the center of the wheel hub is equal to the measurement taken in the removal procedure.
To install, reverse the removal procedure.
Upper
Upper Arm
Removal and Installation
CAUTION: Suspension fasteners are critical parts because they affect performance of vital components and systems and their failure can result in
major service expense. New fasteners must be installed with the same part number or an equivalent part if installation is necessary. Do not use a
replacement part of lesser quality or substitute design. Torque values must be used as specified during reassembly to make sure of correct retention of
these parts. Orientation of the fasteners is also important on all rear suspension arms. Make sure the fasteners are installed in the same direction as they
were in when removed.
1. WARNING: The electrical power to the air suspension system must be turned off prior to hoisting, jacking or towing an air suspension
vehicle. Failure to do so can result in unexpected inflation or deflation of the air springs, which can result in shifting of the vehicle during
these operations.
Turn the air suspension service switch off