
Valve Cover Replacement for LH Cylinder Head - Service and Repair (Page 1681)
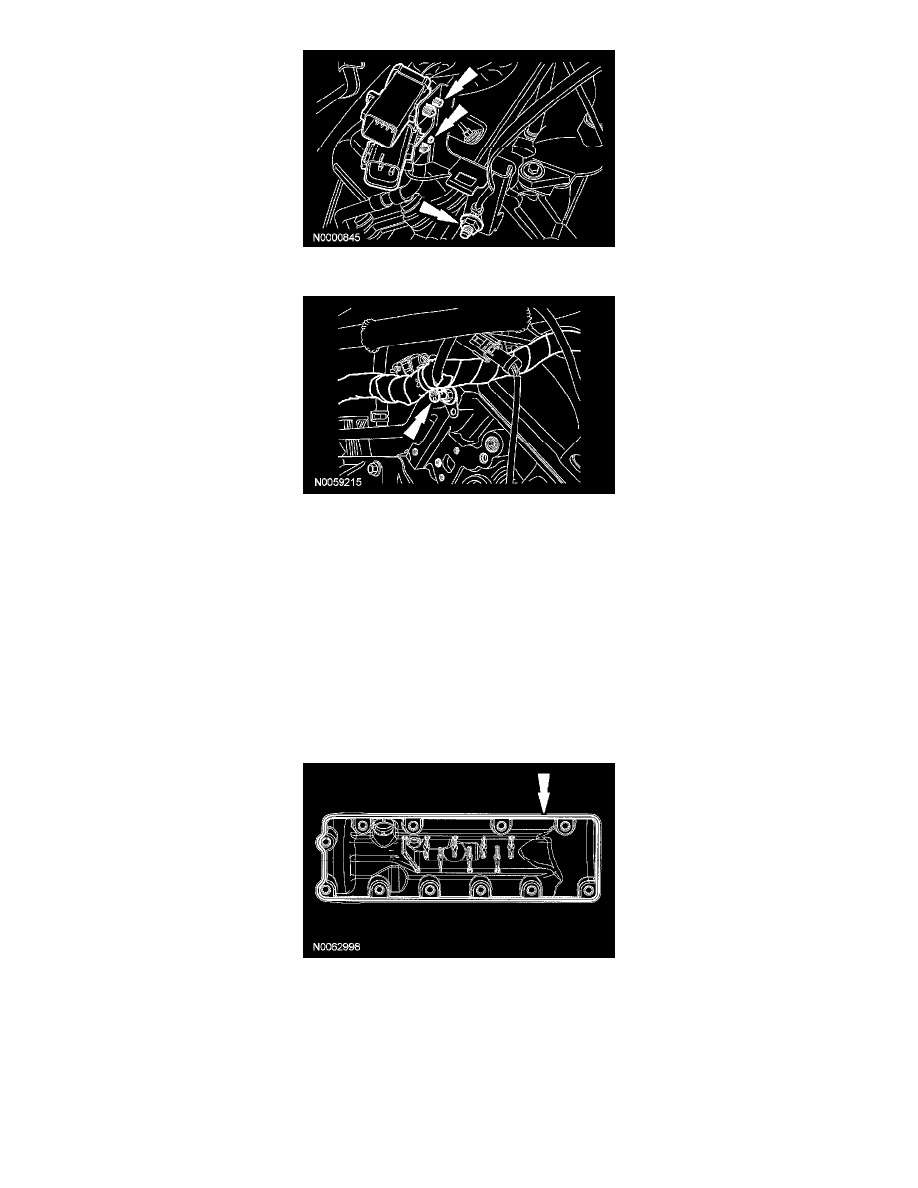
12. Disconnect the wiring harness retainer from the heater outlet tube stud bolt.
13. Remove the fuel charging wiring harness from the valve cover studs and position aside.
14. CAUTION: Do not use metal scrapers, wire brushes, power abrasive discs or other abrasive means to clean the sealing surfaces. These
tools cause scratches and gouges which make leak paths. Use a plastic scraping tool to clean sealing surfaces.
Remove the RH valve cover.
^
Fully loosen the fasteners and remove the valve cover.
^
Clean the valve cover mating surface of the cylinder head with silicone gasket remover and metal surface prep. Follow the directions on the
packaging.
^
Inspect the valve cover gasket. If the gasket is damaged, remove and discard the gasket. Clean the valve cover gasket groove with soap and
water or a suitable solvent.
Installation
1. Apply instant gel adhesive completely around the gasket groove in the valve cover. Install the new valve cover gasket.
2. NOTE: If the valve cover is not secured within 4 minutes, the sealant must be removed and the sealing area cleaned with silicone gasket
remover and metal surface prep. Follow the directions on the packaging. Allow to dry until there is no sign of wetness, or 4 minutes, whichever is
longer. Failure to follow this procedure can cause future oil leakage.
Apply the silicone gasket and sealant in 2 places where the engine front cover meets the cylinder head.