
E 150 V8-4.6L (2007)
2. Disconnect the battery ground cable.
3. Remove the engine cover.
4. Remove the air cleaner and the air cleaner outlet tube.
5. Disconnect the fuel tube spring lock coupling.
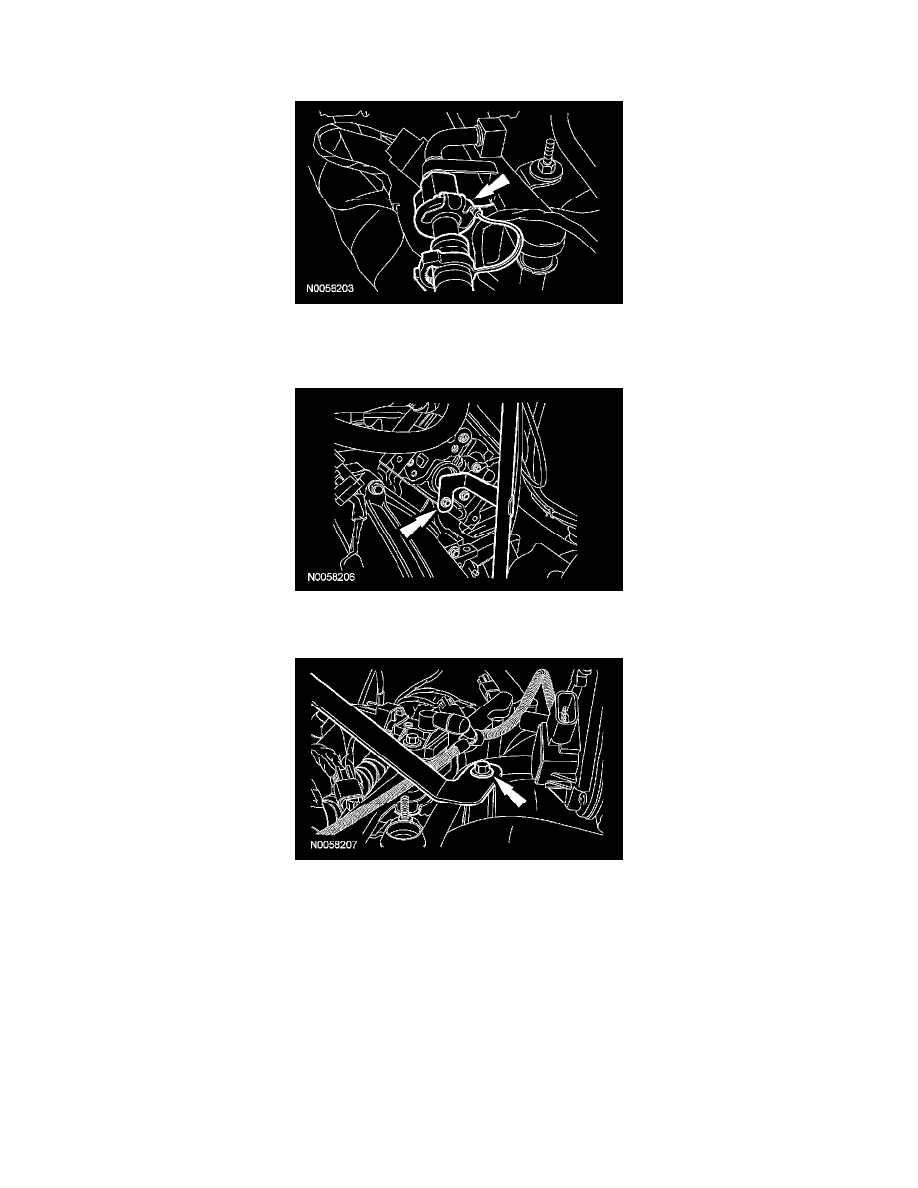
6. Remove the exhaust manifold-to-exhaust gas recirculation (EGR) system module tube.
-
To install, tighten to 40 Nm (30 lb-ft).
7. Remove the transmission fluid level indicator and tube bolt.
-
To install, tighten to 28 Nm (21 lb-ft).
8. Remove the bolt and position the transmission fluid level indicator and tube aside.
-
To install, tighten to 10 Nm (89 lb-in).
9. NOTE: The red clip must be pulled out before disconnecting the electrical connector.
Disconnect the electronic throttle body (TB) electrical connector.
10. Disconnect the fuel rail pressure and temperature sensor vacuum hose and the electrical connector.
11. Disconnect the quick connect coupling and remove the crankcase ventilation tube.
12. Disconnect the quick connect couplings and remove the positive crankcase ventilation (PCV) tube.
13. Disconnect and plug the PCV coolant hose.
14. Disconnect the 8 fuel injector electrical connectors.
15. Remove the 4 fuel rail stud bolts.
-
To install, tighten to 10 Nm (89 lb-in).
16. Remove the fuel rail and the fuel injectors as an assembly.