
E 350 V8-6.0L DSL Turbo (2007)
4. Disconnect the evaporator outlet fitting.
-
Discard the O-ring seal.
-
To install, tighten to 39 Nm (29 lb-ft).
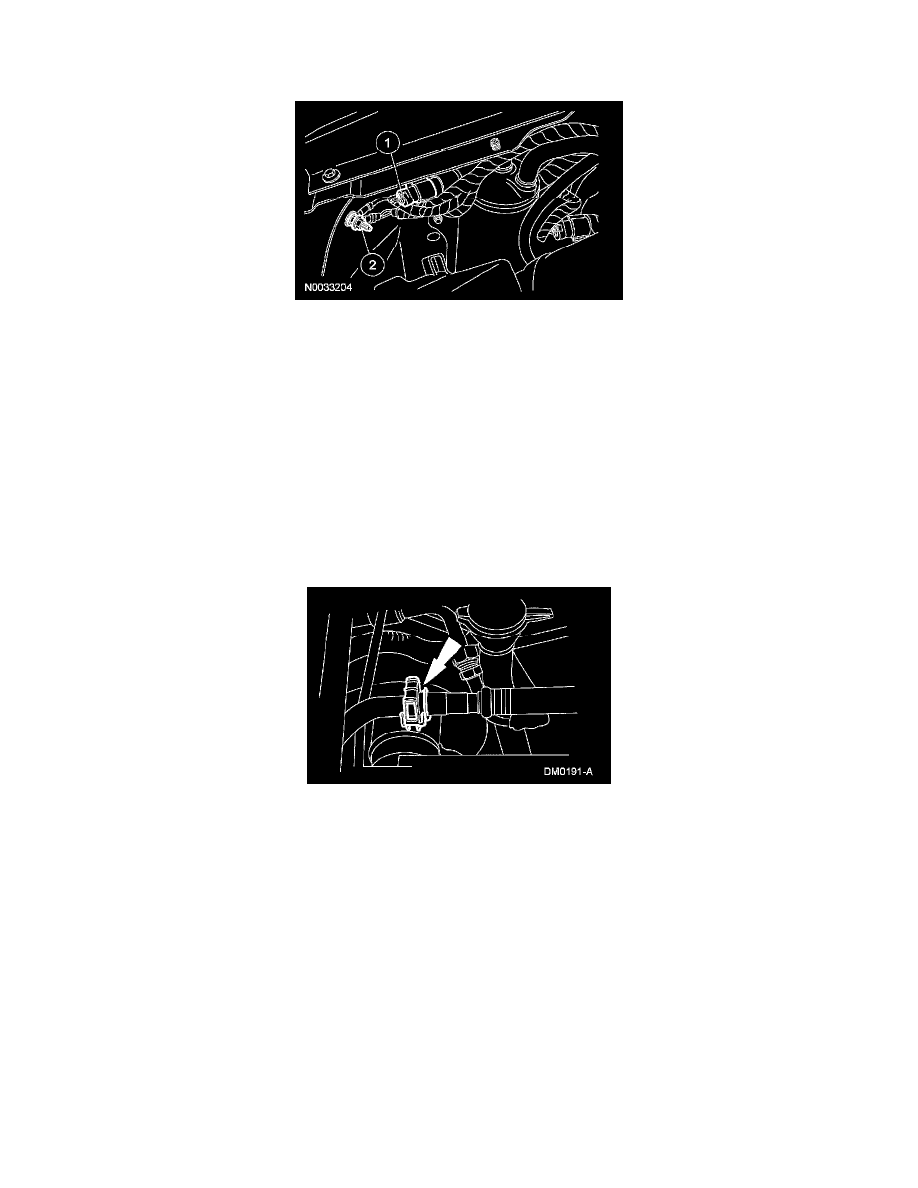
5. Detach the wire harness.
1
Disconnect the A/C cycling switch electrical connector.
2
Remove the nut and stud and detach the wire harness.
Vehicles without auxiliary A/C
6. Disconnect the suction accumulator outlet fitting.
1
Remove the suction accumulator outlet line bracket screw.
2
Remove the suction accumulator outlet fitting nut and disconnect the fitting.
-
Discard the O-ring seal and gasket seal.
-
To install, tighten the fitting to 15 Nm (11 lb-ft).
-
To install, tighten the screw to 2 Nm (18 lb-in).
Vehicles with auxiliary A/C
7. Remove the suction accumulator outlet line bracket screw.
-
To install, tighten to 2 Nm (18 lb-in).
8. Disconnect the suction accumulator outlet spring lock coupling.
-
Discard the O-ring seals.
All vehicles
9. Remove the 2 suction accumulator bolts and the suction accumulator.
-
To install, tighten to 14 Nm (10 lb-ft).
10. To install, reverse the removal procedure.
-
Install a new gasket seal and new O-ring seals.
-
Lubricate the refrigerant system with the correct amount of clean PAG oil.
11. Evacuate, leak test and charge the refrigerant system.