E 450 V8-5.4L (2009)

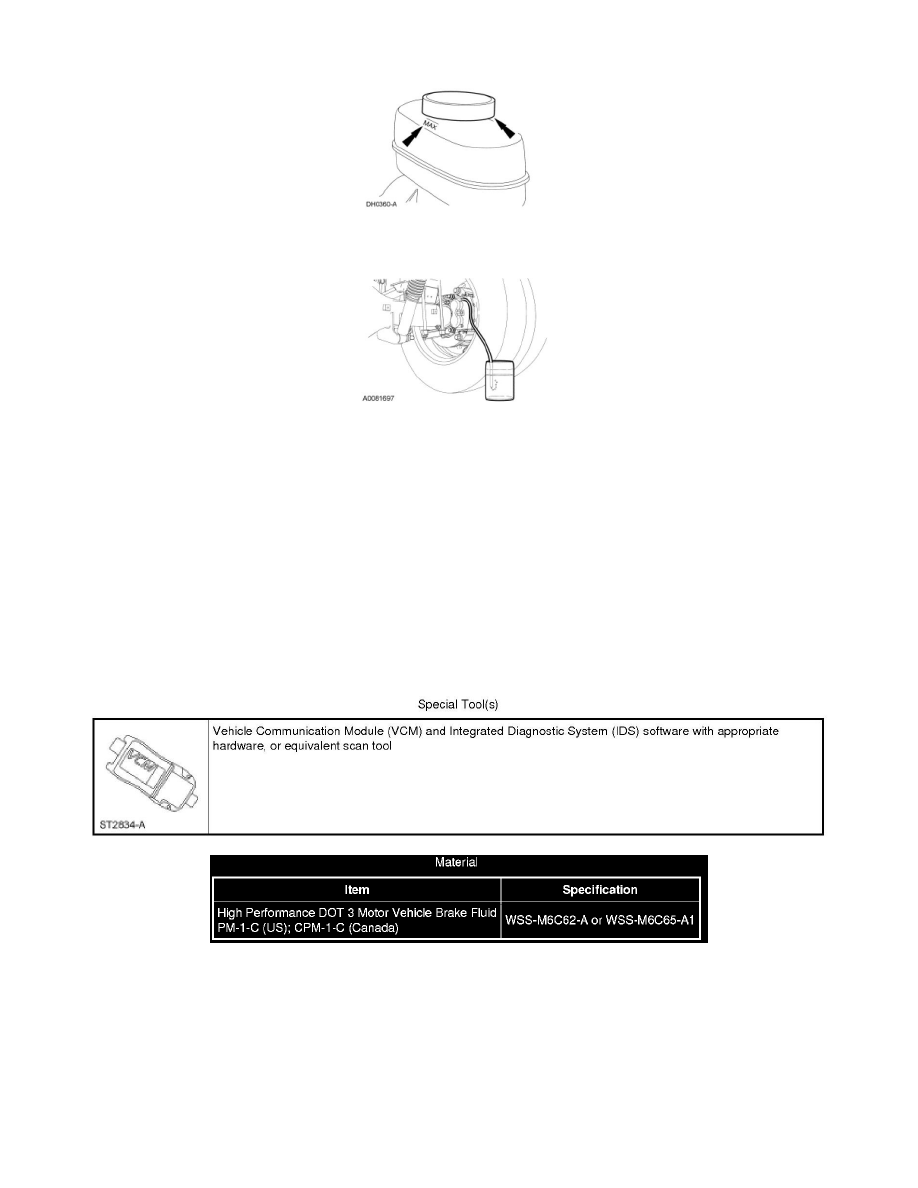
1. Clean all dirt from and remove the brake master cylinder filler cap and fill the brake master cylinder reservoir with clean, specified brake fluid.
2. Remove the bleeder screw cap and place a box-end wrench on the RH rear bleeder screw. Attach a rubber drain hose to the RH rear bleeder screw
and submerge the free end of the hose in a container partially filled with clean, specified brake fluid.
3. Have an assistant pump the brake pedal at least 3 times and then hold firm pressure on the brake pedal.
4. Loosen the RH rear bleeder screw until a stream of brake fluid comes out. While the assistant maintains pressure on the brake pedal, tighten the
RH rear bleeder screw.
-
Repeat until clear, bubble-free fluid comes out.
-
Refill the brake master cylinder reservoir as necessary.
5. Remove the rubber hose and tighten the bleeder screw to specifications. For additional information, refer to Specifications.
-
Install the bleeder screw cap.
6. Repeat Steps 2 through 5 for the LH rear, RH front and LH front bleeder screws in this order.
Hydraulic Control Unit (HCU)
Brake System Bleeding
Hydraulic Control Unit (HCU)
NOTE: The Hydraulic Control Unit (HCU) bleeding procedure must be carried out if the HCU or any components upstream of the HCU are installed
new.
NOTE: Pressure bleeding the brake system is preferred to manual bleeding.
1. Follow the Pressure Bleeding or Manual Bleeding procedure steps to bleed the system.
2. Connect the scan tool and follow the ABS Service Bleed instructions.
