
E 450 V8-5.4L (2009)
Removal
WARNING: Do not smoke, carry lighted tobacco or have an open flame of any type when working on or near any fuel-related component.
Highly flammable mixtures are always present and may be ignited. Failure to follow these instructions may result in serious personal injury.
WARNING: Before working on or disconnecting any of the fuel tubes or fuel system components, relieve the fuel system pressure to prevent
accidental spraying of fuel. Fuel in the fuel system remains under high pressure, even when the engine is not running. Failure to follow this
instruction may result in serious personal injury.
1. Disconnect the battery ground cable.
2. Remove the engine cover.
3. Remove the Air Cleaner (ACL) assembly and the ACL outlet pipe.
4. Drain the cooling system.
5. Disconnect the fuel supply tube quick connect coupling.
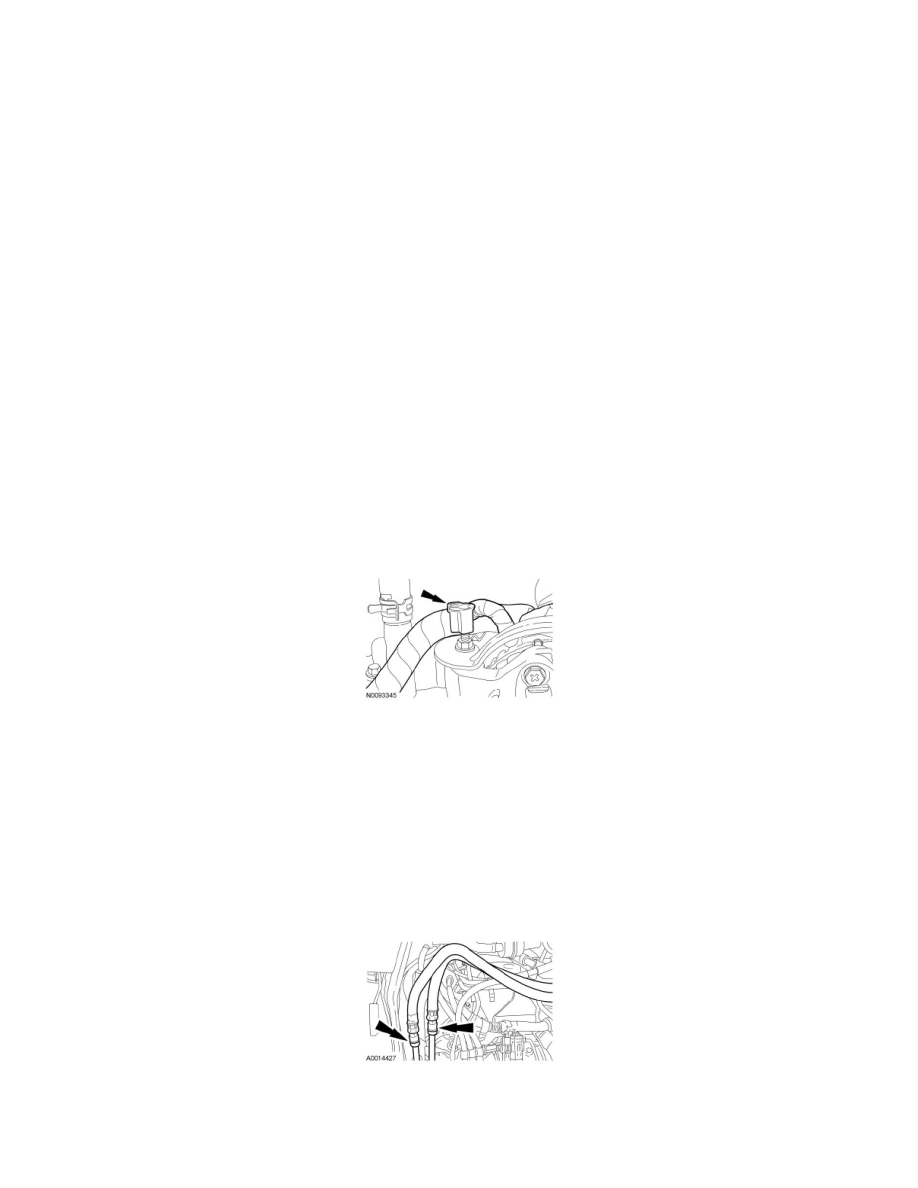
6. Disconnect the quick connect coupling and remove the crankcase ventilation tube from the LH valve cover.
7. Remove the Throttle Body (TB) spacer.
8. Disconnect the upper radiator hose.
9. Disconnect the heater coolant hose.
10. Disconnect the Electronic Throttle Control (ETC) wiring harness retainer.
11. Disconnect the generator wiring harness retainer from the generator support bracket stud bolt.
12. Remove the 2 bolts, the 2 stud bolts and the generator upper support bracket.
13. Remove the front transmission fluid filler tube support bracket bolt.
14. Remove the rear transmission fluid filler tube support bracket nut and position the transmission fluid filler tube aside.
15. Disconnect the electrical connector and the Evaporative Emission (EVAP) canister-to-EVAP canister purge valve tube quick connect coupling
from the EVAP purge valve.
16. Remove the bolt and the EVAP canister purge valve.
17. If equipped, disconnect the auxiliary heater hoses and position aside.
18. Disconnect the quick connect coupling and remove the PCV tube from the RH valve cover.
19. Disconnect the 8 fuel injector electrical connectors.