
E 450 V8-5.4L (2009)
3. Slide the rear hub over the axle housing spindle.
-
Remove the electrician's tape.
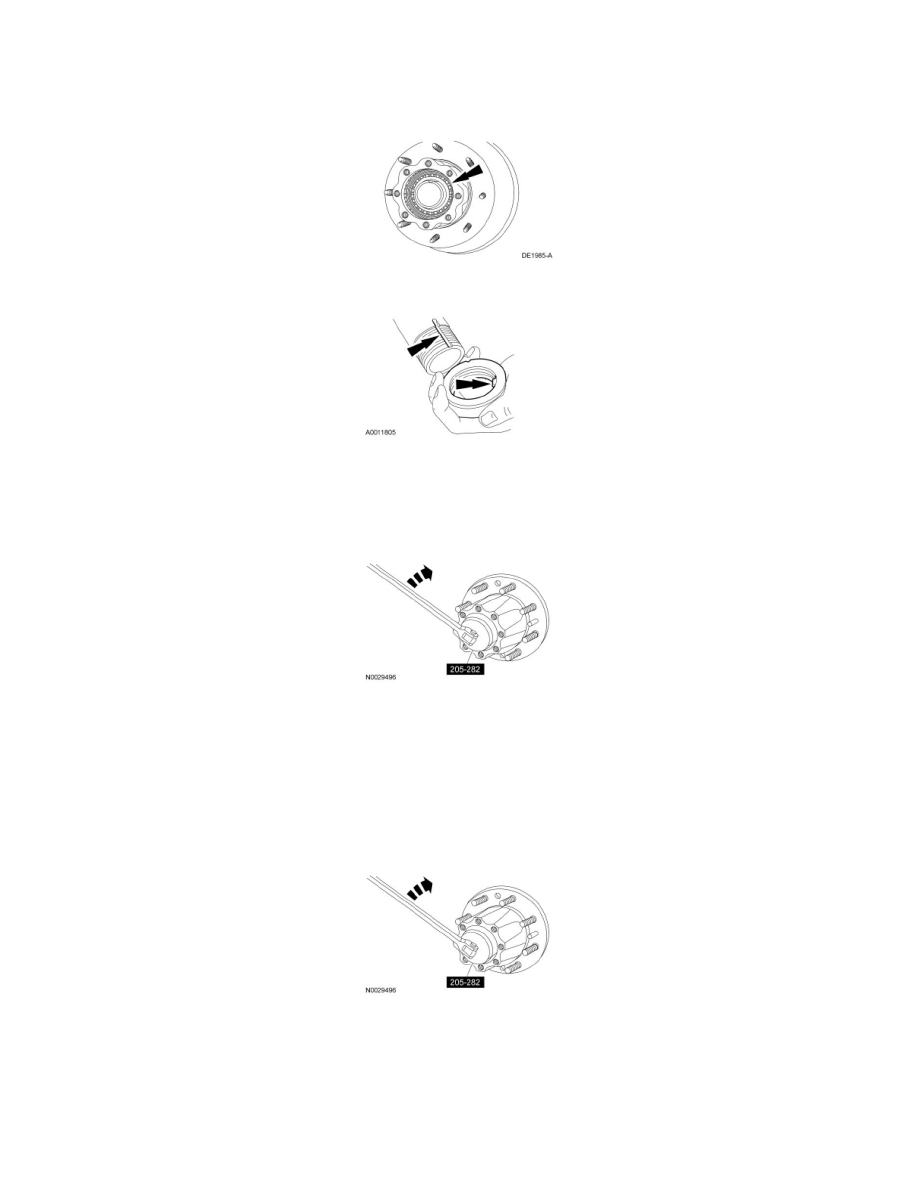
4. Grease and install the outer rear wheel bearing.
5. Start the hub nut making sure that the tab aligns correctly in the keyway prior to thread engagement.
6. NOTE: The following hub nut tightening sequence will prevent side-to-side end play of the hub and brake disc assembly.
NOTE: Apply inward pressure to the socket to separate the ratcheting components of the hub nut.
To adjust the bearings, using the Wheel Hub Nut Socket, tighten the nut to 95 Nm (70 lb-ft).
7. Back off the nut 90 degrees.
8. Using the Wheel Hub Nut Socket, tighten the nut.
-
Tighten to 24 Nm (18 lb-ft).
-
To verify that there is no side-to-side end play, attach a magnetically mounted dial indicator to the spindle end and place the dial indicator tip
on the outboard surface of the hub. Check for side-to-side end play.
-
Final bearing adjustment has zero end play. The maximum torque to rotate the hub is 2.3 Nm (20 lb-in) when end play is zero.
9. Install the axle shaft. For additional information, refer to Axle Shaft See: Transmission and Drivetrain/Drive Axles, Bearings and Joints/Axle
Shaft Assembly/Service and Repair/Wheel Hubs and Bearings - Full Floating Axle - Dana.
Single rear wheel vehicles
10. NOTE: Be sure to line up the index marks when installing the disc.
Install the brake disc.