
Econoline E250 3/4 Ton V8-5.4L CNG VIN M (1998)
7. Verify the nut is securely in place.
Shoulder Safety Belt Height Adjuster With Stripped Weld Nuts
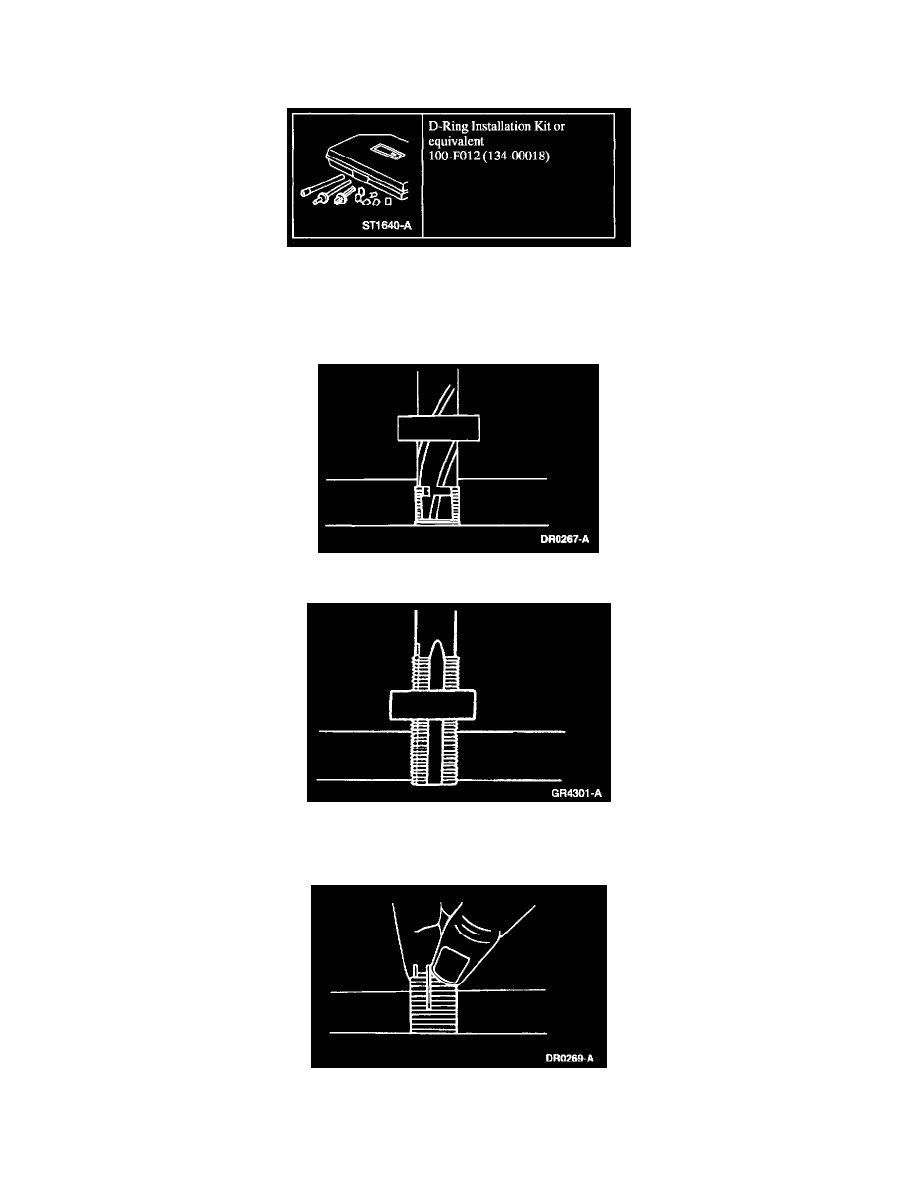
D-Ring Installation Kit
Special Tool(s) Required
1. Remove the shoulder safety belt height adjuster.
2. Use the half-inch drill provided in the D-Ring Installation Kit to drill out the damaged threads in the upper pillar structure.
3. Apply a suitable lubricant to the M14 x 1.5 tap provided in the D-Ring Installation Kit, and tap new threads.
NOTE: After each rotation, back off the tap slightly to remove new cuttings and be sure to blow out any chips before proceeding.
4. Use a threaded insert (part no. N807170-S190) provided in the D-Ring Installation Kit and screw it into the retapped hole until it is slightly below
the surface.