
Econoline E350 1 Ton V10-6.8L VIN S (1998)
Valve Cover: Service and Repair
Right Side
REMOVAL
WARNING:
-
DO NOT SMOKE OR CARRY LIGHTED TOBACCO OR OPEN FLAME OF ANY TYPE WHEN WORKING ON OR NEAR ANY
FUEL-RELATED COMPONENTS. HIGHLY FLAMMABLE MIXTURES ARE ALWAYS PRESENT AND CAN BE IGNITED,
RESULTING IN POSSIBLE PERSONAL INJURY.
-
FUEL IN THE FUEL SYSTEM REMAINS UNDER HIGH PRESSURE EVEN WHEN THE ENGINE IS NOT RUNNING.
1. Remove the intake manifold.
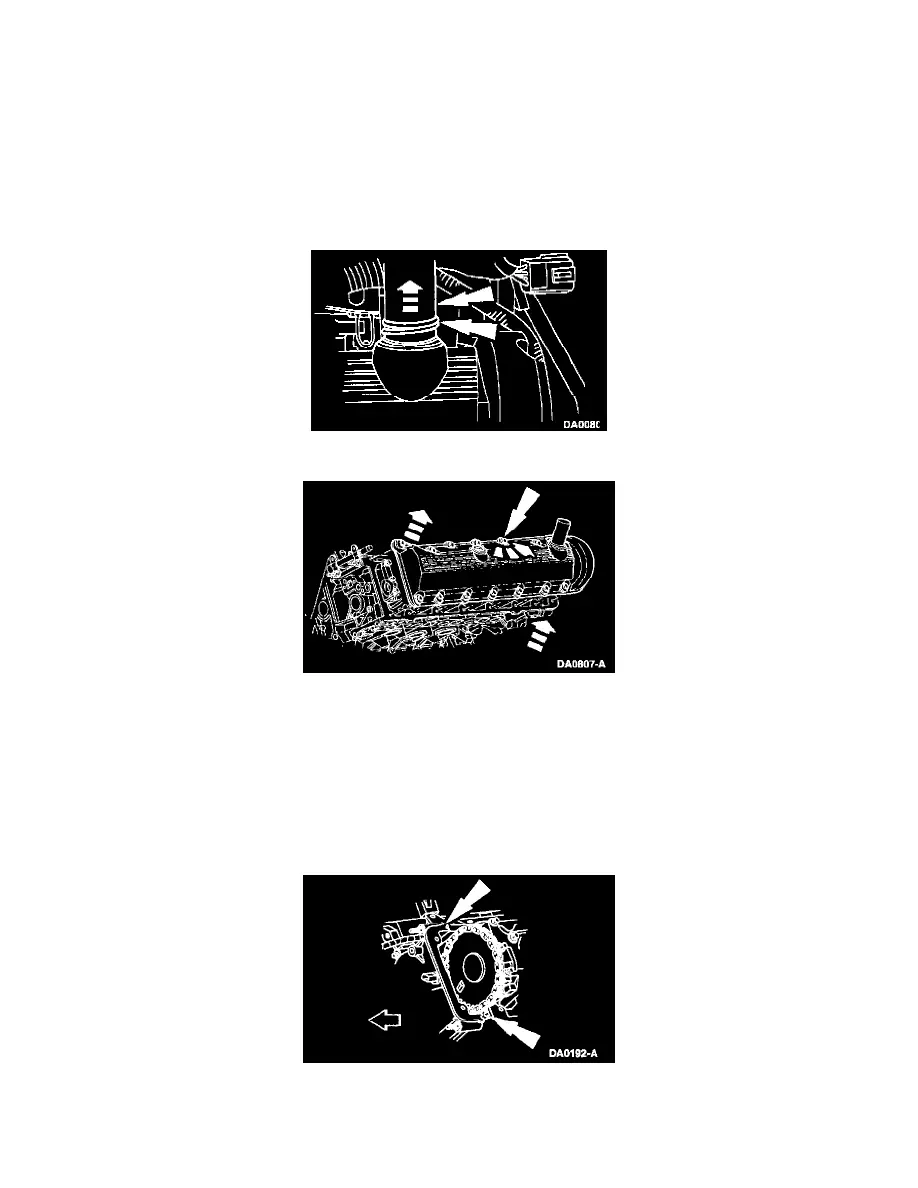
2. Remove clamp and oil filler hose from the valve cover.
3. Remove the valve cover.
1
Fully loosen the bolts, and remove the valve cover and the valve cover gasket.
NOTE: The bolts are a part of the valve cover and are not to be removed.
INSTALLATION
1. Clean and inspect the mating surface of the cylinder block.
CAUTION: Do not use metal scrapers, wire brushes, power abrasive discs or other abrasive means to clean the aluminum retainer plate. These
tools causes scratches and gouges, which make leak paths. Use a plastic scraping tool to remove all traces of old sealant.
2. Apply silicone in two places where the engine timing cover meets the cylinder head.
-
Use Silicone Gasket and Sealant F6AZ-19562-AA or equivalent meeting Ford specification WSE-M4G323-A6.
NOTE: If not secured within 4 minutes, sealant must be removed and the sealing area cleaned with Metal Surface Cleaner F4AZ-19A536-RA or