
Edge AWD V6-3.5L (2009)
Trim Panel: Service and Repair
A-Pillar Trim Panel
A-Pillar Trim Panel
Removal
1. Position the door opening weatherstrip aside.
2. NOTICE: The LH and RH A-pillar trim panels are attached to the A-pillar with a safety tether. During a side air curtain deployment, the
A-pillar trim panel tether helps prevent the trim panel from striking the occupant. The tether must be detached from the A-pillar trim
panel before the A-pillar trim panel can be removed. Failure to detach the tether will result in damage to the tether or the A-pillar trim
panel.
Gently pull the upper A-pillar trim panel toward the center of the vehicle to release the A-pillar trim panel retaining clips.
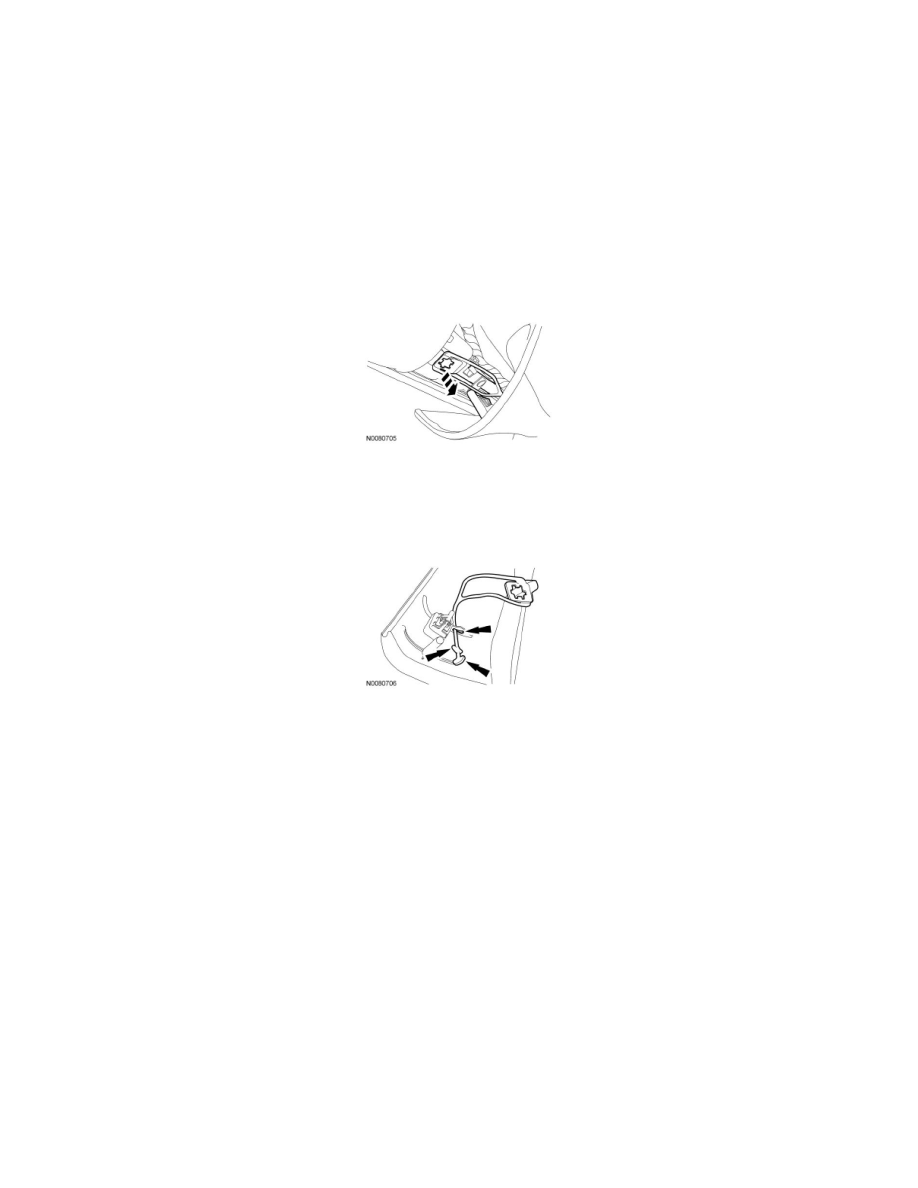
3. NOTE: The A-pillar trim panel tether is removed from the A-pillar for clarity.
Remove the A-pillar trim panel tether from the A-pillar trim panel.
-
Carefully route the A-pillar trim panel tether end through the hole in the A-pillar trim panel.
4. Remove the A-pillar trim panel.
Installation
1. Install the lower A-pillar trim panel in the instrument panel.
2. WARNING: A new A-pillar trim panel tether must be installed if the tether is damaged or does not fasten correctly. During a side air
curtain deployment the A-pillar trim panel tether helps prevent the trim from striking the occupant. Failure to follow this instruction
may result in serious injury to vehicle occupant(s).
Carefully route the A-pillar trim panel tether end through the hole in the A-pillar trim panel.
3. Install the A-pillar trim panel onto the A-pillar.
4. Install the door opening weatherstrip.