Edge FWD V6-3.5L (2007)

Seat Heater Control Module: Service and Repair
Heated Seat Module
Front
HEATED SEAT MODULE - FRONT
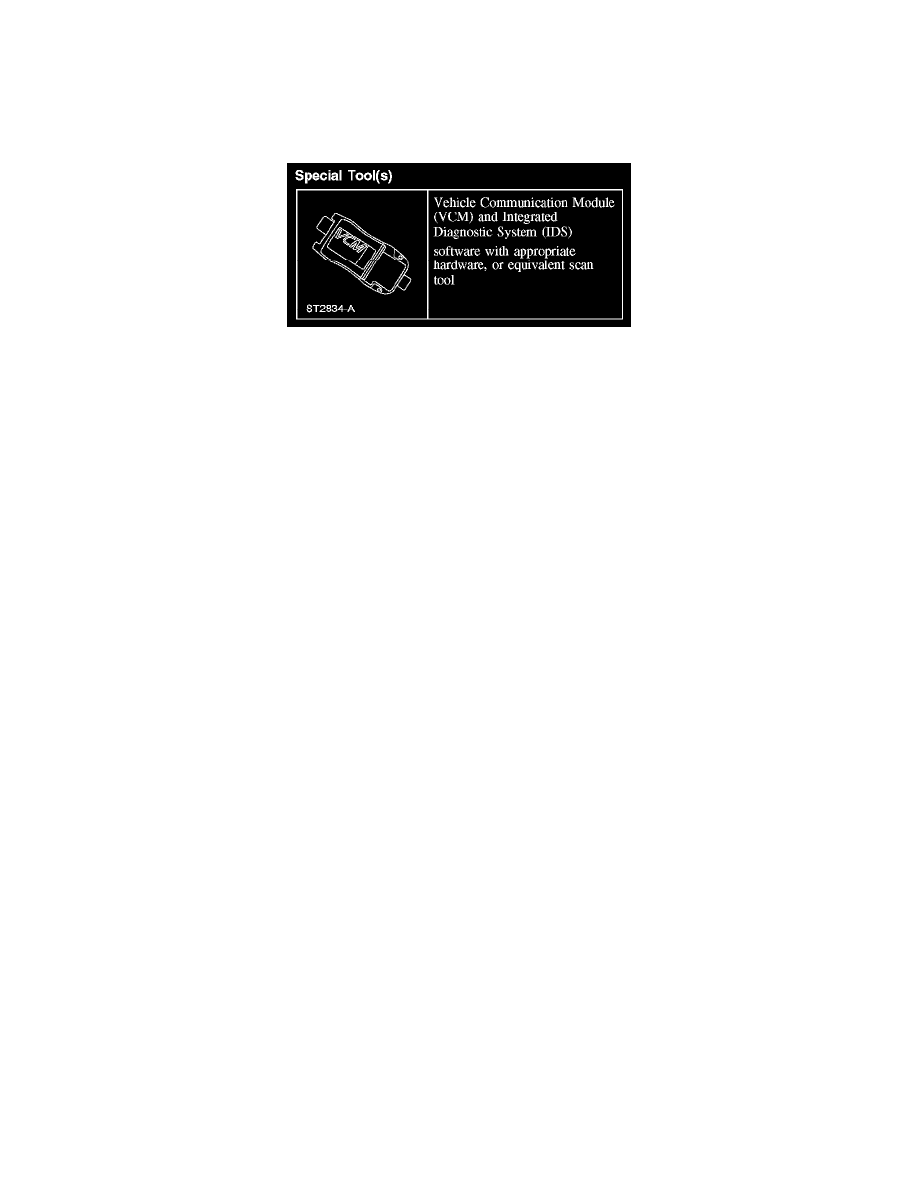
Special Tool(s)
Special Tool(s)
Removal and Installation
WARNING:
-
Always wear safety glasses when repairing an air bag supplemental restraint system (SRS) vehicle and when handling an airbag module.
This will reduce the risk of injury in the event of an accidental deployment.
-
To reduce the risk of personal injury, do not use any memory saver devices.
NOTE:
-
The air bag warning lamp illuminates when the restraints control module (RCM) fuse is removed and the ignition switch is ON. This is normal
operation and does not indicate a supplemental restraint system (SRS) fault.
-
The SRS must be fully operational and free of faults before releasing the vehicle to the customer.
1. Position the front passenger seat to access the heated seat module.
2. Depower the SRS.
3. From under the front of the front passenger seat, remove the heated seat module.
-
Vehicles with power seat track, remove the 2 screws and lower the bracket (if equipped).
-
Disconnect the heated seat module electrical connector.
-
Remove the screw and heated seat module.
4. To install, reverse the removal procedure.
5. Repower the SRS. Do not prove out the SRS at this time.
6. Carry out the Occupant Classification Sensor (OCS) System Zero Seat Weight Test and prove out the SRS.
Rear
HEATED SEAT MODULE - REAR SEAT
Removal and Installation
1. Remove the second row 60 percent seat front riser-to-floor nut and bolt.
-
To install, tighten to 70 Nm (52 lb-ft).
2. Pivot the front of the 60 percent seat cushion upward.
3. Remove the screw, disconnect the electrical connector and remove the heated seat module.
4. To install, reverse the removal procedure.
