
Escape 2WD L4-122 2.0L DOHC VIN B Zetec SFI (2003)
13. Install the C-pillar weatherstripping.
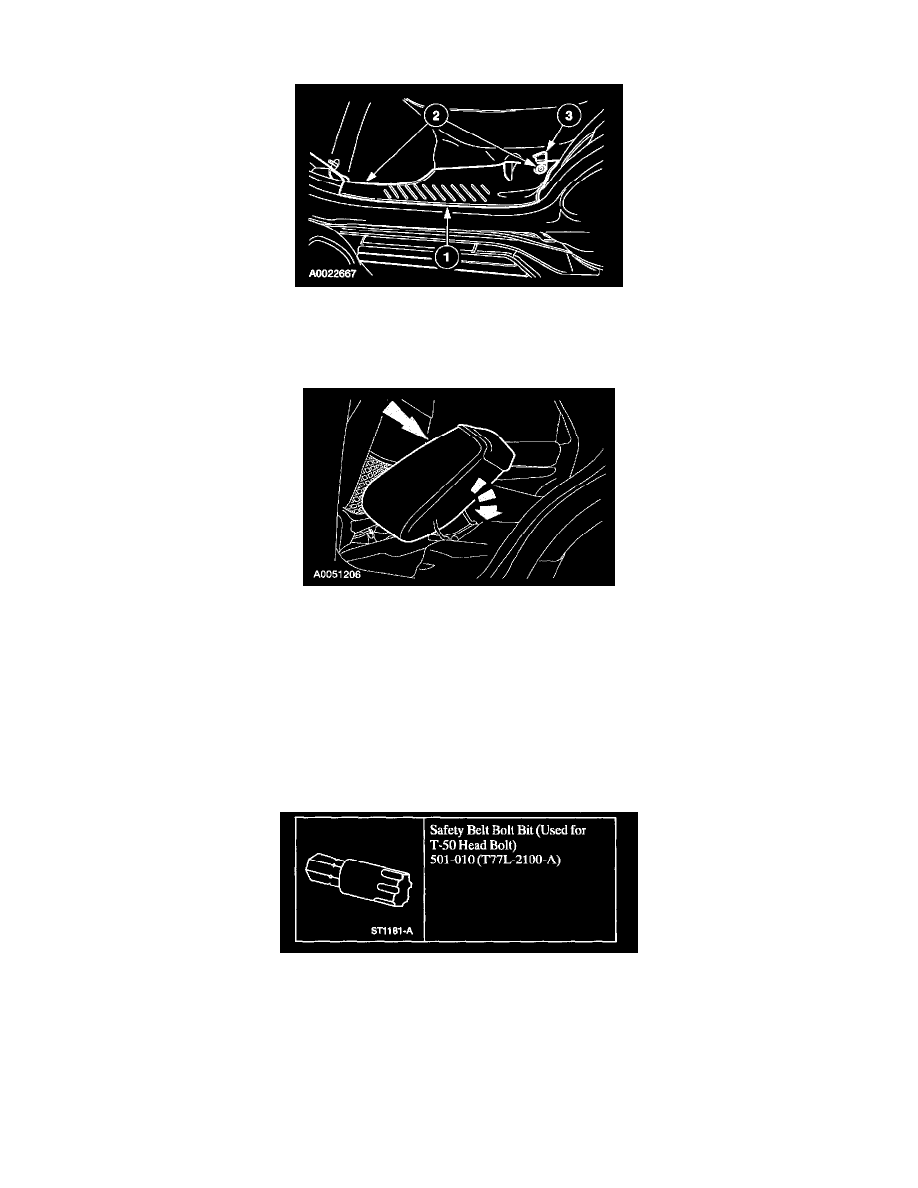
14. Install the rear door scuff plate.
1
Position the rear door scuff plate.
2
Install the two pin-type retainers (one shown).
3
Close the cover.
15. Position the seat cushion down.
Vehicles with a rear power point
16. Connect the battery ground cable.
All vehicles
17. Check the active restraint system for correct operation.
1
Make sure that after the rear safety belt retractor is installed, the retractor is not in the Automatic Locking Retractor (ALR) mode.
2
Carry out the Emergency Locking Retractor (ELR) Mode Functional Test to make sure that the new retractor operates correctly. See: Testing
and Inspection/Component Tests and General Diagnostics
Front Safety Belt Retractor
Safety Belt Bolt Bit
SPECIAL TOOL(S)
REMOVAL
WARNING: ALL SAFETY BELT ASSEMBLIES INCLUDING RETRACTORS, BUCKLES, FRONT SEAT BELT BUCKLE SUPPORT
ASSEMBLIES (SLIDE BAR), SHOULDER BELT HEIGHT ADJUSTERS (IF SO EQUIPPED), CHILD SAFETY SEAT TETHER
ATTACHMENTS, AND ATTACHING HARDWARE SHOULD BE INSPECTED AFTER ANY COLLISION. ALL BELT ASSEMBLIES
SHOULD BE REPLACED UNLESS A QUALIFIED TECHNICIAN FINDS THE ASSEMBLIES SHOW NO DAMAGE AND OPERATE