
Escape 2WD L4-2.5L (2009)
6. Remove and discard the lower ball joint bolt and nut.
7. Remove the wheel speed sensor bolt and position the sensor aside.
8. Separate the lower ball joint from the wheel knuckle.
9. Remove the 2 strut-to-knuckle nuts, bolts and the wheel knuckle.
-
Discard the nuts and bolts.
Installation
1. Position the wheel knuckle and install the 2 new strut-to-knuckle bolts and nuts.
-
Tighten to 115 Nm (85 lb-ft).
2. Position and align the ball joint stud into the wheel knuckle.
3. Install the new lower ball joint bolt and nut.
-
To install, tighten to 63 Nm (46 lb-ft).
4. Install the wheel speed sensor and the bolt.
-
Tighten to 9 Nm (80 lb-in).
5. Position the tie-rod end into the wheel knuckle and install the new tie-rod end nut.
-
Tighten to 80 Nm (59 lb-ft).
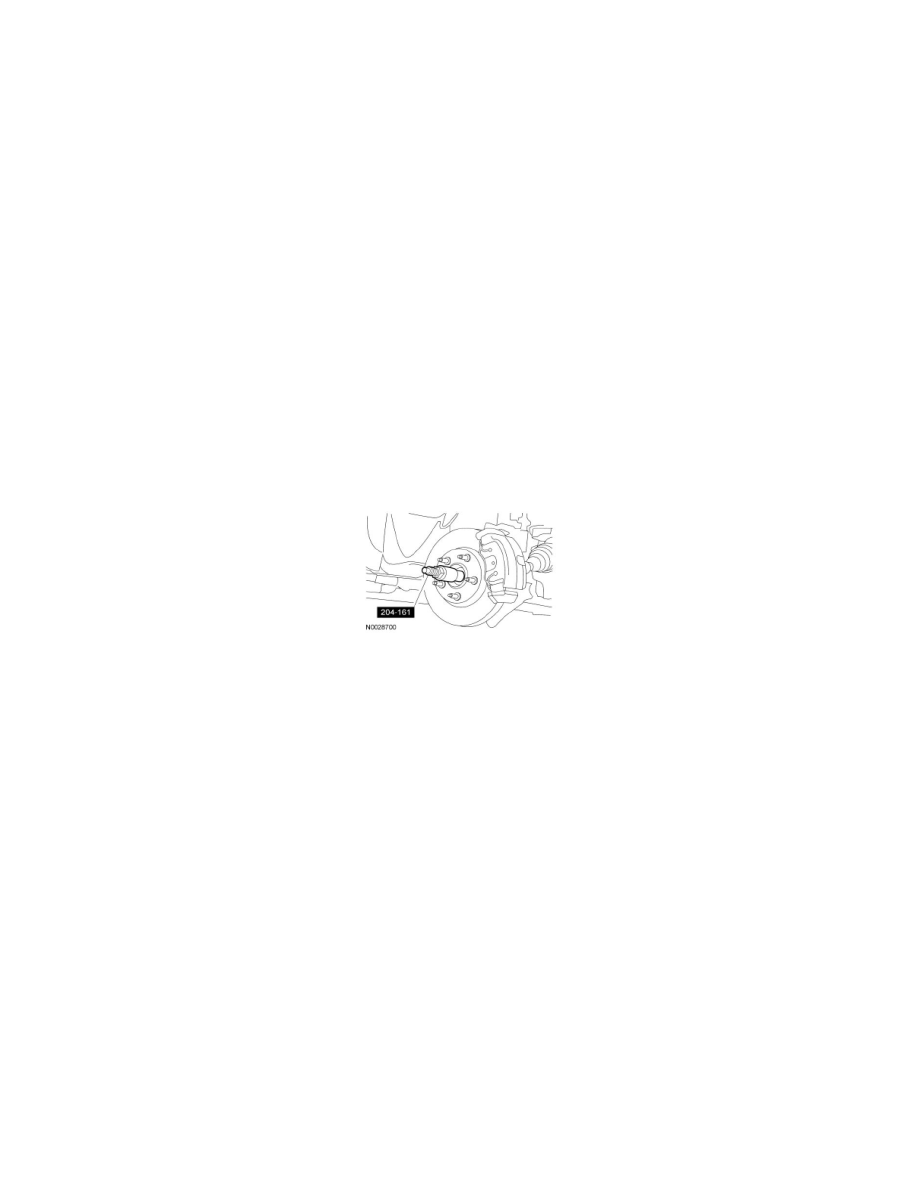
6. Using the Halfshaft Installer, install the halfshaft into the wheel hub.
7. Install the brake disc.
8. NOTICE: Do not tighten the front wheel hub nut with the vehicle on the ground. The nut must be tightened to specification before the
vehicle is lowered onto the wheels. Wheel bearing damage will occur if the wheel bearing is loaded with the weight of the vehicle applied.
NOTE: Apply the brake to keep the halfshaft from rotating.
Install the new front wheel hub nut.
-
Tighten to 300 Nm (221 lb-ft).
9. Check and, if necessary, align the front end.