
Escape 4WD V6-3.0L (2008)
Removal and Installation
WARNING:
-
Do not smoke, carry lighted tobacco or have an open flame of any type when working on or near any fuel-related component. Highly
flammable mixtures are always present and may be ignited. Failure to follow these instructions may result in serious personal injury.
-
Do not carry personal electronic devices such as cell phones, pagers or audio equipment of any type when working on or near any
fuel-related component. Highly flammable mixtures are always present and may be ignited. Failure to follow these instructions may result
in serious personal injury.
-
Before working on or disconnecting any of the fuel tubes or fuel system components, relieve the fuel system pressure to prevent accidental
spraying of fuel. Fuel in the fuel system remains under high pressure, even when the engine is not running. Failure to follow this
instruction may result in serious personal injury.
-
Remove the fuel filler cap slowly. The fuel system may be under pressure. If the fuel filler cap is venting vapor or if you hear a hissing
sound, wait until it stops before completely removing the fuel filler cap. Otherwise, fuel may spray out. Failure to follow these instructions
may result in serious personal injury.
1. With the vehicle in NEUTRAL, position it on a hoist.
2. Release the fuel system pressure.
3. Release the fuel tank filler cap and position aside.
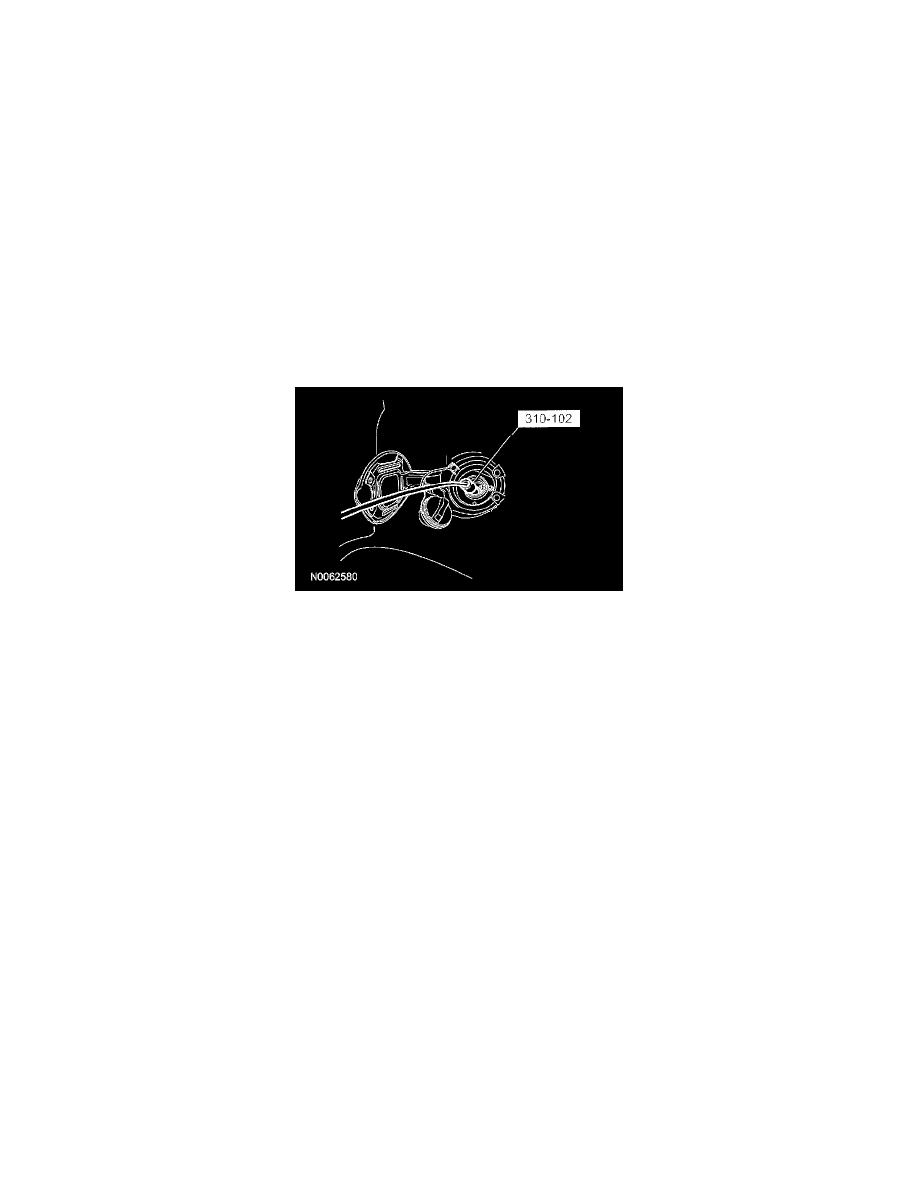
4. Insert the special tool into the fuel tank filler pipe until it opens the fuel tank level shutoff valve located at the inlet of the fuel tank.
5. NOTE: Due to the internal design of the fuel tank components, slow fuel drainage may occur.
Using the special tools, drain as much fuel as possible from the fuel tank and filler pipe, lowering the fuel level below the inlet of the fuel tank.
6. Remove the 4 screws and the fuel pump (FP) module access cover.
7. NOTE: Clean the FP module connection, couplings, mounting flange and the immediate surrounding area of any dirt or foreign material.
Disconnect the FP module electrical connector.
8. NOTE: Place absorbent toweling in the immediate surrounding area in case of fuel spills.
Disconnect the fuel supply tube and fuel vapor tube-to-FP module quick connect couplings.
9. NOTE: Carefully remove the FP module lock ring and verify that enough fuel has been drained to avoid spillage.
Using a suitable FP lock ring remover, rotate the lock ring counterclockwise and remove.
10. NOTE: A partial fuel tank drain is required to lower the fuel level below the fuel tank inlet and avoid fuel spillage upon removal of the fuel tank
filler pipe hose and clamp.
Position the FP module aside and, using the fuel storage tanker, drain enough fuel so the fuel level in the fuel tank is below the fuel tank inlet.
11. Remove the 2 fuel tank filler pipe flange screws and the dust cover.
-
To install, tighten to 3 Nm (27 lb-in).
12. Remove the LH rear wheel and tire.
13. Remove the 3 rivets and the fuel tank filler pipe shield.
14. Remove the fuel tank filler pipe bracket bolt.
-
To install, tighten to 10 Nm (89 lb-in).
15. Disconnect the fuel vapor tube-to-fuel tank filler pipe quick connect coupling.