
Excursion 4WD V10-6.8L (2002)
TO DEPLETE THE BACKUP POWER SUPPLY ENERGY, DISCONNECT THE BATTERY GROUND CABLE AND WAIT AT LEAST
ONE MINUTE. BE SURE TO DISCONNECT AUXILIARY BATTERIES AND POWER SUPPLIES (IF EQUIPPED).
2. Deactivate the supplemental restraint system (SRS).
WARNING: TO REDUCE THE RISK OF SERIOUS PERSONAL INJURY, READ AND FOLLOW ALL WARNINGS, CAUTIONS,
NOTES, AND INSTRUCTIONS IN THE SUPPLEMENTAL RESTRAINT SYSTEM (SRS) DEACTIVATION/REACTIVATION
PROCEDURE.
3. Remove the front seat cushion assembly.
WARNING: TO REDUCE THE RISK OF SERIOUS PERSONAL INJURY, READ AND FOLLOW ALL WARNINGS, CAUTIONS,
NOTES, AND INSTRUCTIONS IN THE SEAT REMOVAL AND INSTALLATION PROCEDURE.
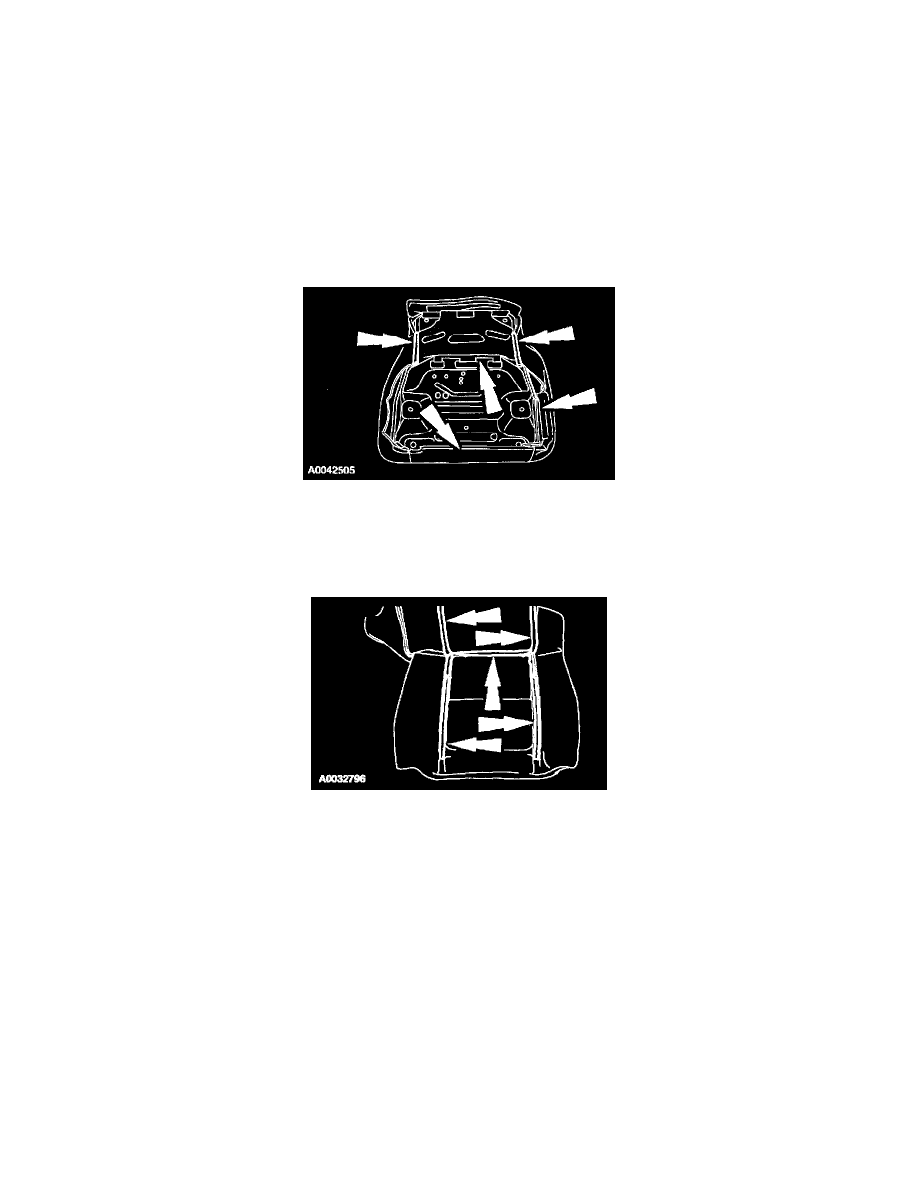
4. Release lower seat cushion fabric J-clips, butterfly clips and scrivets from their seat cushion pan attachment points.
WARNING: THE METAL EDGES OF SEAT CUSHION PAN CAN BE SHARP.
5. Remove seat foam pad and fabric covering from the seat cushion pan.
6. Separate the seat fabric from the cushion hook and loop fasteners.
CAUTION: Use care when separating the seat cushion trim cover from the hook and loop strip, or the hook and loop strip can be torn from the
seat cushion foam.
NOTE: Do not separate the seat heater mat from the seat cushion foam. These components are glued together and must be repaired or replaced as
a unit.
ASSEMBLY
WARNING: TO REDUCE THE RISK OF SERIOUS PERSONAL INJURY, READ AND FOLLOW ALL WARNINGS, CAUTIONS, AND
NOTES AT THE BEGINNING OF THE DISASSEMBLY PROCEDURE.
1. Place the seat cushion foam pad on the seat cushion pan.