
Expedition 2WD V8-281 4.6L SOHC (1998)
Control Arm: Service and Repair
Lower
REMOVAL
1. Raise and support the vehicle.
WARNING: THE ELECTRICAL POWER TO THE AIR SUSPENSION SYSTEM MUST BE SHUT OFF PRIOR TO HOISTING,
JACKING OR TOWING AN AIR SUSPENSION VEHICLE. THIS CAN BE ACCOMPLISHED BY TURNING OFF THE AIR
SUSPENSION SWITCH LOCATED IN THE RH KICK PANEL. FAILURE TO DO SO CAN RESULT IN UNEXPECTED
INFLATION OR DEFLATION OF THE AIR SPRINGS WHICH CAN RESULT IN SHIFTING OF THE VEHICLE DURING THESE
OPERATIONS.
2. Remove the tire and wheel assembly.
CAUTION: Do not use heat to loosen a seized lug nut. Heat can damage the wheel and the wheel bearings.
3. Remove the disc brake rotor splash shield.
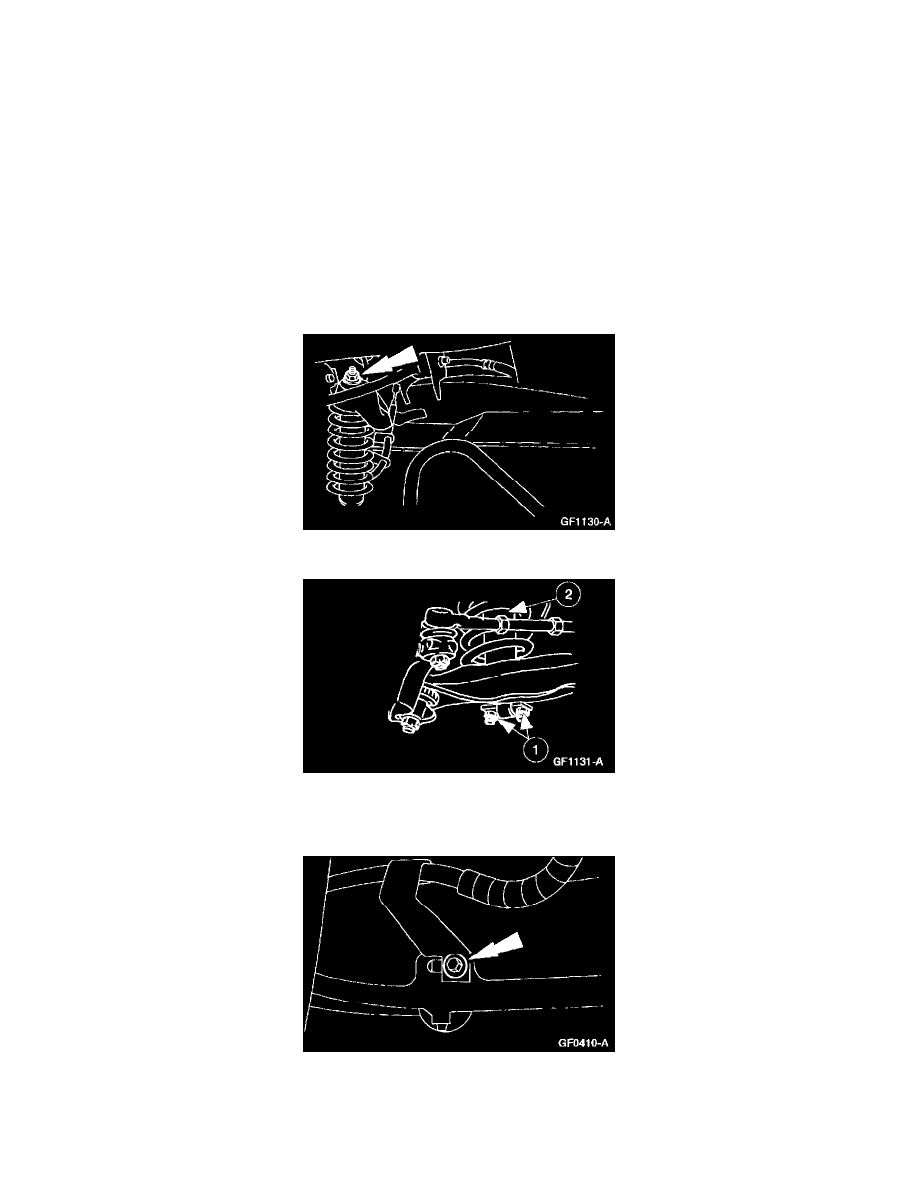
4. Remove the upper shock absorber nut and washer.
5. Remove the front shock absorber.
(1) Remove the two nuts.
(2) Remove the front shock absorber.
6. Remove the brake hose bracket screw and bracket from the front suspension lower arm.