
Expedition 2WD V8-4.6L SOHC VIN 6 (1999)
9. Tighten the four peanut fittings.
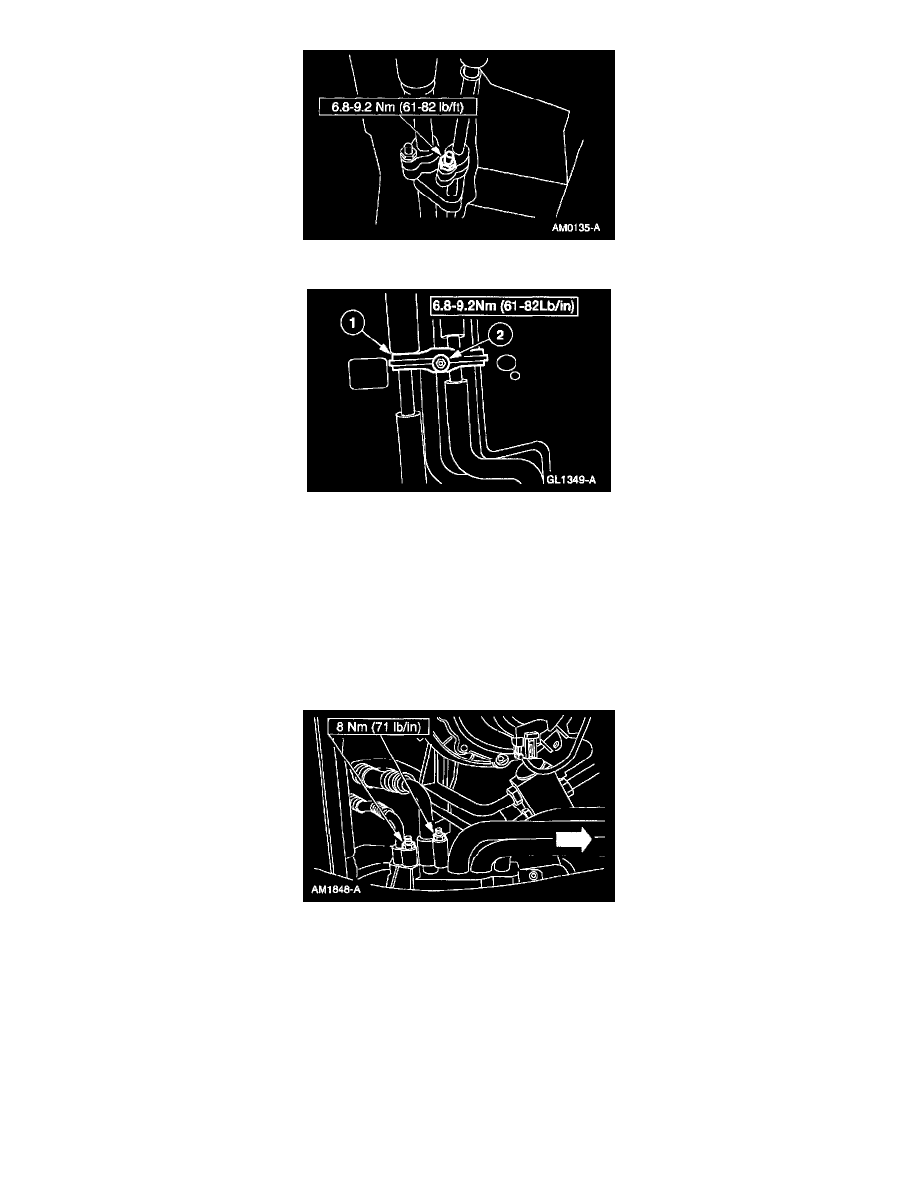
10. Install the line brackets.
1
Position the bracket.
2
Install the nut.
3
Snap the line securely into the bracket.
CAUTION: Overtightening of the nut will cause the stud to break away from the floor pan.
NOTE: The bracket must be positioned equally between the white location marks on the line.
11. Lower the vehicle.
12. Turn on the air suspension switch, if equipped.
13. Connect the inlet line to the auxiliary evaporator case line.
14. Install the grommet seal and retainer.
NOTE: Make sure that the lines are entering through the center of the floor opening and that the retainer locating marks are positioned correctly.
15. Install the quarter trim access panel.
16. Evacuate and charge the A/C system. See: Heating and Air Conditioning/Service and Repair/Evacuation and Charging
17. Install the spare tire.
Rear Auxiliary Evaporator Outlet Line
REMOVAL
NOTE: Lay out new lines in vehicle position to assist in installation.