
Expedition 2WD V8-5.4L (2009)
-
Tighten to 12 Nm (106 lb-in).
All vehicles
4. Install the front portion of the auxiliary evaporator outlet and inlet line(s).
5. Connect the evaporator outlet and inlet line front fitting(s) and install the nut(s).
-
Install new O-ring seals and gasket seals.
-
Tighten to 15 Nm (133 lb-in).
Expedition EL or Navigator L only
6. NOTE: Loosely connect, but do not tighten, the fittings.
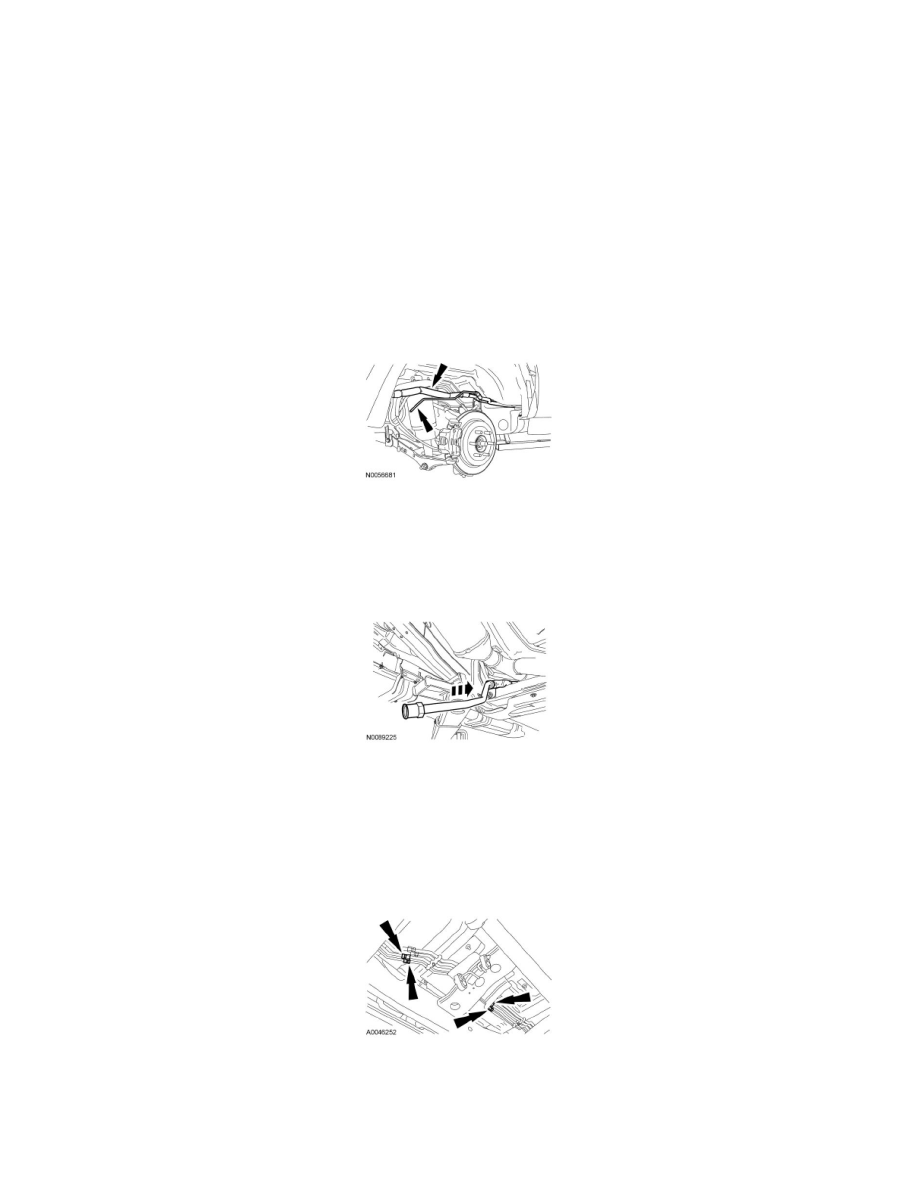
Install the center section(s) of the auxiliary evaporator line(s) by manipulating the line(s) toward the front of the vehicle through RH rear wheel
well opening between the body and the frame.
Expedition or Navigator only
7. NOTE: Loosely connect, but do not tighten, the fittings.
Install the center section(s) of the auxiliary evaporator line(s) by manipulating the line(s) toward the rear of the vehicle through the opening
between the RH catalytic converter and frame.
All vehicles
8. Starting from the rear of the vehicle, install the first 3 auxiliary line brackets and nuts.
-
Tighten to 5 Nm (44 lb-in).
9. NOTE: Expedition/Navigator shown, Expedition EL or Navigator L similar.
Tighten the middle auxiliary evaporator line fittings.
10. Inspect the auxiliary evaporator lines for correct installation. Loosen, reposition and tighten as needed.
11. Install the RH catalytic converter heat shield and the 3 rear catalytic converter heat shield bolts.
12. Install the exhaust hanger and the 2 exhaust hanger bolts.