
Expedition 2WD V8-5.4L (2009)
Refrigerant: Service and Repair
Refrigerant System Filtering Following Air Conditioning (A/C) Compressor Installation
Refrigerant System Filtering Following Air Conditioning (A/C) Compressor Installation
NOTICE: On vehicles being serviced for an internal compressor or desiccant failure, a new Thermostatic Expansion Valve (TXV), auxiliary
system TXV (if equipped) and any hoses containing mufflers must be installed prior to filtering the Air Conditioning (A/C) system. Internal
plumbing of these devices makes it impossible to correctly remove any foreign material/debris. These components are typically discarded after
A/C system contamination. Hoses without mufflers can normally be reused unless they are clogged with foreign material. The
F8VZ-19E773-AB filter is intended for use on one vehicle only.
1. Remove the condenser core.
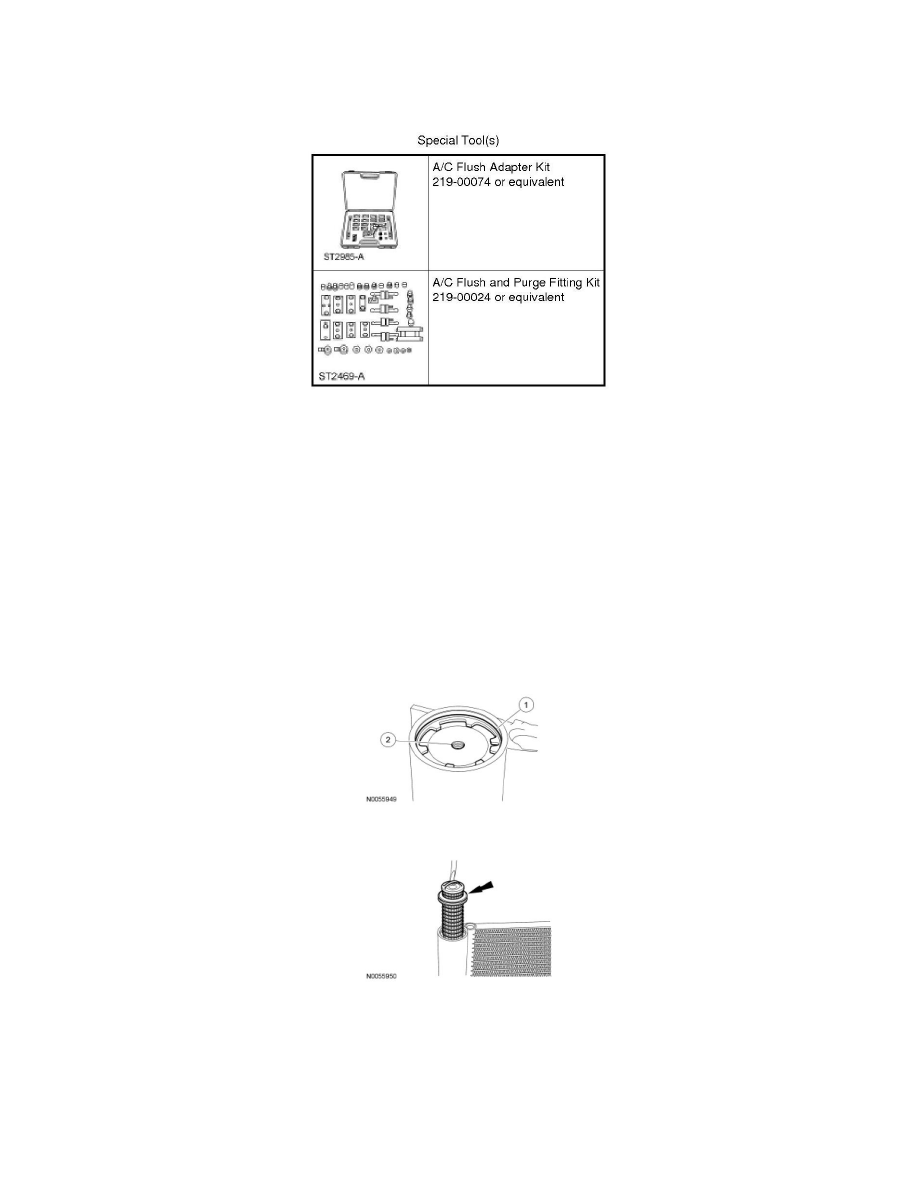
2. Remove the plastic receiver/drier cap.
3. Remove the receiver/drier plug.
1. Push the receiver/drier plug upwards and remove the snap ring.
2. Install an M5 bolt in the center of the receiver/drier plug and remove the plug.
4. Using a suitable tool, grasp the receiver/drier cartridge grab handle and remove the receiver/drier cartridge.
5. NOTE: Do not install a new receiver/drier cartridge at this time.
With the receiver/drier cartridge removed, reinstall the receiver/drier plug and snap ring into the condenser core.
6. NOTE: Do not evacuate or charge the refrigerant system at this time.
NOTE: The RH headlamp assembly must remain removed for access to the condenser outlet fitting.