
Expedition 2WD V8-5.4L (2009)
5. Disconnect the 2 wire harness electrical connectors at the RH inner fender splash shield.
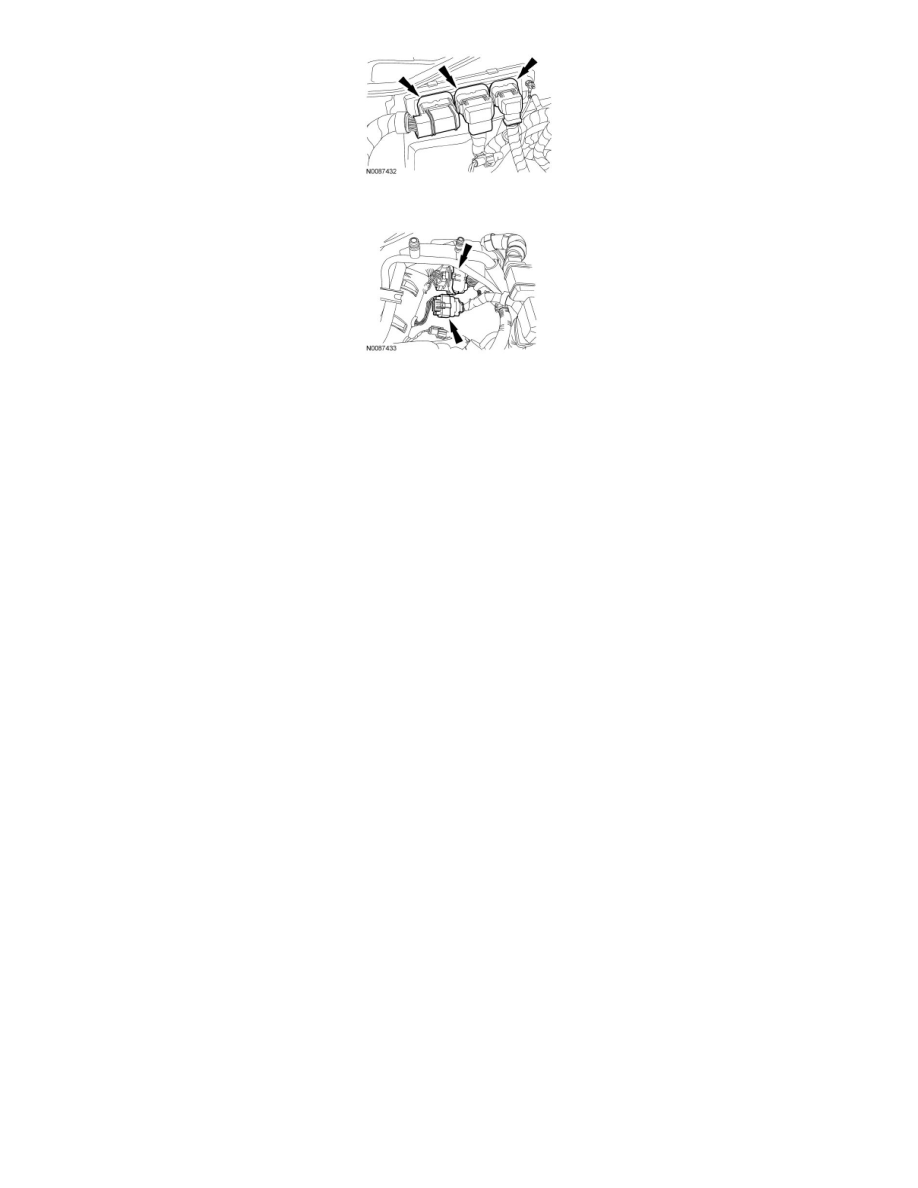
6. Remove the Thermostatic Expansion Valve (TXV) manifold and tube assembly bracket bolt.
7. Remove the TXV manifold and tube suction fitting nut and disconnect the fitting.
-
Discard the O-ring seal and gasket seal.
-
To install, tighten to 15 Nm (133 lb-in).
8. Remove the auxiliary evaporator inlet line fitting nut and disconnect the fitting.
-
Discard the O-ring seal and gasket seal.
-
To install, tighten to 15 Nm (133 lb-in).
9. Remove the auxiliary evaporator outlet line fitting nut and disconnect the fitting.
-
Discard the O-ring seal and gasket seal.
-
To install, tighten to 15 Nm (133 lb-in).
10. Remove the TXV fitting nut and disconnect the fitting.
-
Discard the gasket seals.
-
To install, tighten to 15 Nm (133 lb-in).
11. Remove the TXV manifold and tube assembly.
12. To install, reverse the removal procedure.
-
Install new gasket seals and O-ring seals.
-
Lubricate the refrigerant system with the correct amount of clean PAG oil.
13. Evacuate, leak test and charge the refrigerant system.