
Expedition 2WD V8-5.4L (2009)
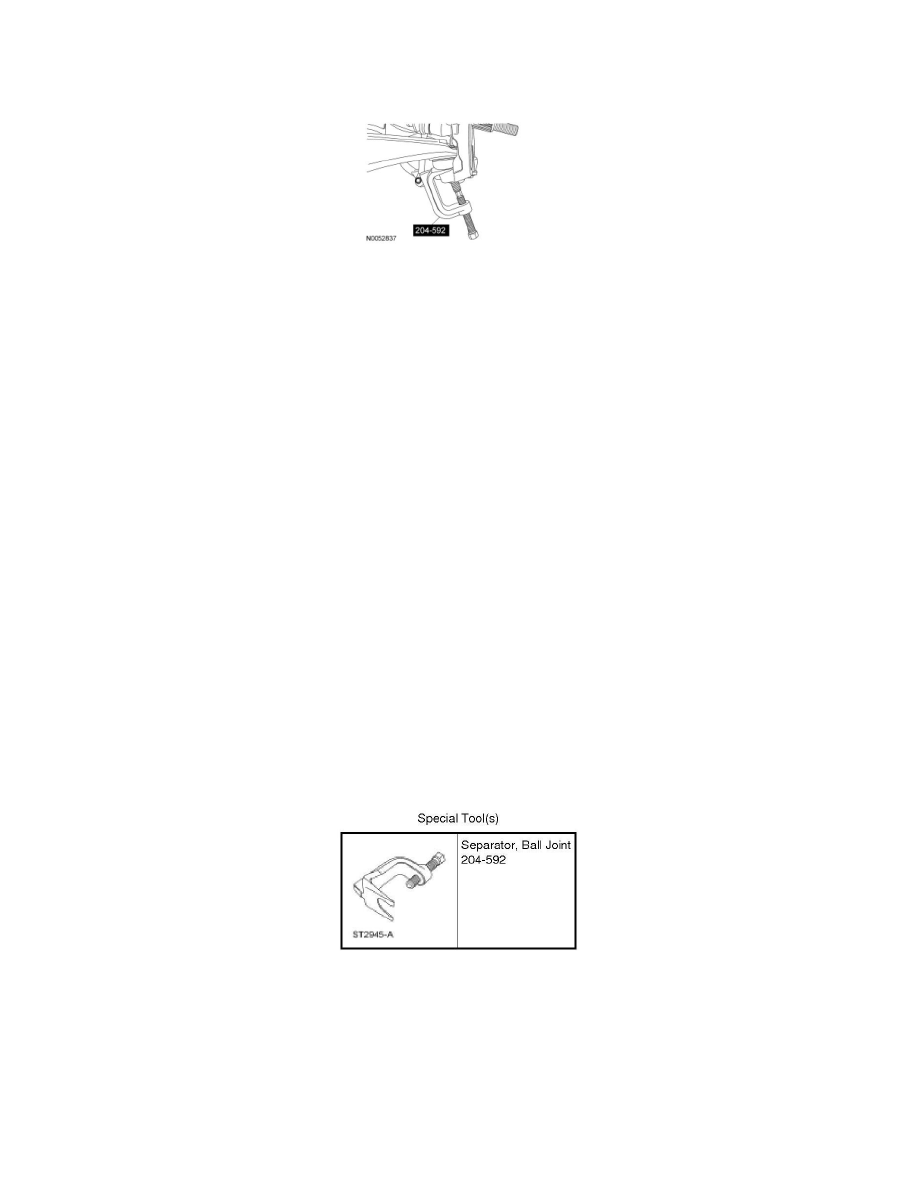
6. NOTICE: Do not damage the ball joint boot while installing the Ball Joint Separator.
Using the Ball Joint Separator, separate the lower ball joint from the wheel knuckle.
7. Swing the lower arm to the rear of the vehicle and remove the lower arm.
Installation
1. Position the lower arm ball joint onto the wheel knuckle and install the new lower ball joint nut.
-
Tighten to 150 Nm (111 lb-ft).
2. NOTE: Do not tighten the lower arm-to-frame bolt at this time.
Install the new lower arm-to-frame bolt and flagnut.
-
Snug the bolt to 50 Nm (37 lb-ft).
3. NOTE: Do not tighten the shock absorber lower nut at this time.
Position the lower arm and install a new shock absorber lower bolt and nut.
4. Install the wheel and tire.
5. Lower the vehicle so that the weight of the vehicle is on the wheel and tire assemblies.
6. Tighten the lower arm-to-frame bolt to 225 Nm (166 lb-ft).
7. Tighten the shock absorber lower bolt to 550 Nm (406 lb-ft).
8. If equipped, connect the air suspension height sensor connecting link to the lower arm.
9. Check and, if necessary, align the rear end.
Upper Arm
Upper Arm