
Expedition 2WD V8-5.4L (2009)
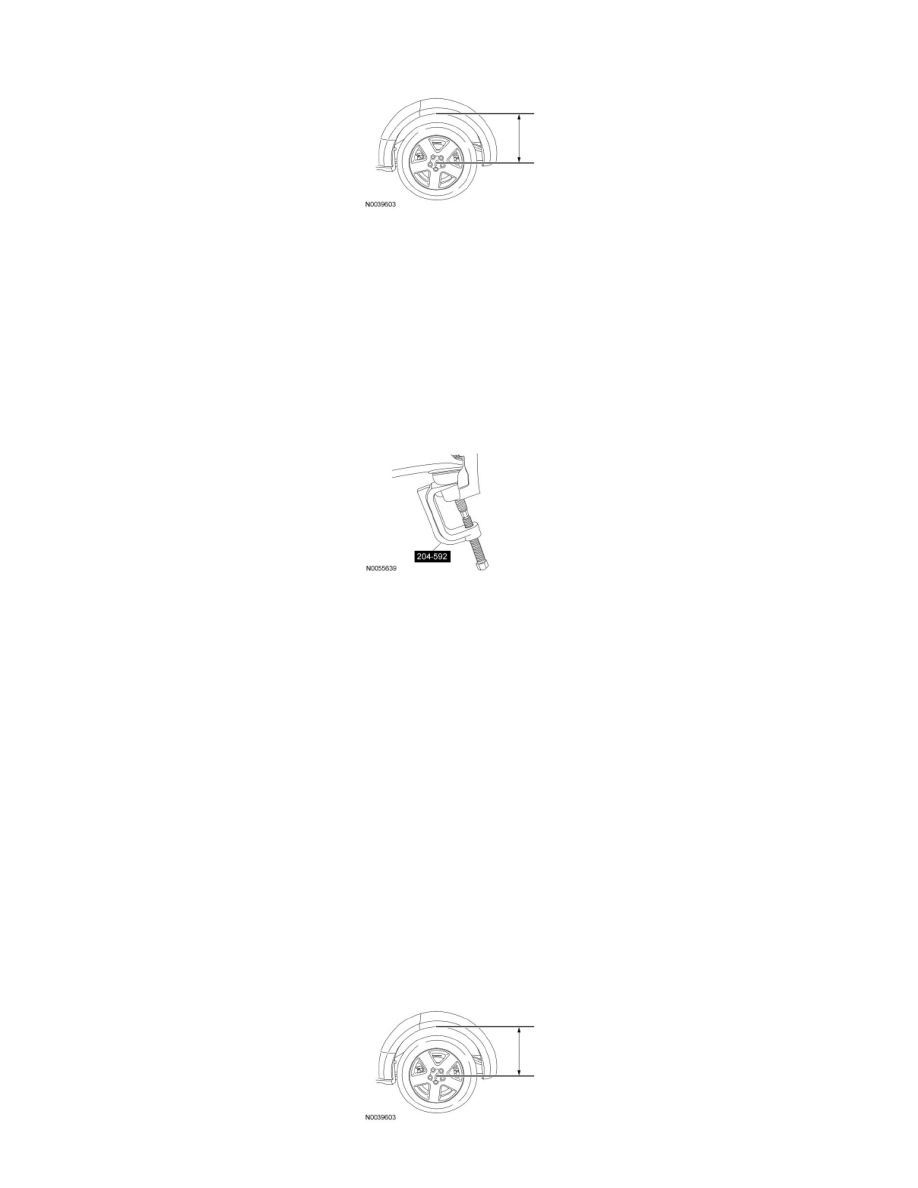
1. Measure the distance from the center of the hub to the lip of the fender with the vehicle in a level, static ground position (curb height).
2. Remove the wheel and tire.
3. NOTE: Use the hex-holding feature to prevent the stud from turning while removing the nut.
Remove and discard the stabilizer bar link lower nut.
4. Remove and discard the lower ball joint nut.
5. NOTICE: Make sure to use the Ball Joint Separator when separating the lower ball joint from the knuckle to prevent damage to the ball
joint boot.
Using the Ball Joint Separator, separate the ball joint from the knuckle.
6. Remove and discard the lower arm rearward nut and bolt.
7. Remove and discard the lower arm forward nut and bolt.
8. Remove the shock absorber lower nut, bolt and the lower arm.
-
Discard the shock absorber lower nut and bolt.
Installation
1. Position the lower arm and loosely install the new shock absorber lower bolt and nut.
2. Loosely install the new lower arm forward nut and bolt.
3. Loosely install the new lower arm rearward nut and bolt.
4. Position the lower ball joint into the wheel knuckle and install the new lower ball joint nut.
-
Tighten to 150 Nm (111 lb-ft).
5. Install the new stabilizer bar link lower nut.
-
Tighten to 80 Nm (59 lb-ft).
6. Use a suitable jack to raise the suspension until the distance between the center of the hub and the lip of the fender is equal to the measurement
taken in Step 1 (curb height).