
Expedition 4WD V8-5.4L VIN 5 (2006)
6.
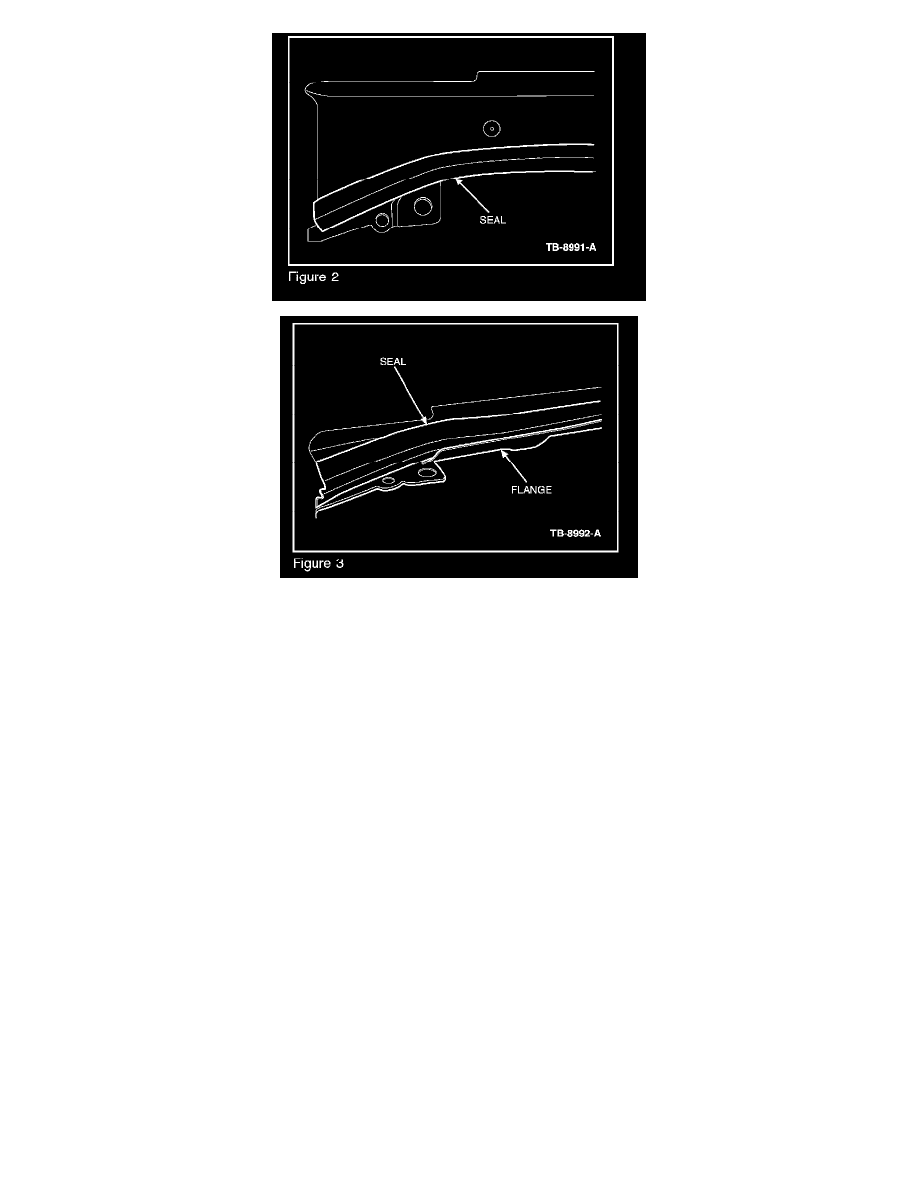
Attach seal to front of trough starting at one end of the trough. Make sure the vertical leg of seal lines up against front flange of trough. (Figures
1-3)
7.
Secure seal across entire trough. Apply pressure along entire seal to ensure bonding to trough.
8.
Install the rear trough onto the trough guide assembly. Install the two (2) trough guide retaining screws and torque to 9 lb-in. (1 N.m)
9.
Remove protective covering.
10.
Install roof opening panel following WSM, Section 501-17.
2005-2009 Expedition / Navigator
1.
Remove roof opening panel glass only. Refer to WSM, Section 501-17.
2.
To avoid paint damage to the roof, apply protective covering on roof finish.
3.
From above vehicle, remove the two (2) trough guide retaining screws and the rear trough from the trough guide assembly.
4.
Install new trough and seal assembly.
5.
Install the rear trough and seal assembly onto the trough guide assembly. Install the two (2) trough guide retaining screws and torque to 9 lb-in. (1
N.m)
6.
Remove protective covering.
7.
Install roof opening panel following WSM, Section 501-17.