
Explorer 2WD V6-245 4.0L (1994)
Ball Joint: Service and Repair
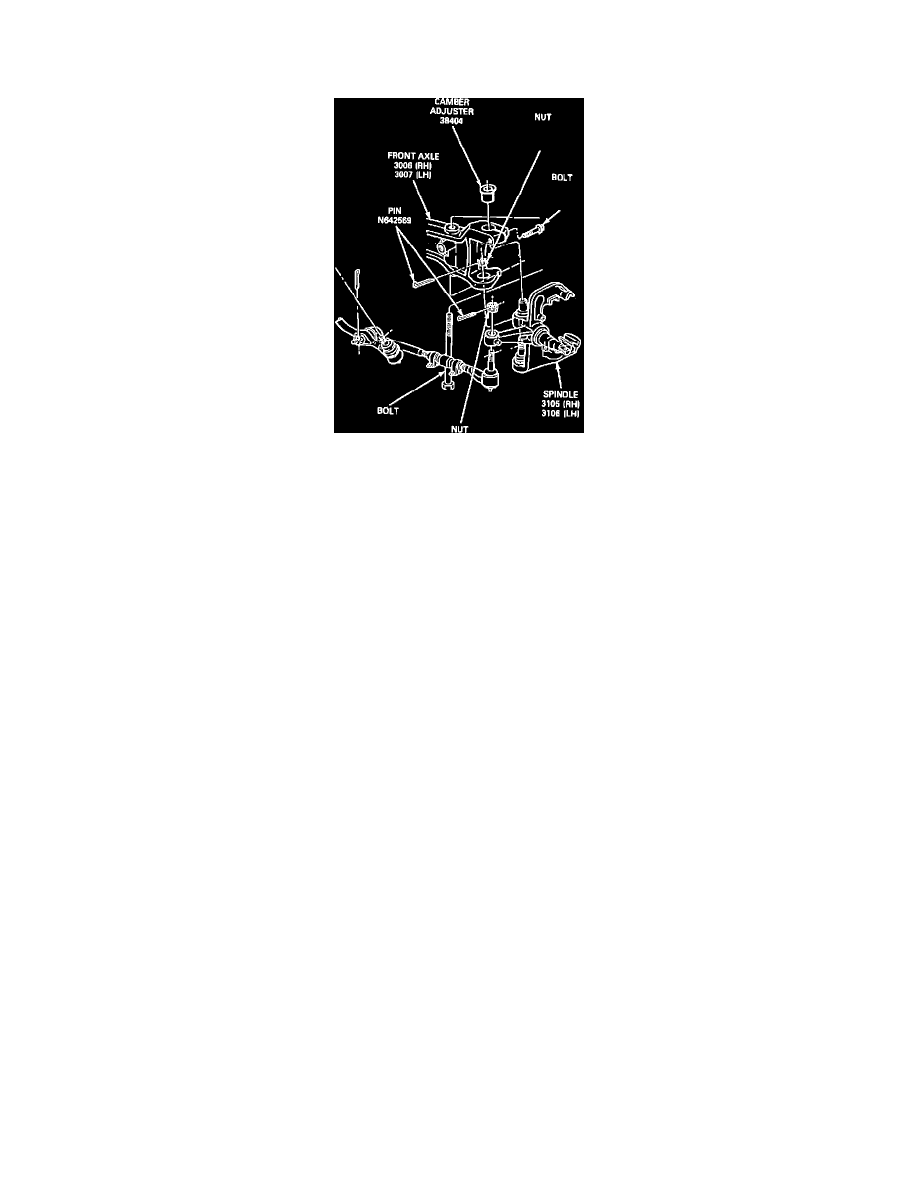
Ball Joint, Lower
Fig. 6 Ball Joint Replacement. 4x2 Models
1. Remove spindle. Remove snap rings from ball joints, Fig. 11.
2. Assemble C-Frame tool No. T74P-4635-C and receiving cup tool No. D81T-3010-A or equivalents on upper ball joint. Turn forcing screw
clockwise until ball joint is removed. Assemble C-Frame and cup on lower ball joint and turn forcing screw clockwise until ball joint is removed.
NOTE: Always remove lower ball joint first.
3. Reverse procedure to install. Install lower ball joint first using ball joint receiver cup tool No. D81T-3010-A5 and installation cup tool No.
D81T-3010-A1 inside adapter cup tool No. D81T-3010-A4 or equivalents. Turn forcing screw until ball joint is seated. Install snap ring onto
lower ball joint. Install upper ball joint in same manner.