
Explorer 2WD V6-245 4.0L SOHC VIN K SFI (2001)
2
Install the hog rings.
NOTE: The hog rings along the front of the seat are shown; the hog rings along either side are similar.
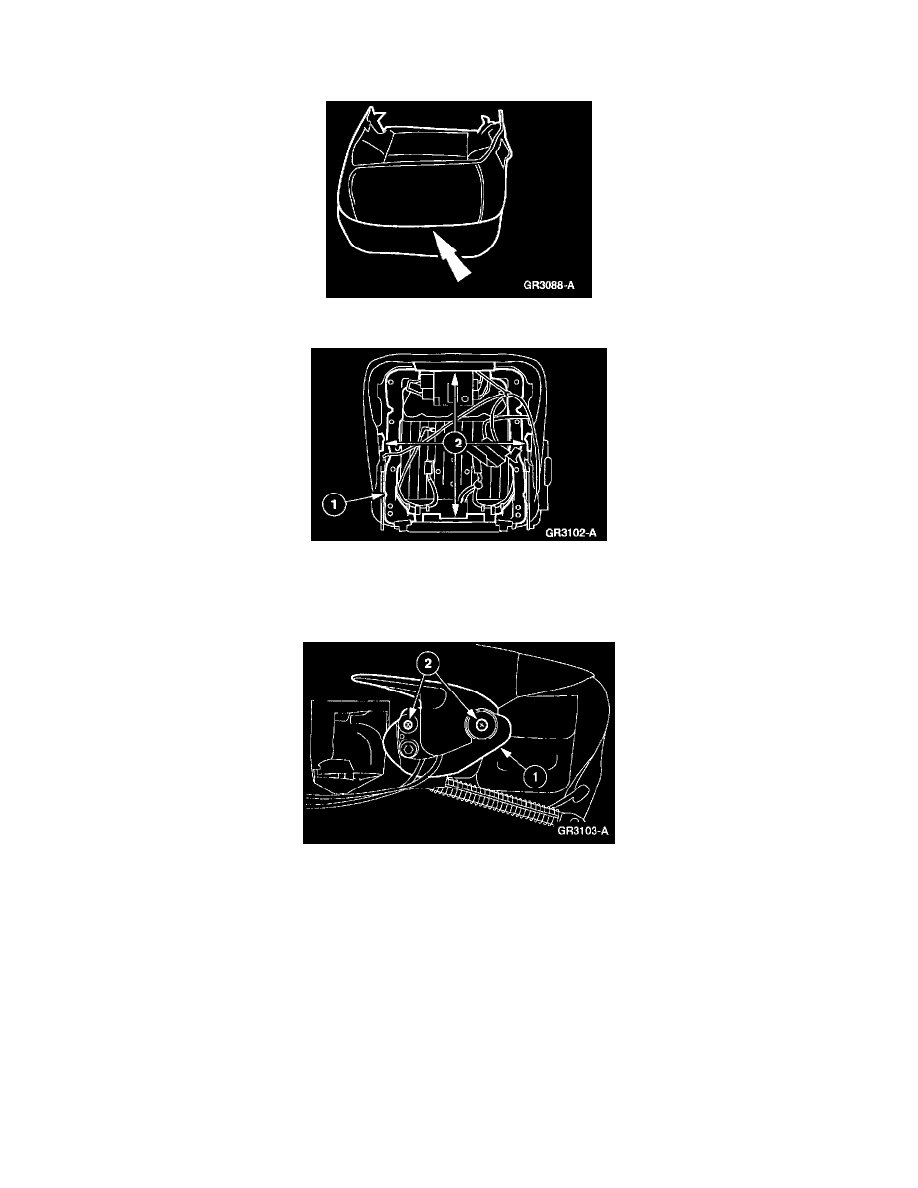
9. Invert the seat cushion trim cover.
10. Install the seat cushion frame.
1
Position the seat cushion frame.
2
Hook the seat cushion trim cover J-clips.
11. If equipped, connect the seat cushion heating element electrical connector.
12. Connect the seat backrest recliner actuator.
1
Connect the seat backrest recliner actuator.
2
Install the screws.
-
Tighten until the screws are fully seated.
13. Assemble the seat. For additional information, refer to Seat-Front Bucket, Limited.
NOTE: Be sure to read and follow all air bag warnings in Seat-Front Bucket, Limited, Disassembly and Assembly.
14. Reactivate the supplemental restraint system. For additional information, refer to Section Air Bag Systems.
WARNING: THE RESTRAINT SYSTEM DIAGNOSTIC TOOL IS FOR RESTRAINT SYSTEM SERVICE ONLY. REMOVE FROM
THE VEHICLE PRIOR TO ROAD USE. FAILURE TO REMOVE COULD RESULT IN INJURY AND POSSIBLE VIOLATION OF
VEHICLE SAFETY STANDARDS.
15. Prove out the air bag system. For additional information, refer to Air Bag Systems.
16. Check the restraint system for proper operation.