
Explorer 2WD V6-245 4.0L SOHC VIN K SFI (2001)
8. Zip the air bag deployment chute completely closed, then position the zipper tails at the top and bottom of the deployment chute, into the seat back
opening.
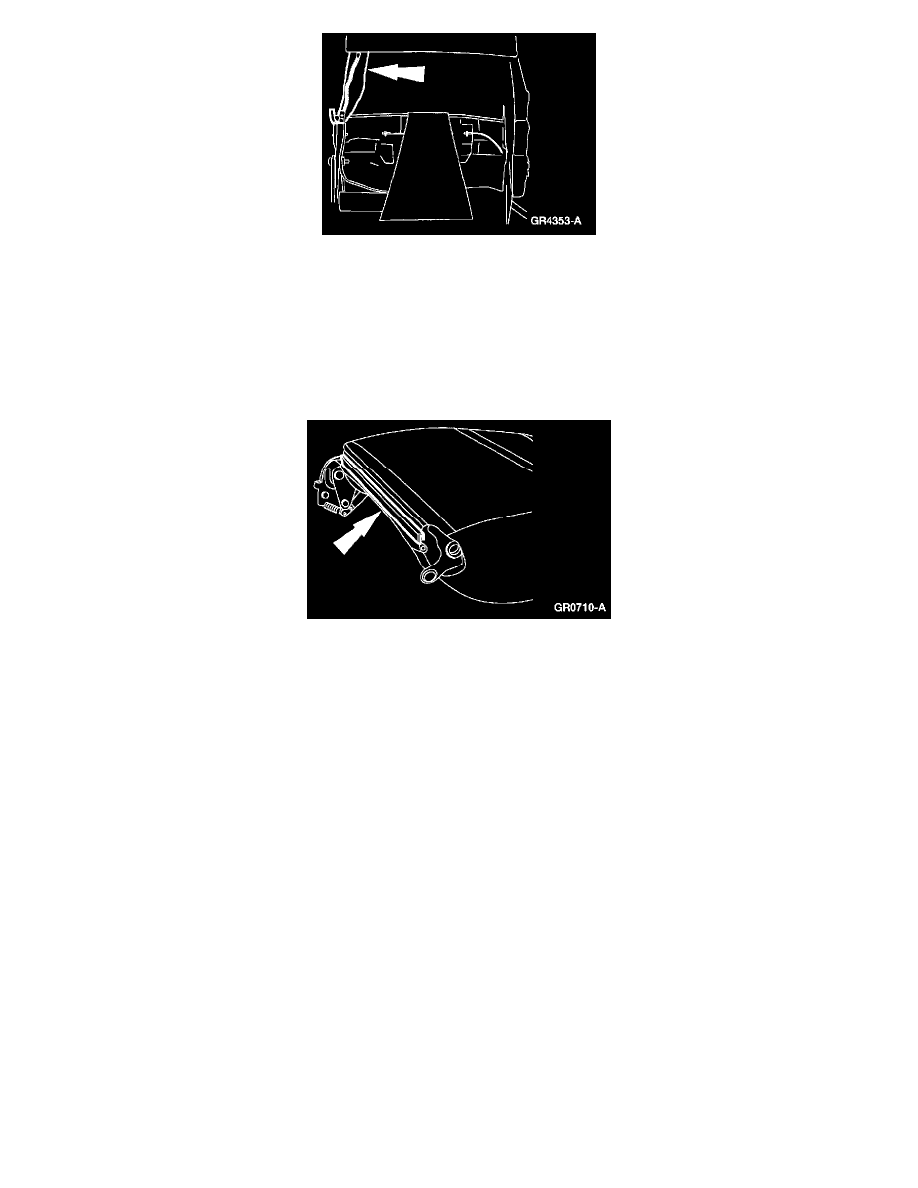
^
The side air bag deployment chute must encircle the side air bag module, going completely around the side air bag module and the side of the
seat back frame.
^
Align the side air bag deployment chute to the side air bag module, making sure it covers the length of the side air bag module.
NOTE:
^
Sport bucket seat shown; Limited seat similar.
^
Be sure the side air bag deployment chute is properly positioned, before proceeding to the next step.
9. Hook the trim cover clip.
NOTE: If equipped, make sure that the seat backrest heating element wire is aligned with and off-set from the lower seat backrest trim cover
J-clip.
10. Assemble the seat. For additional information, refer to Seat-Front Bucket, 6-Way Power, Except Limited and Seat-Front Bucket, Limited.
NOTE: Be sure to read and follow all air bag warnings in Seat-Front Bucket, 6-Way Power, Except Limited and Seat-Front Bucket, Limited,
Disassembly and Assembly.
11. Reactivate the supplemental restraint system. For additional information, refer to Air Bag Systems.
WARNING: THE RESTRAINT SYSTEM DIAGNOSTIC TOOL IS FOR RESTRAINT SYSTEM SERVICE ONLY. REMOVE FROM
THE VEHICLE PRIOR TO ROAD USE. FAILURE TO REMOVE COULD RESULT IN INJURY AND POSSIBLE VIOLATION OF
VEHICLE SAFETY STANDARDS.
12. Prove out the air bag system. For additional information, refer to Air Bag Systems.
13. Check the restraint system for proper operation.