
Explorer 4WD V6-245 4.0L (1991)
Intake Manifold: Service and Repair
Lower
*** THIS ARTICLE REFLECTS CHANGES MADE BY TSB #94-18-10, DATED September 07, 1994
REMOVAL
NOTE: The intake manifold is a four piece assembly consisting of the upper intake manifold, the throttle body, the fuel supply manifold and the lower
intake manifold.
1.
Disconnect the battery ground cable at the battery.
2.
Remove the air cleaner air intake duct from the throttle body.
3.
Remove the snow/ice shield and disconnect the throttle cable and bracket assembly.
4.
Disconnect all vacuum hoses from the fittings on the upper intake manifold.
5.
Disconnect the electrical connections at the throttle body, upper intake manifold, lower intake manifold and injectors.
6.
Relieve fuel system pressure.
7.
Disconnect the fuel supply and return lines at the fuel supply manifold.
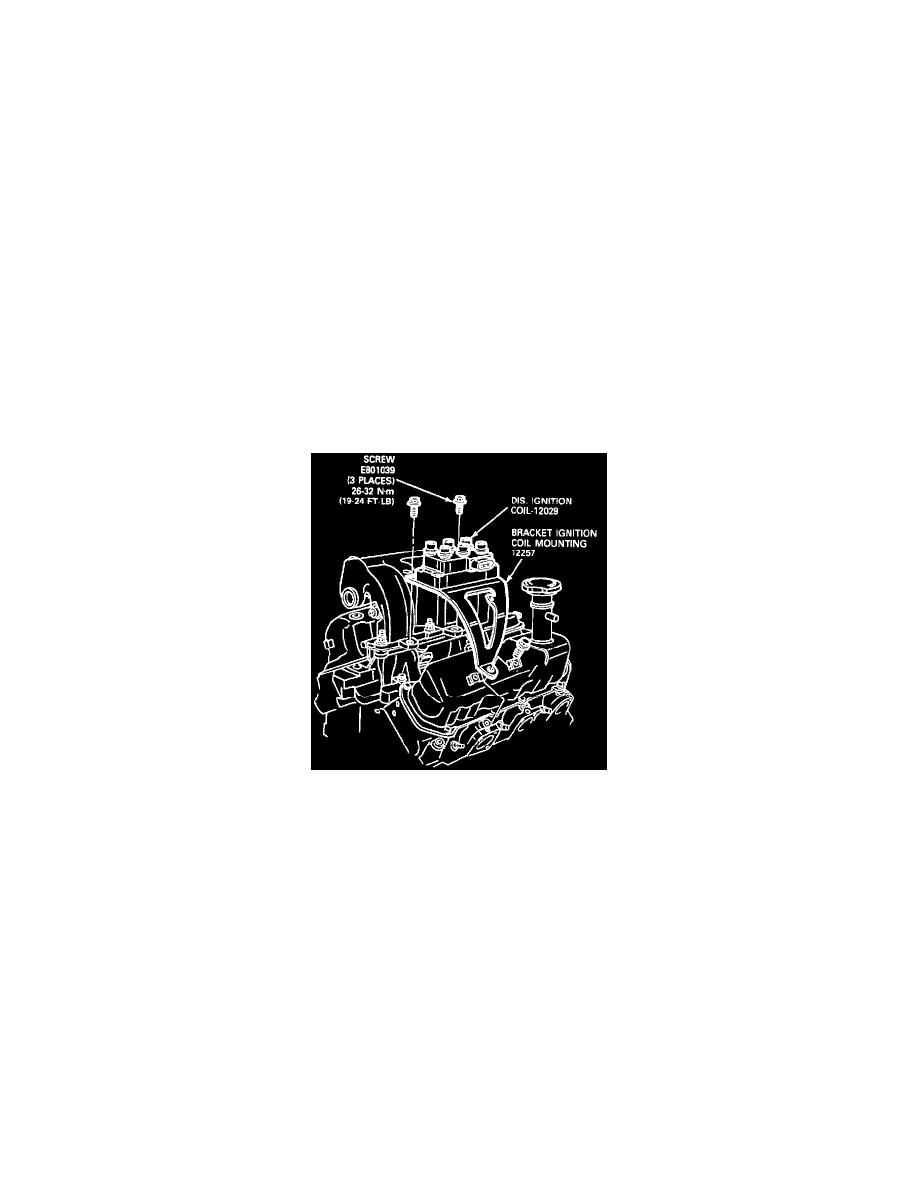
E-DIS Coil Pack Mounting
8.
Remove the bolts securing the E-DIS coil pack and bracket assembly to the upper intake manifold.
9.
Remove the six nuts securing the upper intake manifold and remove the upper manifold.
10.
Remove the valve rocker arm covers. See: Cylinder Head Assembly/Valve Cover/Service and Repair
11.
Remove the intake manifold attaching bolts and nuts. Tap the intake manifold lightly with a plastic mallet to break the gasket seal, and lift off the
intake manifold assembly.
12.
Remove all old gasket material, and sealing compound.
INSTALLATION