
Explorer 4WD V8-4.6L (2008)
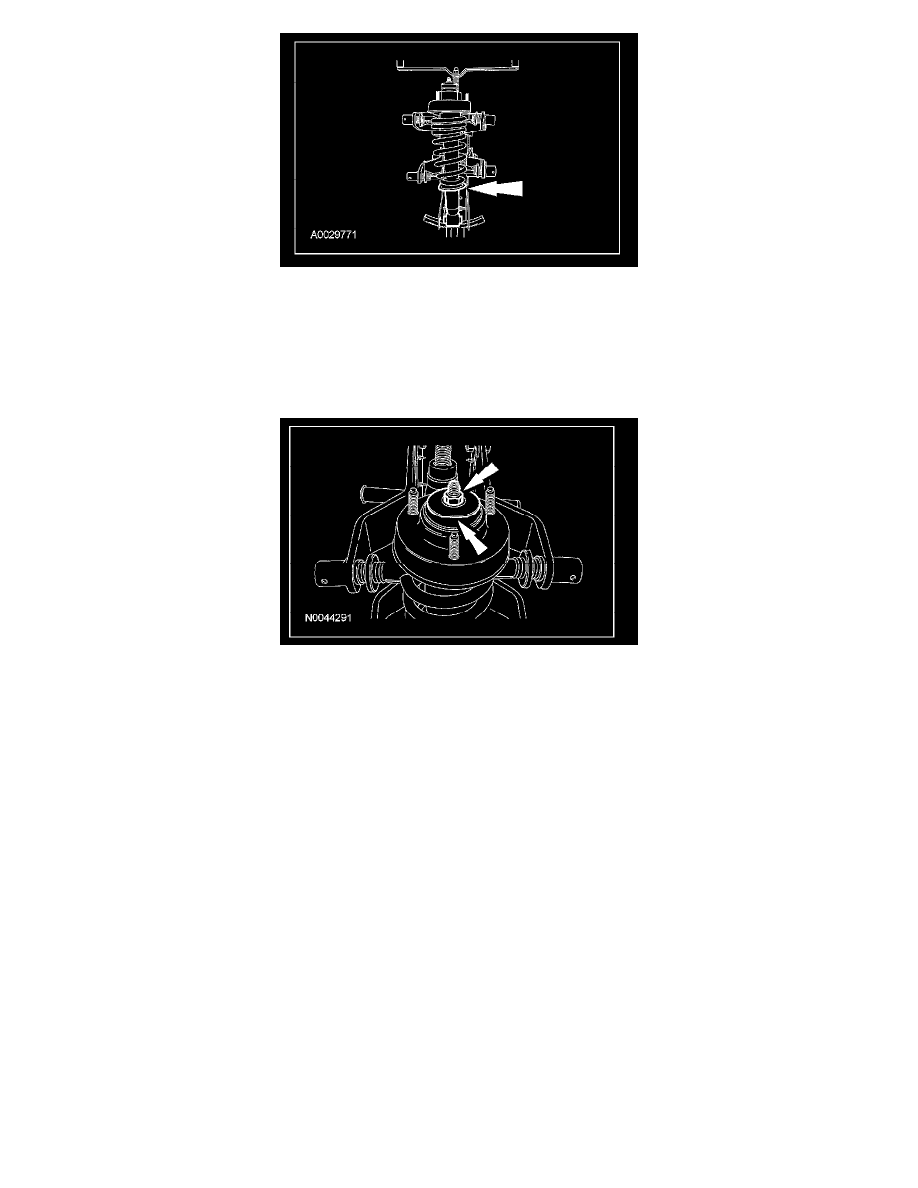
3. CAUTION: When installing the shock rod nut, make sure the shock rod and bushing are centered in the upper mount before tightening
the nut or damage to the shock bushing may occur.
NOTE: Use the holding feature to prevent the shock absorber rod from turning while removing and installing the nut.
Remove and discard the shock absorber rod nut.
^
To install, tighten to 65 Nm (48 lb-ft).
4. Remove the shock absorber.
5. Remove the shock absorber upper mount.
6. Remove the upper mount bushing.
7. Carefully release the spring compressor and remove the coil spring.
8. NOTE: Make sure the upper shock mount stud, shock rod and shock lower bushing are aligned before tightening the shock rod nut.
To assemble, reverse the disassembly procedure.