Explorer Sport Trac 4WD V6-4.0L VIN E (2007)

6. NOTE: Use either a high-ratio, electric or battery-operated caulk gun that will apply the urethane with less effort and continuous bead.
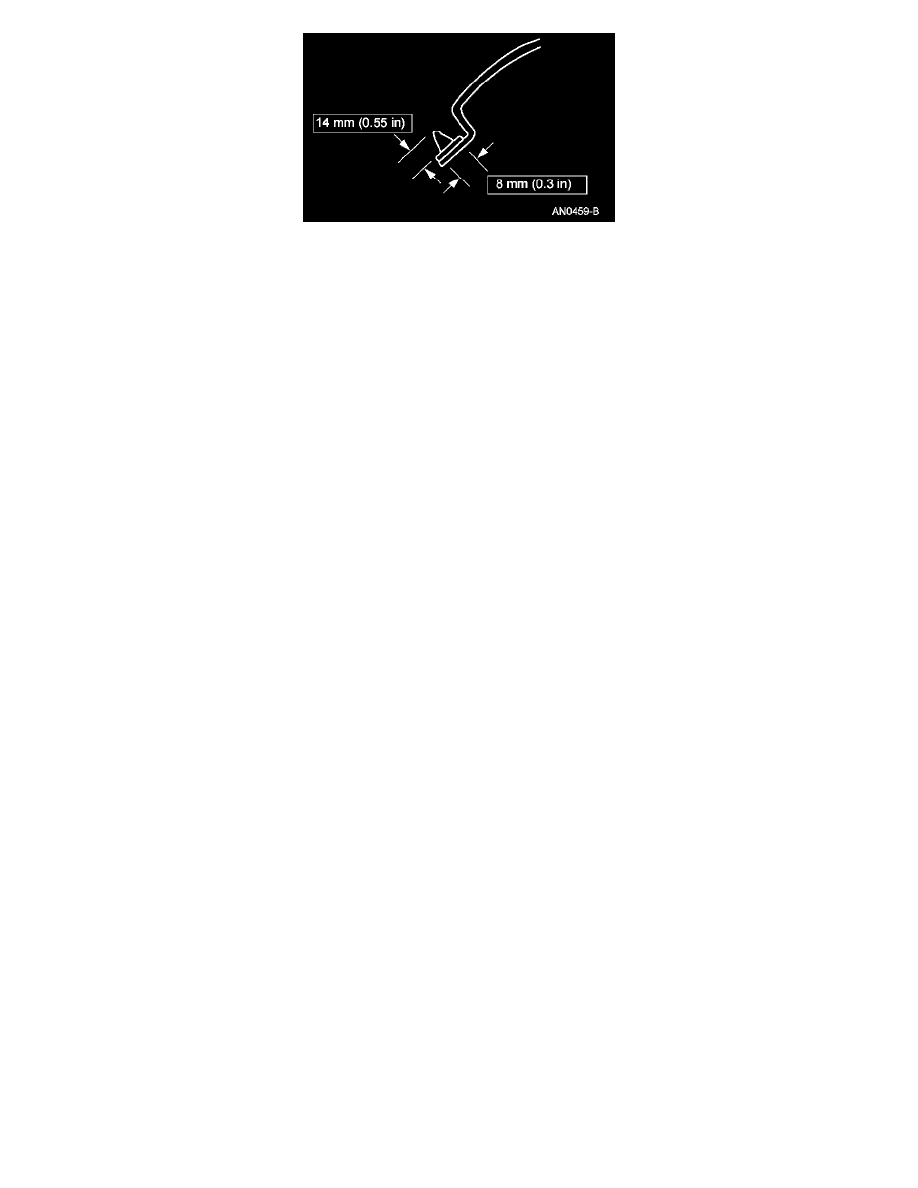
Apply urethane adhesive on top of the existing trimmed urethane adhesive bead on the pinch weld. Make sure that all gaps in the urethane
adhesive are smoothed into one continuous bead.
7. NOTE: Inspect the flat foil connectors at the bottom of the new windshield for damage prior to installation. Do not install a windshield with
damaged flat foil connectors.
Install the windshield by aligning it to the marks previously made.
8. CAUTION: When installing urethane-installed glass parts, the vehicle must not be driven until the urethane has cured. Adequate cure
time is specified on the drive away chart for each urethane product as the temperatures and humidity vary. Inadequate or incorrect
curing can adversely affect the retention of the windshield.
After the urethane has cured, check the windshield glass seal for air or water leaks through the urethane adhesive bead and add urethane adhesive
as necessary.
9. NOTE: Follow the same routing for the electrical connector that was used during removal.
If equipped, connect the heated windshield electrical connectors.
10. Install the cowl panel grille.
11. Install the wiper pivot arms.
12. Raise the headliner and position.
13. If equipped, install the roof opening panel trim.
14. Install the interior mirror.
15. Install the sun visors, retainers and, if equipped, the overhead console.
16. Install the RH and LH side A-pillar trim panels.
17. Clean the exterior and interior of the windshield glass with glass cleaner.
